View Live Logs for Companion on Android Enterprise
Debug Companion Logs
By default, Companion is writing, and holdings logs into the storage of managed Android and Samsung Knox devices for 7 days and users can send the captured logs with the E-Mail logs option to your support organization or directly to any of the Administrators. For several scenarios, it might be more convenient to perform a live trace of the Companion logs from your device to review the actions taken on the device rather then performing an action and sending the logs via E-Mail. The process for reviewing the logs from a Command Prompt is straight forward. First, we will download and extract the required Android Studio Platform Tools and enable the developer options on the target device before we will review and change the log settings for Companion. After connecting the device via USB and allowing the PC to debug the device, you can review all written logs directly in a Command Prompt. In any case, ensure that you have not disabled the Allow Debugging Features restriction on your target device.
ADB and Developer Options
The first step is to download the SDK Platform-Tools for Windows that are containing several command-line tools, including the Android Debug Bridge (adb). The Android Debug Bridge is a versatile command-line tool that allows you to communicate with a device and this is what we will use later to trace the Companion Logs. To connect later to the device, you will also need to enable the developer options on your target device.
Download SDK Platform Tools
- Open the following link: Android Studio Platform Tools
- Press Download SDK Platform-Tools for Windows
- Accept the terms and conditions
- Click Download Android SDK Platform-Tools for Windows
- Wait until the download is finished
Extract and run tool
- Navigate to your downloaded *.zip file
- Extract the archive to your desired location, e.g., C:\Debug\
- Navigate now with the Windows Explorer to C:\Debug\platform-tools
- You should see now inside the folder several files, e.g. adb.exe
- Type now in the address bar cmd and press enter
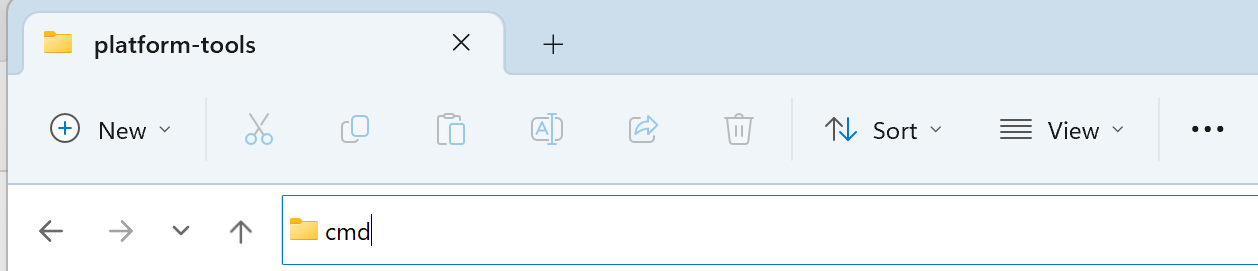
- A new command prompt should be opened, and you should be already in the right location
Enable Developer Options
- On your Android device, open the Settings application
- Search and locate the Build number information
- Press now minimum seven times the build number until and enter your PIN or password if set
- The developer mode should now the enabled
- Search and locate now the Developer options
- Enable USB debugging
- Confirm with OK
In case you will see the Blocked by your IT admin when pressing the Build number, you probably disabled the Allow Debugging Features restriction.
Log Levels
By default, the Logs level is set to Info, which will show informational messages. Within this chapter, we will first review the current set Log Level from the Management Console and then we will create a new Tag and assign it to the device to enable a more detailed log level. After pushing the Tag to the device, we will review the new Log Level from the Companion application.
Review Log Level from Console
- Login to your Silverback Management Console
- Navigate to Devices and locate the Device that you want to debug
- Open Resultant Tags
- Navigate to Logs
- Review your current Logs level
Increase Log Level
- Navigate to Tags and click create new Tag
- Enter as Name e.g., Verbose Log Level (mandatory) and enter a Description (optional)
- Enable the Profile checkbox and enable Android and/or Samsung Knox as device type
- Press Save and navigate to Profile and Logs
- Select your platform and enable the Logs Settings checkbox and change the Logs Level to Verbose
- Press Save and confirm with OK
- Navigate to Definition and attach your target device with the Associated Devices button
- After assigning the device, press Push to Devices
Review Log Level from Device
- On your device, open the Companion application
- Wait until the Sync process is finished
- Open the hamburger menu from the top left
- Select Support
- Review your Current level, it should be now set to Verbose
View Logs
After everything is prepared, you need to connect your device to your PC, authorize your device for ADB and then filter to Companion Logs.
Connect Device
- Connect your device via USB to your PC
- Navigate to your previously opened Command Prompt
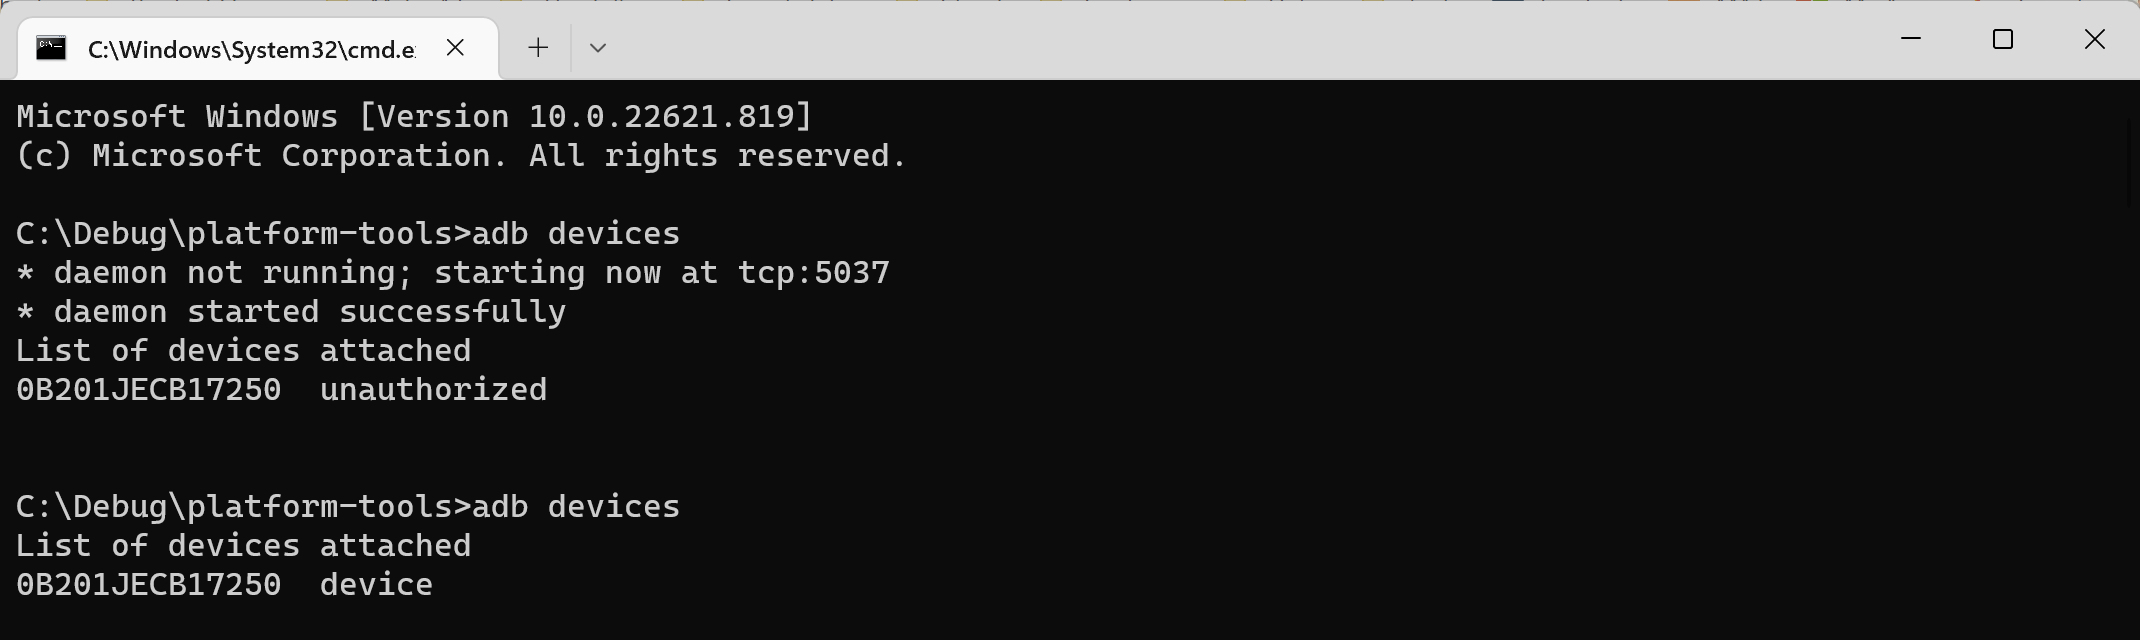
- Type adb devices
- Your device will be currently unauthorized
- On your device, enable the Always allow from this computer (optional) checkbox and press Allow (mandatory)
- Type again adb devices and you should see your serial number now without the unauthorized info
View Companion Logs
Overall, Companion will after changing the Log Level write Verbose logs into the storage of device and you can define via ADB filters, which log level you want to see. In the following example, we will filter to I for Info, but you can change it to the following available parameters: V - verbose, D - debug, I - info, W - warning, E - error. In summary, the log level defined in Silverback determines how excessively data is written to the storage and the ADB filter can be used to set which parts of it can be viewed live.
- Now enter one of the following filter and press enter
- For Device Owner: adb logcat -s "SilverbackMDM:I"
- For Work Profile: adb logcat -s "SilverbackMDM-W:I"
- You have now successfully enabled the Live Log for Companion
- Refresh now from your Management Console the device
- You should see now that Companion received a Push Notification and the synchronization with the server
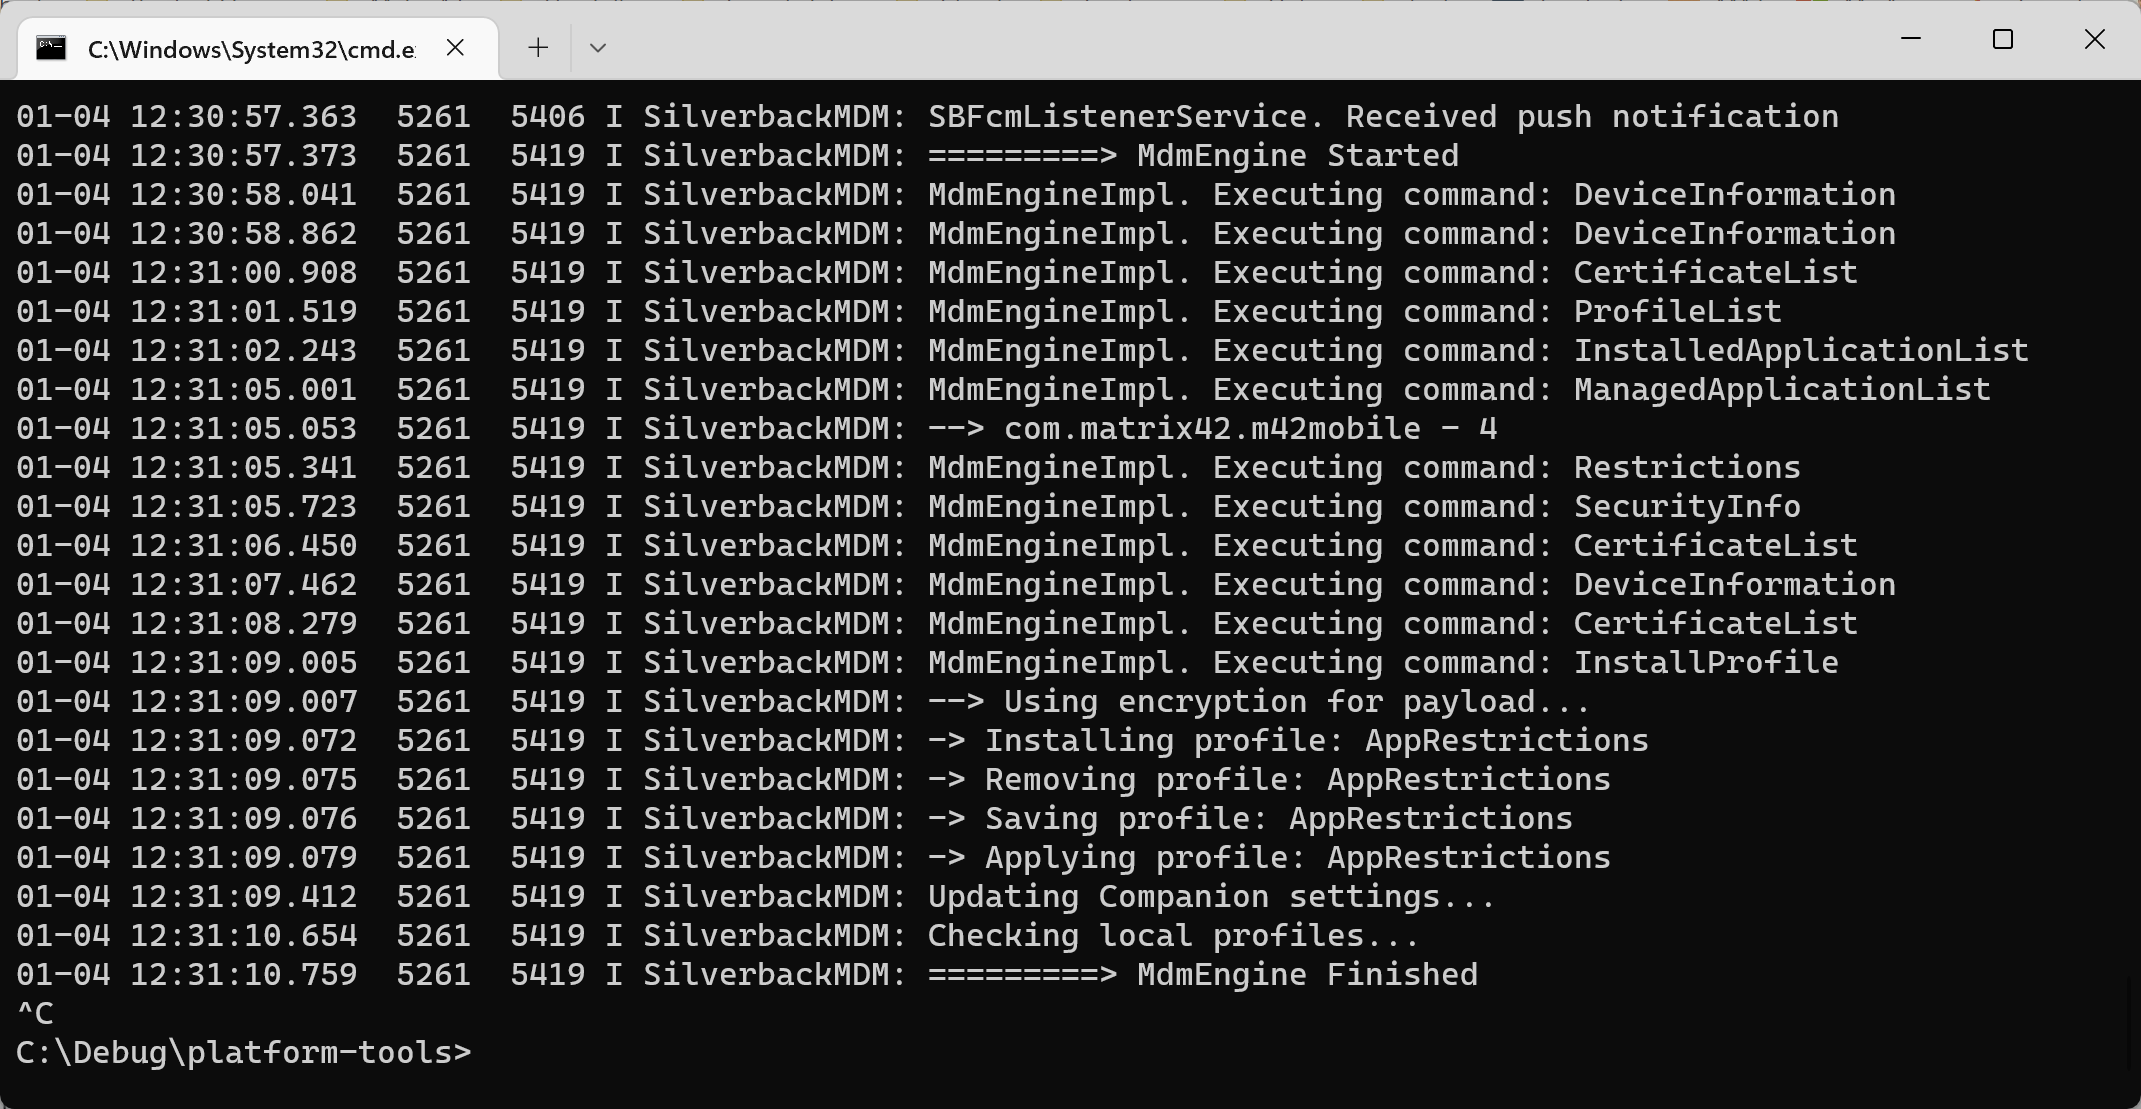
- Now you can assign and change Tags and you should be able to review all commands and executions inside your Command Prompt
- To stop the live view, press CTRL and C