Single App Mode for iOS and iPadOS devices
Overview
The Single App Mode turns supervised iOS or iPadOS devices into a kiosk device that restricts the user to just run a pre-defined single application. The user is not able to leave the application and even after reboot the pre-defined app is starting automatically. Common use cases for the Single App Mode are:
- Sales and Marketing devices in a customer showroom
- Sales and Marketing devices at a trade show
- Devices that are dedicated for a special purpose, e.g. for running a self service application in restaurants, cafes etc.
Supported applications types are public App Store apps (including applications purchased via the Volume Purchase Program) and self-developed enterprise applications.
Requirements
The Single App Mode requires the following:
- Devices running on iOS 6 and later
- Devices must be supervised
Configuration
Create a new Tag
- Open your Silverback Management Console
- Login as Administrator
- Navigate to Tag
- Press New Tag
- Enter a Name, e.g. iPadOS Single App Mode
- Enter a description (optional)
- Enable Profile as Enabled Feature
- Enable under Device Types, e.g. iPad
- Press Save
Enable Single App Mode
- Navigate to Profile
- Select Application Lock
- Enable Application Lock
Get Bundle Identifier
If you are using a self developed application, please get in touch with the developer to obtain the Bundle ID.
- Navigate to the App Portal Tab
- Select either iPhone, iPad or iPod
- Press New Application
- Ensure that as Type App Store is selected
- In the Name field, just start entering the application name until your desired application is listed
- Now you can note down the Bundle ID below the application name:
- For Microsoft Teams the Bundle ID is com.microsoft.skype.teams
- For YouTube the Bundle ID is com.google.ios.youtube
Bundle IDs for native iOS and iPadOS app can be found here
Add App Identifier
Don't miss to deploy or install the application on the device.
- Navigate back to your recently created Tag
- Enter now the App Identifier into the corresponding field
- Configure the following additional Application Lock settings
- Press Save and confirm with OK
Assign Tag
As always, you have three different ways to assign the Tag to your device(s):
- Navigate in the Tag to Definition and use the Associated Devices button to attach devices
- Navigate in the Tag to Definition and enable the Auto Population
- Navigate to Devices and use the assign Tag button and select the Tag and press save
Review Device
After assigning the Tag, you can refresh the device from the device overview to speed up the process of installing the Profile. Open afterwards from the device overview under Actions the Pending Commands overview and review the App Lock profile installation. It should look like this:

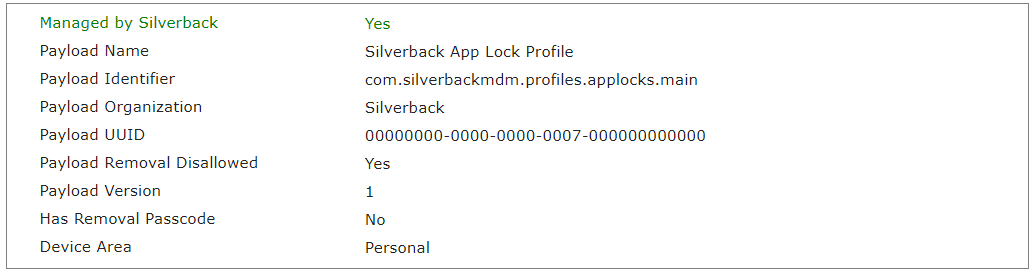
Additionally, the Profile List section should show an entry:
When the profile and the application is installed on the device, the configured application should be started and your additional settings should be applied, too.
Application Updates
Single App Mode app upgrades can be automatically initiated by having the automatically pushed to devices option enabled for this application, or the admin can manually upgrade for each device. Do the following steps to trigger an application upgrade:
- Private App: In the App Portal you can replace the new version (IPA file) of the enterprise app.
- Public App: In the Managed Application, press the update button
Auto-update
The standard Single App Mode app update process designed by Apple is complex with a lot of manual steps for users and admins. Silverback is taking care and automates and simplifies the application upgrades. Once an app upgrade is detected, Silverback automatically switches the Single App Mode temporary off, executes the app upgrade, monitors the upgrade status and re-enables the Single App mode again.
To configure the Maximum number of times to check if application is installed before attempting to re-enable SAM setting, open your Silverback Management and Login as an Settings Administrator. Navigate to Payload and locate the iOS Single App Mode Re-enablement Automation Workflow. The setting is triggered once the update installation process starts. Silverback queries X amount of times every 3 seconds the installed application list to ensure that the app was upgraded before the device is switched back into Single App Mode