Set Retention Period and Enable or Disable Additional Logs
Overview
Logging is always an important part of troubleshooting and traceability and by default, Silverback keeps most of the log entries in the database indefinitely, to ensure that you by default miss not an event that is probably some time ago. At the same time, however, sooner or later it inevitably comes down to a large database and this article highlights how to change the retention period for Silverback log entries. By default, the data retention period is set to 0, which means infinite and you can easily change to a different value. If the data retention period in the is not set to 0 (infinite), it ensures that log entries etc. are cleared up periodically.
Set Retention Period
- Open your Silverback Management Console
- Login as an Administrator
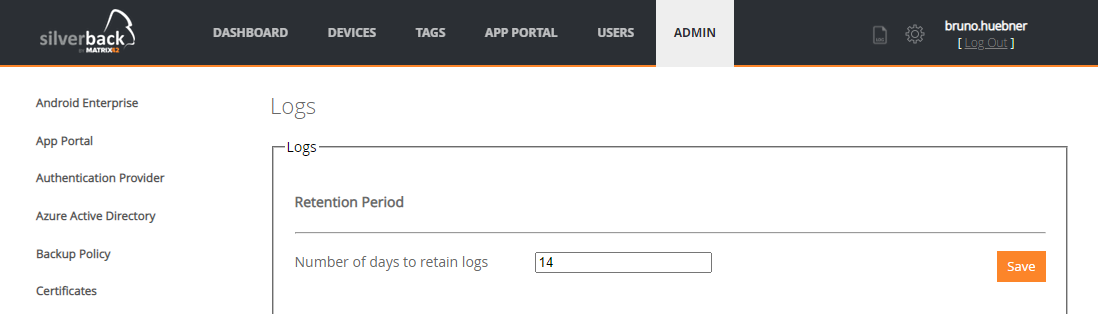
- Navigate to Admin
- Select Logs
- Change the Number of days to retain logs e.g. to 14
- Press Save
Accepted values are 0 - 99999
Additional Logs
With this section we want to highlight a few other place, where you can decrease or increase logging information:
Volume Purchase Program: Navigate to Admin > Volume Purchase Program and disable the Enable detailed logging option. This option should only be enabled if issues appear with the import and installation of Volume Purchase Program applications.
STS: Press the Log icon next to your username and navigate to Logs > Edit Log Settings and disable the Write detailed logs for STS option. This option should only be enabled if issues appear with logging in into the Silverback Management Console or the Self Service Portal. The direct link to this option is e.g. silverback.imagoverum.com/sts/Logs/Settings
Companion: You can granularly and remotely control the log level for the Companion application on Android and Samsung Knox devices with the Logs profile. By default, the log level will be applied to Info within the System Tag. In case of troubleshooting scenarios you might have set the Log level to any of the other offered levels, like Debug or Verbose. The Log Level is represented within the Companion under the Support section and you can review the status by opening the device overview and review the configuration with the resultant tag.
Cloud Connector Traffic: When you login as a Settings Administrator to the Management Console, you can enable or disable the Traffic Log. The logs can be reviewed in the Log page under Cloud Connector > Traffic. If you have a Cloud Connector in place, this setting can be enabled if issues appear with the connection to your LDAP, Certification Authority, or Exchange.
Silversync: You can set the log level for Silversync under Admin > Silversync by pressing the Edit button next to your Silversync Server. Under System settings you can select the Log Level to Error, Warning, Info, Verbose or Debug. To review the logs, navigate to the Log menu inside the Edit Silversync server window. In case of issues set the Level to Debug and review additionally your Kerberos logs.
Transaction Log: As the Every SQL Server database has a transaction log that records all transactions and the database modifications made by each transaction, you can consider to Shrink the log in your SQL Server Management Studio.