API Integration
Overview
This area provides an overview on integrating with the Silverback server API. The API integration guide aims to provide the administrator with the ability to generate tokens and connect to the API for performing desired management functions. The Integration guide covers the following topics:
Create Token
At a high level, tokens are assigned to existing system users. Tokens can only be assigned to system users with Administrator role.
Token Permission Scope
There are three scopes that can be assigned to each token:
- Global Read: This allows actions, which involved retrieving information from the server in a “read-only“ function. If you want to view information about a device or user, but not change anything, this Scope is required.
- Global Write: This allows actions that change data in the system. If an item in the system will be modified by an API action, this is the Scope that is needed.
- Global Actions: This allows actions that will perform a “job“ in the system. For example, blocking a device.
Create Token
To create a token, you must have an existing system user with an Administrator role. When you have a system user you want to allow API for, perform the following steps:
- Log in to the Silverback Management Console
- Navigate to Admin
- Navigate to User Management
- Click the Edit option for the user you want to add the API token for, keeping in mind the user must belong to the “Administrator” role to use the API.
- Locate the API Tokens section and press Create .
- Enter a description
The description has no technical affect on the token, and is used to help you keep track of your tokens.
- Select the Scope Permissions
- Configure the Expiration Date
- Select either 30, 60, 90, 180, 360 days from the drop down list or select Custom to select or enter your custom expiration date within a timeframe of up to 2 years.
- Click Create
- Wait until the token is generated.
After adding your first token, the overview that shows existing API tokens with their expiry date and the quick actions Copy to Clipboard, View and Delete. An orange expiration date indicates that the token will expire within the next 30 days. Red indicates expired tokens.
Perform API Calls
The API is accessed via web services, not via a traditional user interface. By using a series of HTTP Requests, such as GET and POST, Silverback can interact with 3rd Party tools.
Check Documentation
First check all possible APIs under https://silverback.company.com/api/help
Ensure to use your Silverback URL instead of the example.
Install Tool
In general, third party application are written specifically for this. For the purposes of this guide and the demonstration, we will use Postman.
After the installation, launch Postman.
Create Collection
- Click on New and create a New Collection
- Enter a Name, e.g Imagoverum
- Go to the Authorization Tab and select as Type Bearer Token and enter your previously created token
- Press Save
Create a Request
- Click on New
- Click HTTP Request
- Press Save
- Select your Collection
- Enter a Name (e.g. get devices)
- Enter a Description (optional)
- Press Save
Configure Request
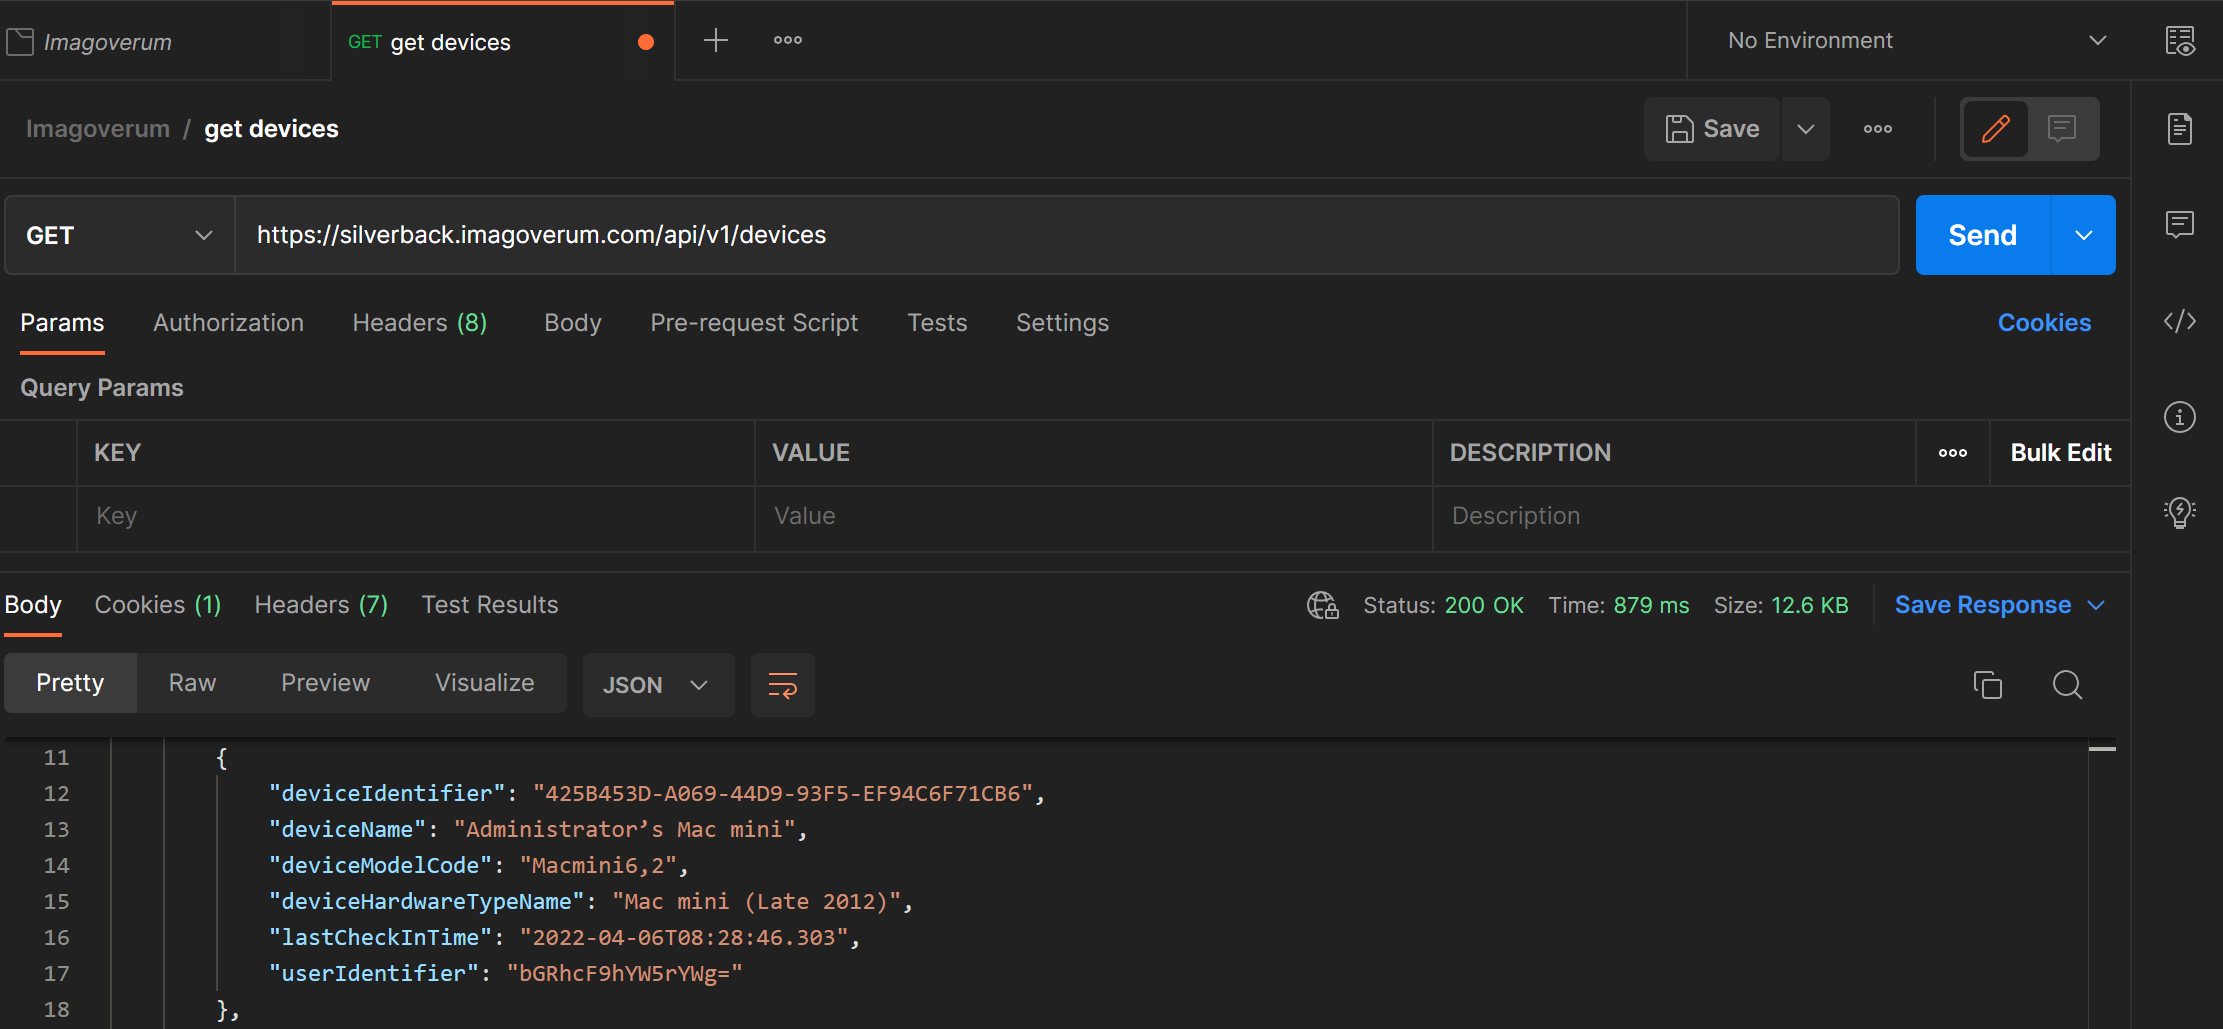
- Enter your Request URL (e.g. https://silverback.company.com/api/v1/devices)
- Select the Request Type: GET, PUT, DELETE, POST
- Navigate to Authorization
- Check if type is set to Inherit auth from parent
Authentication Information is stored in collection
- Press Save
Perform Request
- Navigate back to Params
- Click Send
- Now you will see a list of your devices

Paging Identifier
Silverback is supporting the paging technique which is common to most APIs. The API has a per page item count of 50 for devices and for users a count of 250 users. If you have as an example 125 devices or 525 users, you will have overall 3 pages. The first call will shown the first page with 50 entries and with the following steps, you can get the information from the additional pages:
- At the end of your executed request, a paging Identifier is displayed and and total item count
- pagingIdentifier": "7e269b12-7e7b-470b-8da8-1209890e3452",
- itemCount: 133
- In this case you have 2 additional pages (50 + 50 + 33 = 133)
- Copy the identifier value (bold) into the Clipboard
- Now you have 2 possibilities:
- Change the Request URL to: https://silverback.imagoverum.com/api/v1/devices?page=7e269b12-7e7b-470b-8da8-1209890e3452 and click send
- Or add under params the following
- Key = page
- Value = 7e269b12-7e7b-470b-8da8-1209890e3452
- Click send
- By clicking send, a new page will be displayed
- Click again send to scroll through the pages until the end of the request to review the next paging identifier.