Managing incidents
Overview
An incident is reported by a customer that does not belong to the standard operation of a service and actually or potentially causes an interruption or reduction of service quality. An incident is the first instance in service management for which the support employee creates a ticket. If the incident can be sorted out immediately, the ticket and the incident are closed. If it is not possible, the support employee can convert the incident into a problem or a change.
Reporting an Incident
- Go to the Matrix42 Self Service Portal and click Support > Incidents in the navigation area, and then click Add Incident in the toolbar located at the top of the screen.

- Enter detailed information for the incident:
- Quick Call: Select a quick call template for reporting a specific incident.
- Summary: Enter the summary of the incident.
- Category: Select a category to organize your incidents.
- User: This field is automatically filled with the name of the person who is reporting the incident.
- Affected Users: Select one or several users that are affected by this incident.
- Asset: Select the asset that is affected by this ticket.
- Reset Filter: Select this checkbox to turn off the automatic filter that is used for selection of assets.
- Service: Select the service that is affected by this ticket.
- Impact: Select a group (User, Workgroup, or Company) which is affected by this incident.
- Urgency: Select the urgency level for solution of this ticket.
- Description: Enter detailed description of the incident and insert a screenshot, if necessary.
- Upload attachments if needed. Please keep in mind that some of the older versions of browsers may not support the feature.
- Click Save.
Reporting a Service/Asset Incident
If you report a service or asset incident, some information about the service or asset is already entered in the ticket.
- Go to the Matrix42 Self Service Portal and do one of the following:
- Click Workplace > My Services in the navigation area.
- Click Workplace > My Hardware in the navigation area.
- Click a service or a piece of hardware to open it in Preview, and then click Report an Issue in the toolbar.
- Enter detailed information about the incident.
- Upload attachments if needed. Please keep in mind that some of the older versions of browsers may not support the feature.
Adding Comments to an Incident
To add a comment to an Incident:
- Go to the Matrix42 Self Service Portal and click Support > Incidents in the navigation area.
- Click an Incident to open it in Preview.
- Click the Leave your comment... field.
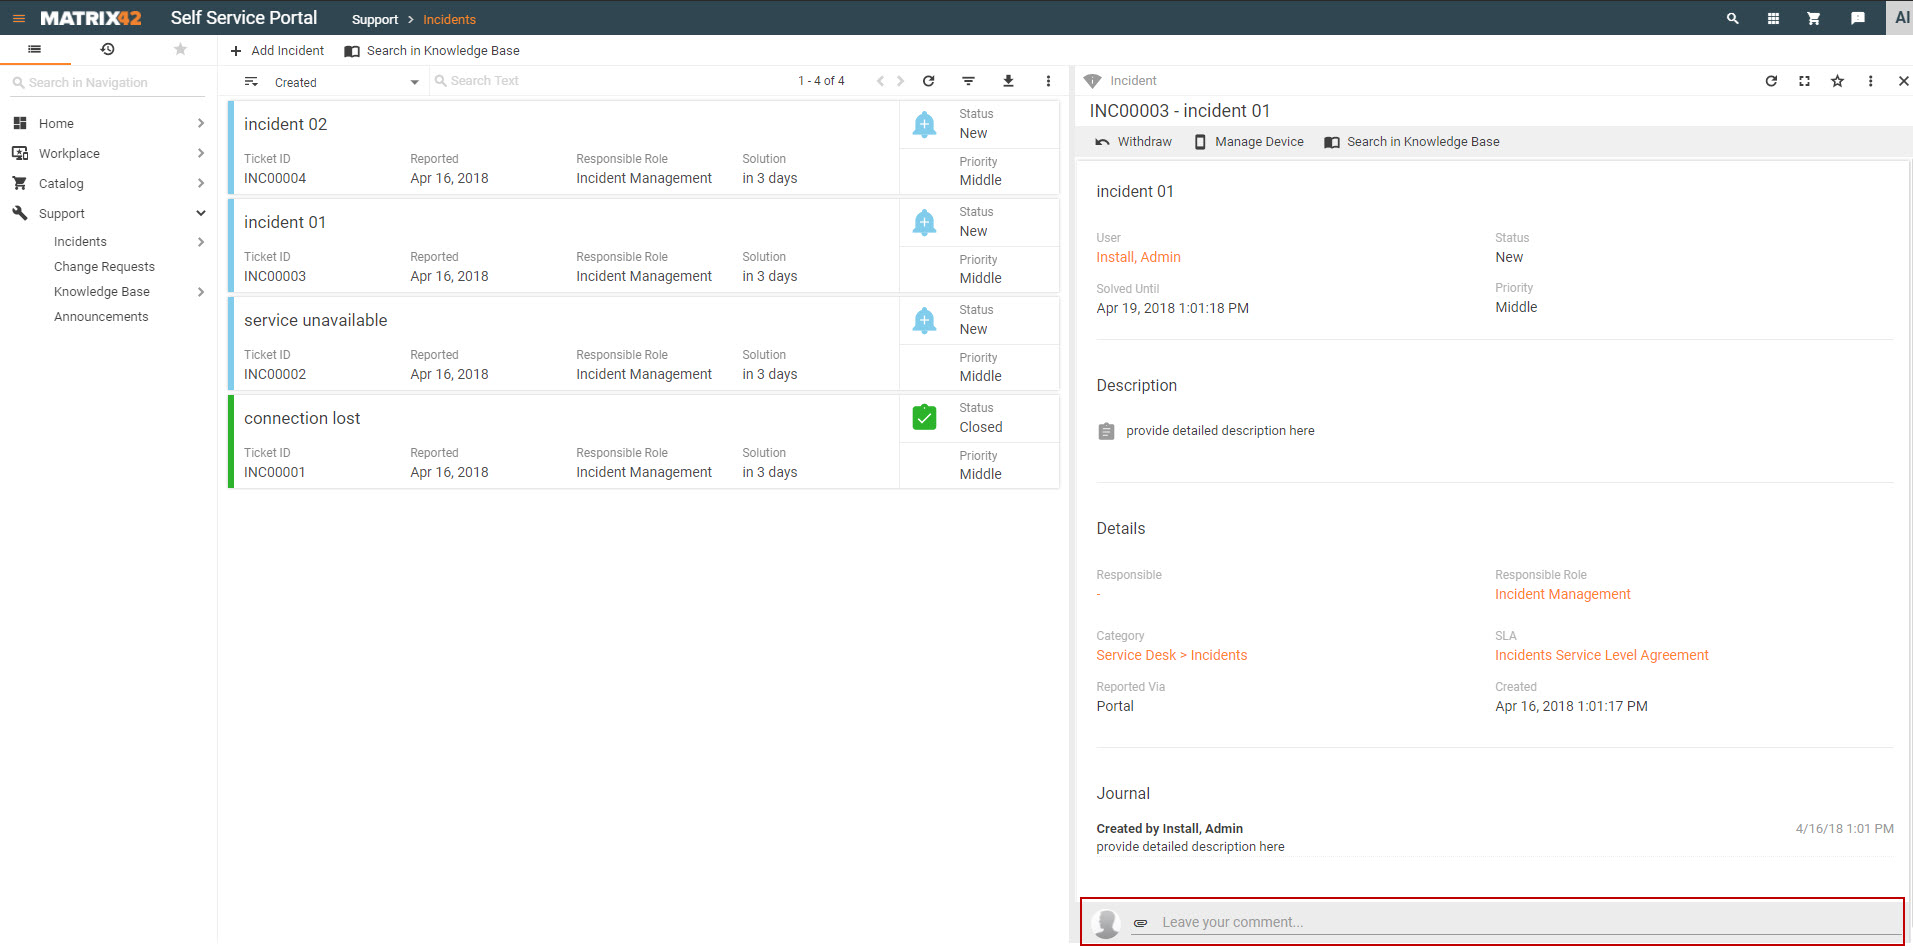
-
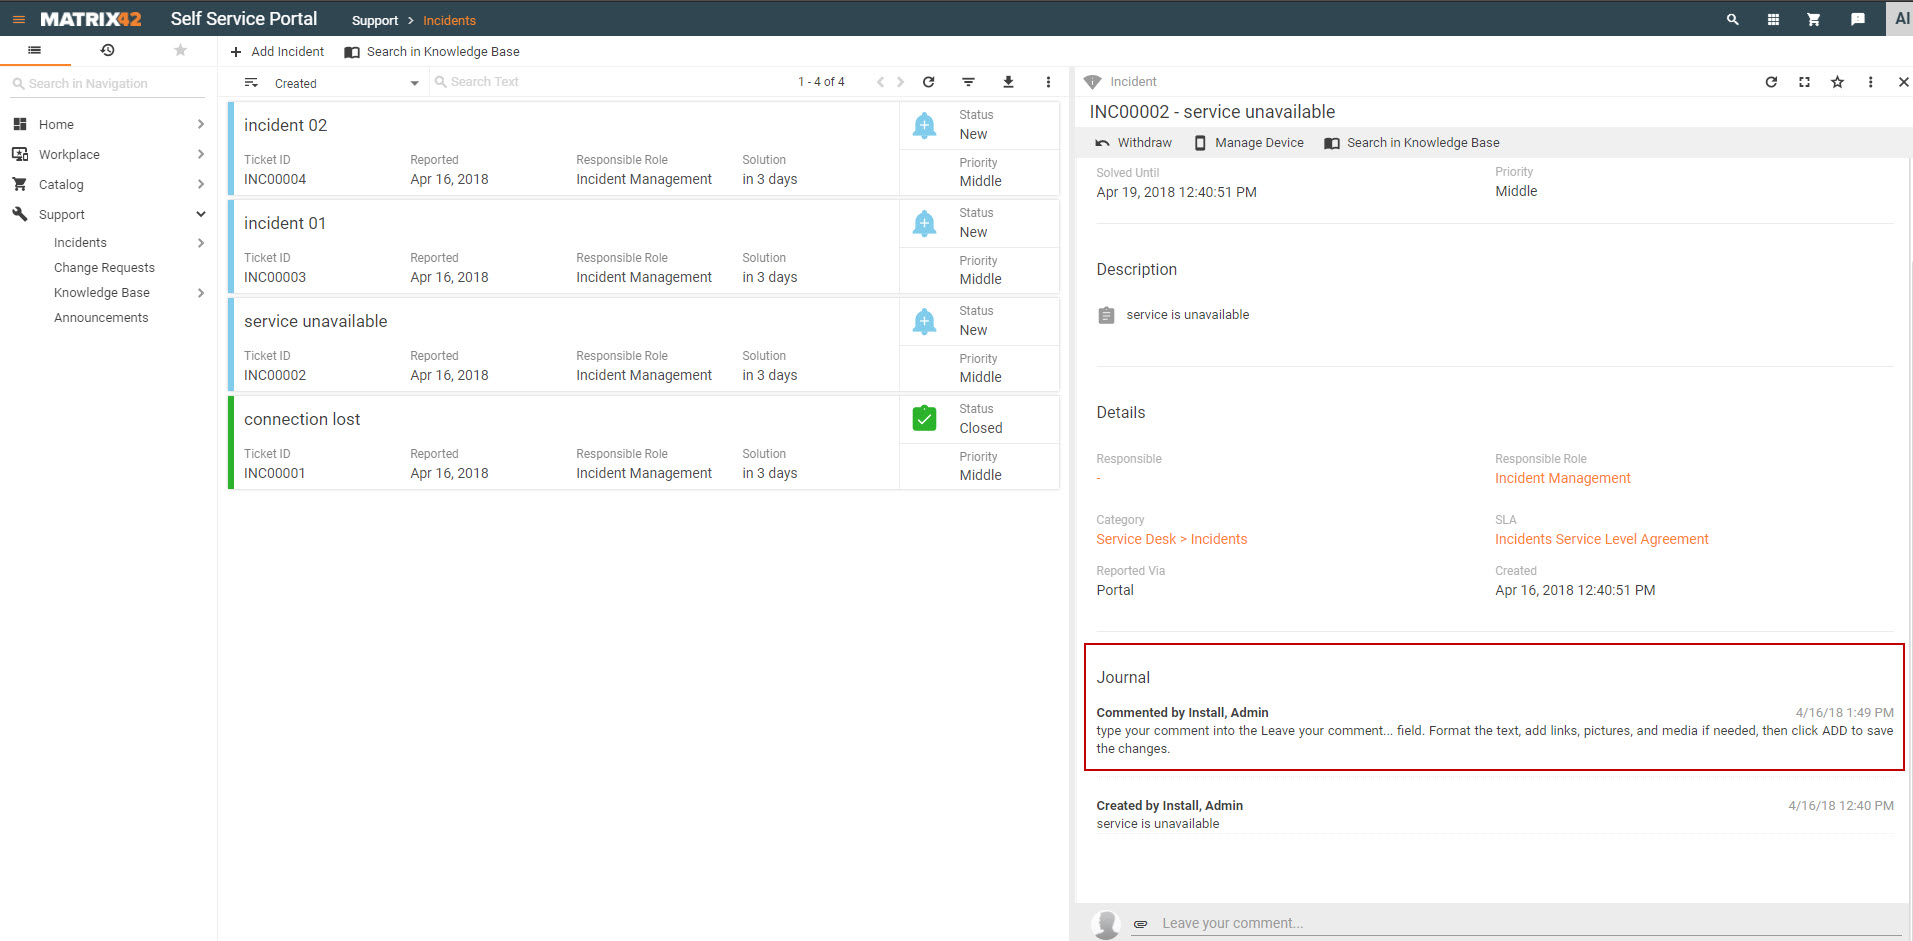
Enter the comment, format the text, add links, images, and media if needed, and click ADD to save the comment.
TIP: leave the full screen mode to display the ADD button. The comment will be added to the Journal.
Attaching Files to an Incident
To attach a file to an incident:
- Go to the Matrix42 Self Service Portal and click Support > Incidents in the navigation area.
- Click a ticket to open it in Preview.
- Click the Attachment icon located in the Leave your comment... field.

- Drag and drop your file(s) onto the DROP HERE placeholder on the dialog page that appears; alternatively, click the DROP HERE placeholder to select file(s) from your computer.
- Click SELECT. The selected file(s) are attached to the ticket.
- Click ADD to save the change. The attached file(s) are available in the journal. Click an attached file in the Journal to download it on your computer.
Monitoring Incidents
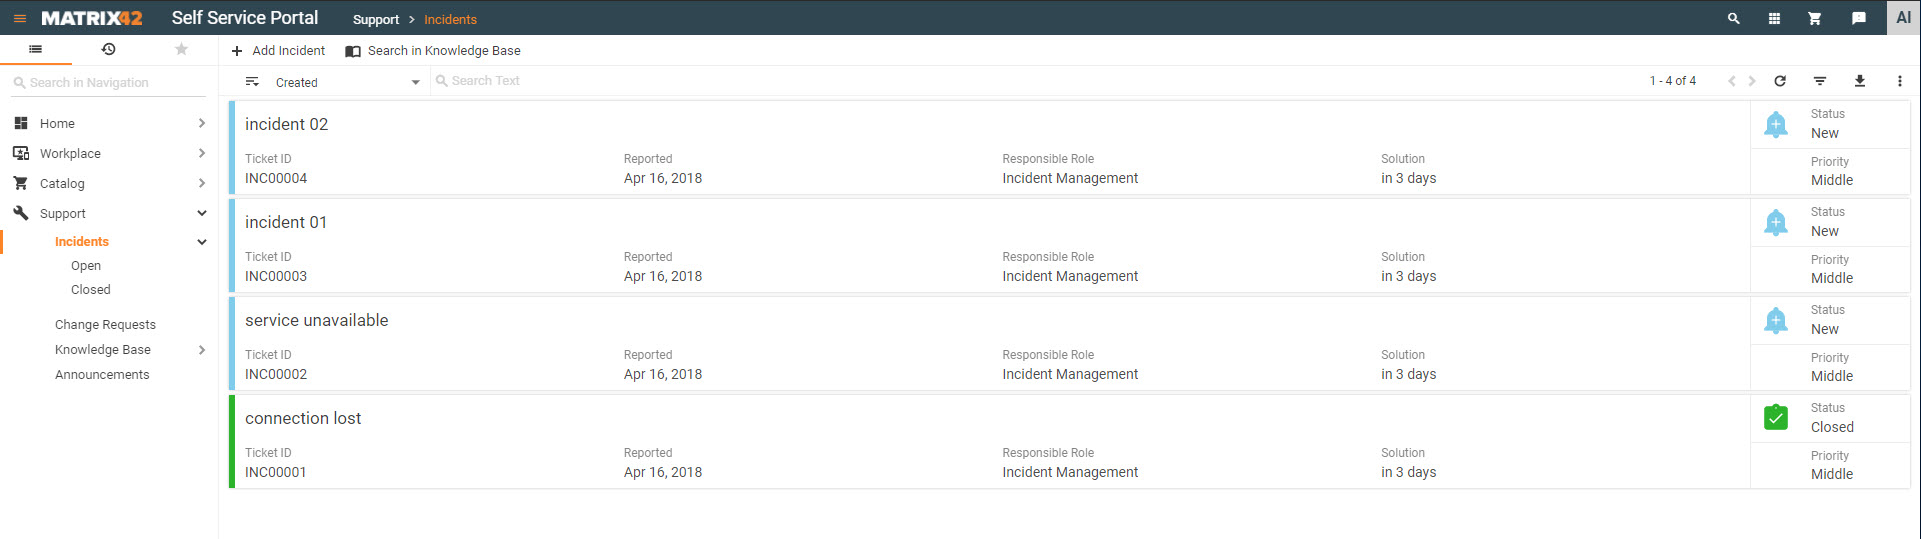
- Go to the Matrix42 Self Service Portal and click Support > Incidents in the navigation area.
All the incidents are color coded for your convenience. We used colors and icons to help you easily differentiate between tickets with different statuses.- New incidents are set out in light blue.
- In Progress incidents are blue.
- Assigned incidents are light green.
- Closed incidents are set out in green.
- Click an incident to open it in Preview. The following information is displayed:
- Incident Summary: Summary of your incident.
- Incident Details: Reported Via, Responsible User, Responsible Role, Asset, Category, SLA, and Created.
- Solution: Solution of the incident if it is closed.
- Description: Description of the incident.
- Journal: All journal entries of the incident that are enabled for portal view.
If an Incident has not been closed yet, you can still withdraw the Incident.
Withdrawing an Incident
Ticket creators can cancel the open incidents in the Matrix42 Self Service Portal.
- Go to the Matrix42 Self Service Portal and click Support > Incidents in the navigation area.
- Click an incident to open it in Preview and then click Withdraw in the toolbar located at the top of Preview.
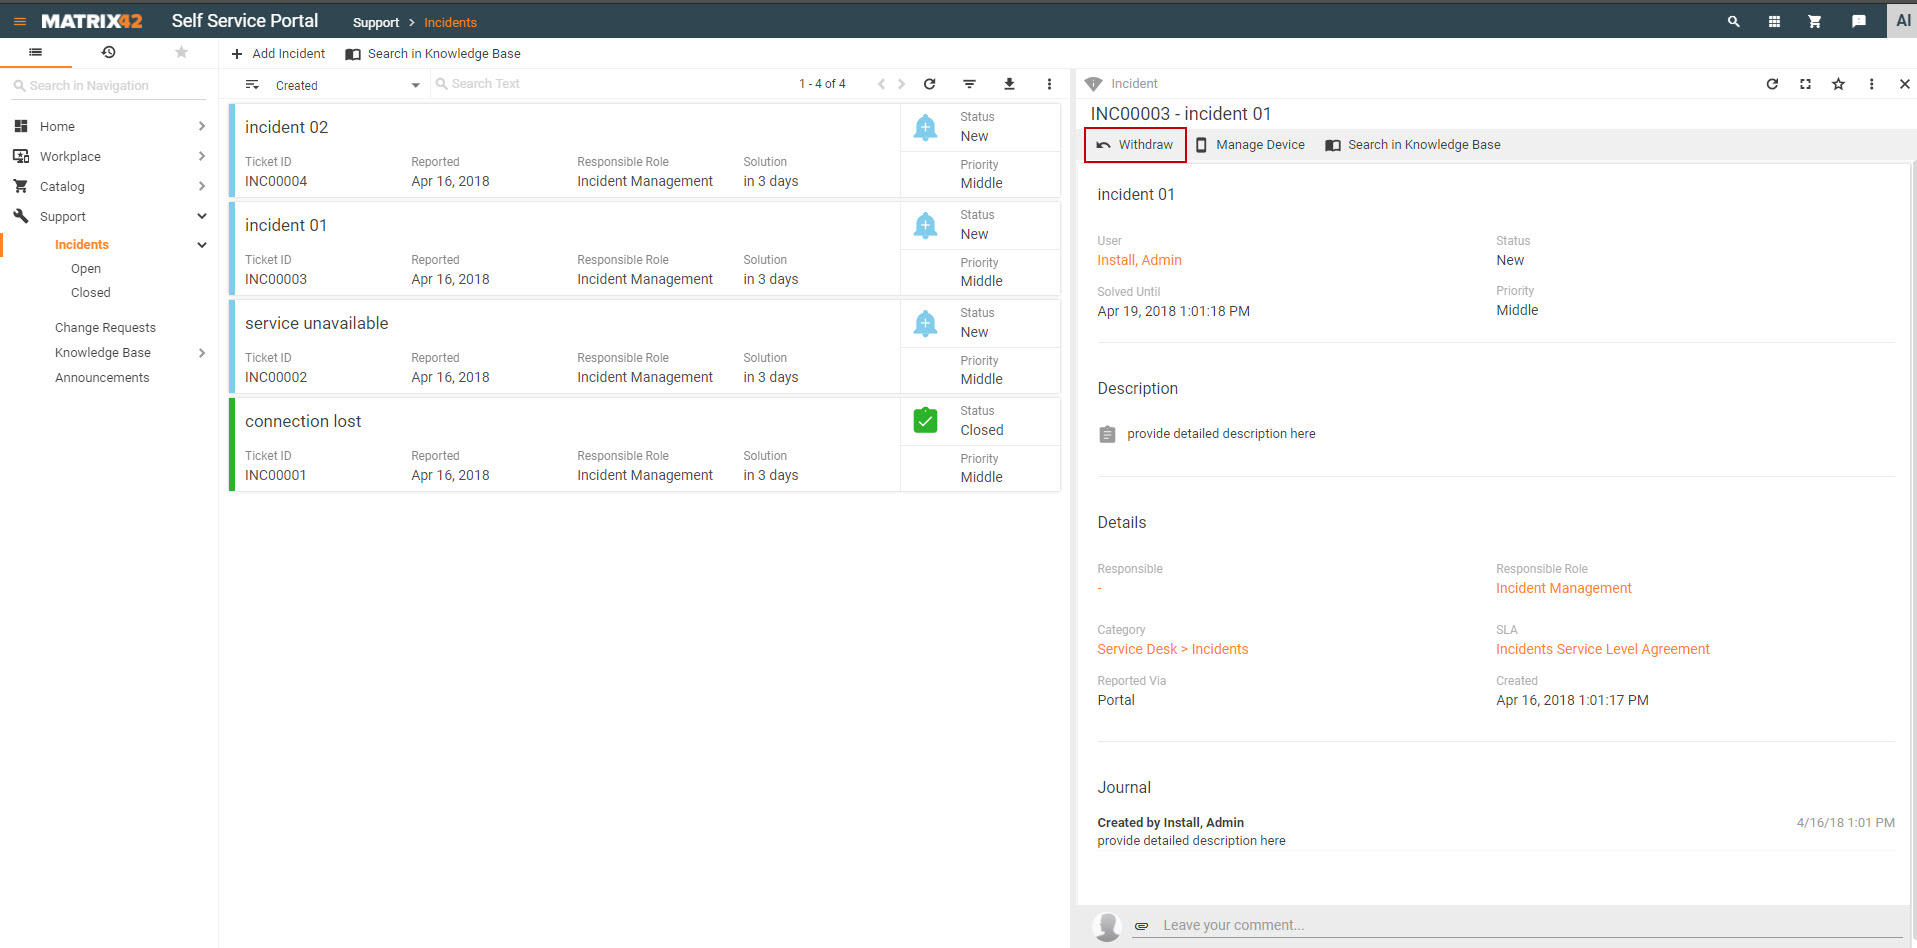
- Enter a reason and click Withdraw. The status of the ticket is set to Closed and the entered reason is shown in Solution.