Managing tickets
Creating a Ticket
- Go to the Matrix42 Self Service Portal and click Support > Tickets in the navigation area, and then click Add Ticket in the toolbar located at the top of the screen.
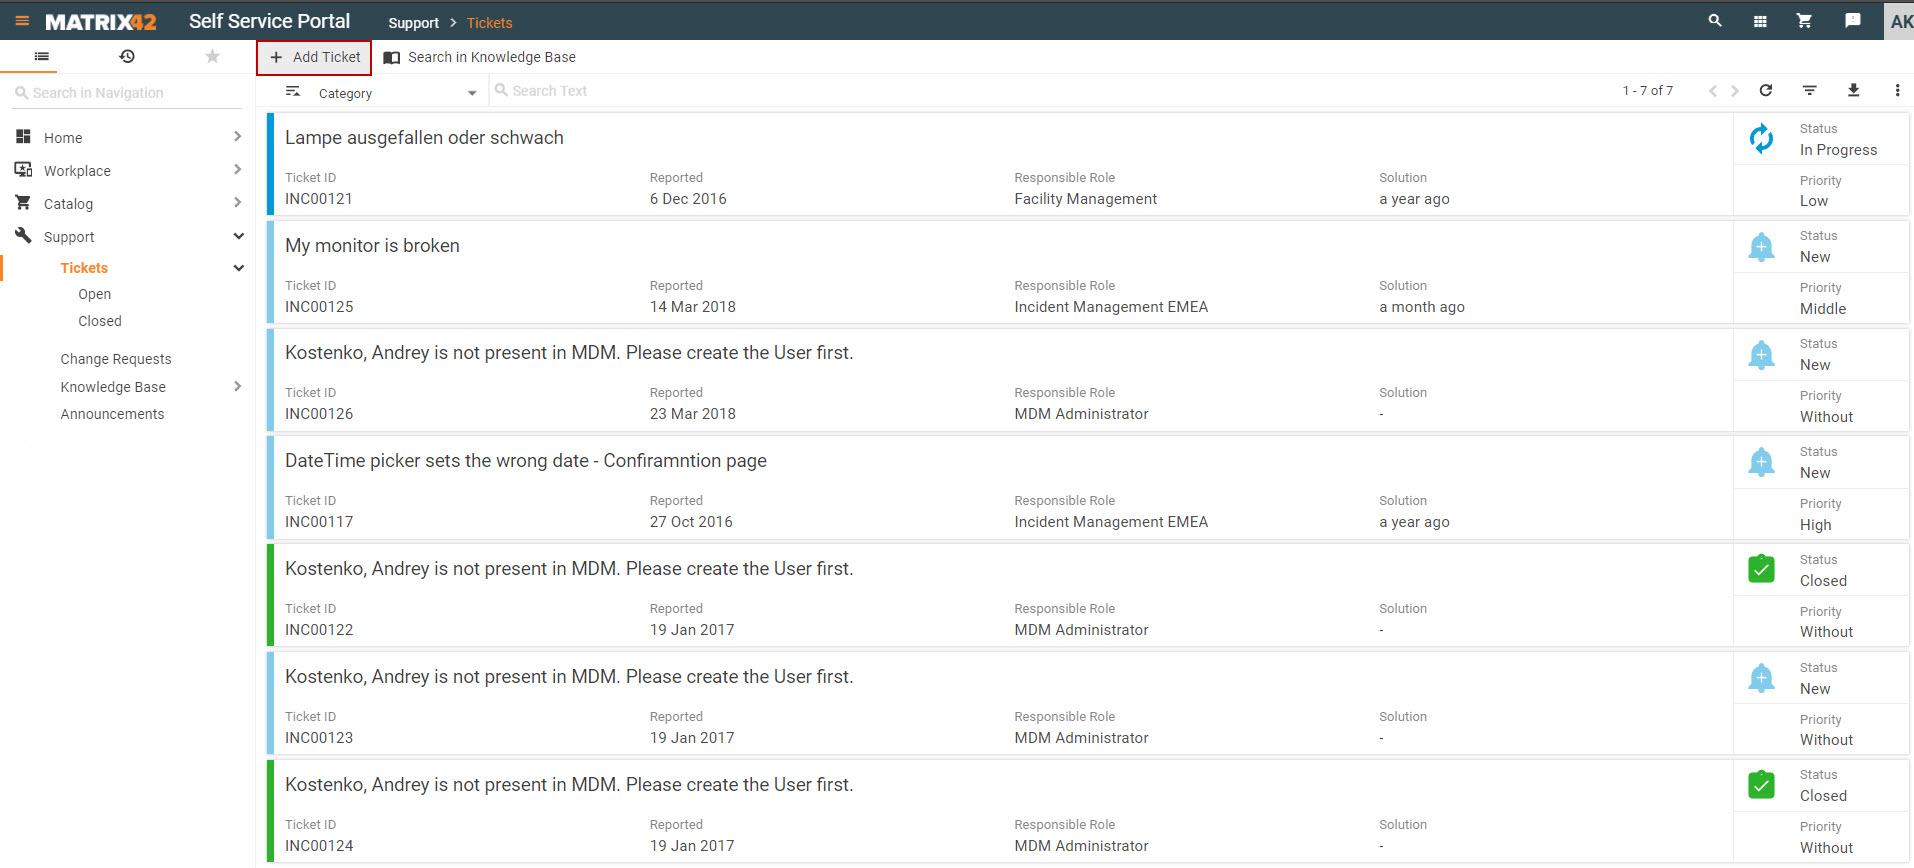
You can also create a ticket directly from the global search area. The Create Ticket action will be suggested if no search result is found.
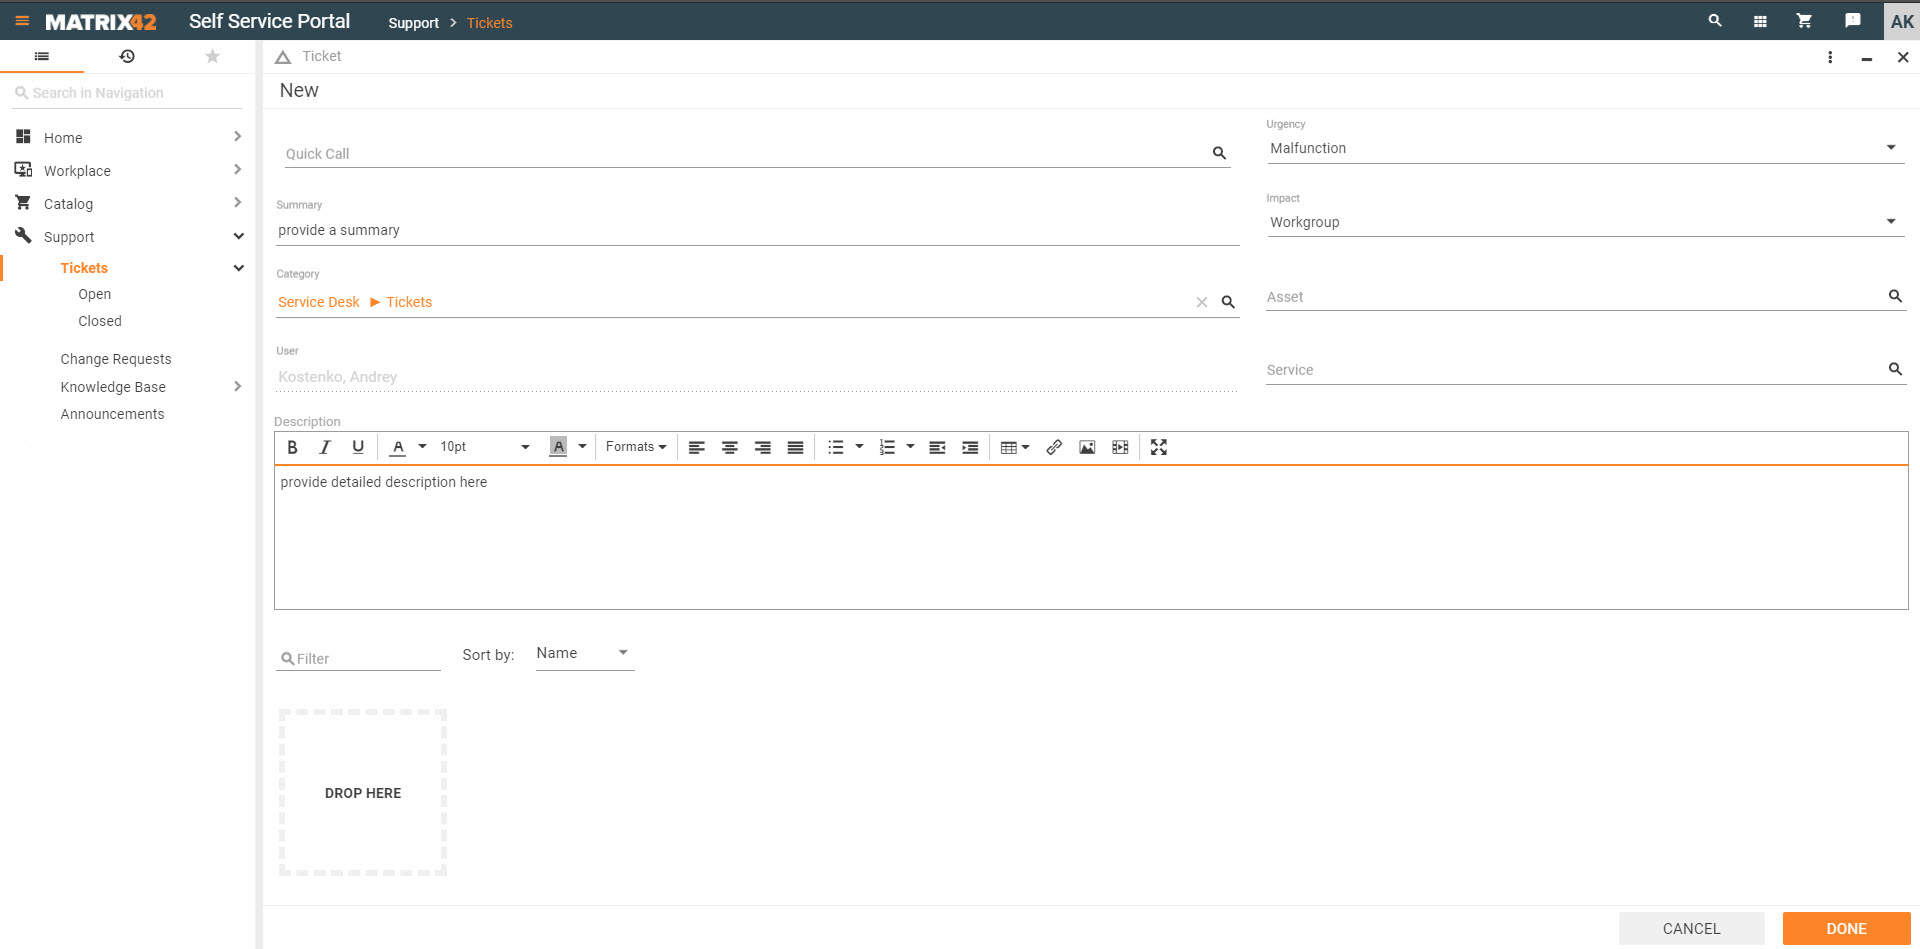
- Enter detailed information for the ticket:
- Quick Call: Select a quick call template for the ticket.
- Summary: This field is automatically filled with data specified in the selected call template; you can modify the summary.
- Category: Select a category for organizing your tickets.
- User: This field is automatically filled with the name of the person who is creating the ticket.
- Asset: Select the asset that is affected by this ticket.
- Reset Filter: Select this checkbox to turn off the automatic filter that is used for selection of assets.
- Service: Select the service that is affected by this ticket.
- Impact: Select a group (User, Workgroup, or Company) which is affected by this ticket.
- Urgency: Select the urgency level for solution of this ticket.
- Description: Enter detailed description of the ticket and insert a screenshot, if necessary.
- Upload attachments if desired. Please keep in mind that some of the older versions of browsers may not support the feature.
- Click DONE.
Creating a Service/Asset Ticket
If you create a service or asset ticket, some information of the service or asset is already entered in the ticket.
- Go to the Matrix42 Self Service Portal and do one of the following:
- Click Workplace > My Services.
- Click Workplace > My Hardware.
- Click a service or a piece of hardware to open it in Preview, and then click Report an Issue in the toolbar.
- Enter detailed information for the ticket.
- Upload attachments if needed.
- Click DONE to save and close.
Adding Comments to a Ticket
To add a comment to a ticket:
- Go to the Matrix42 Self Service Portal and click Support > Tickets in the navigation area.
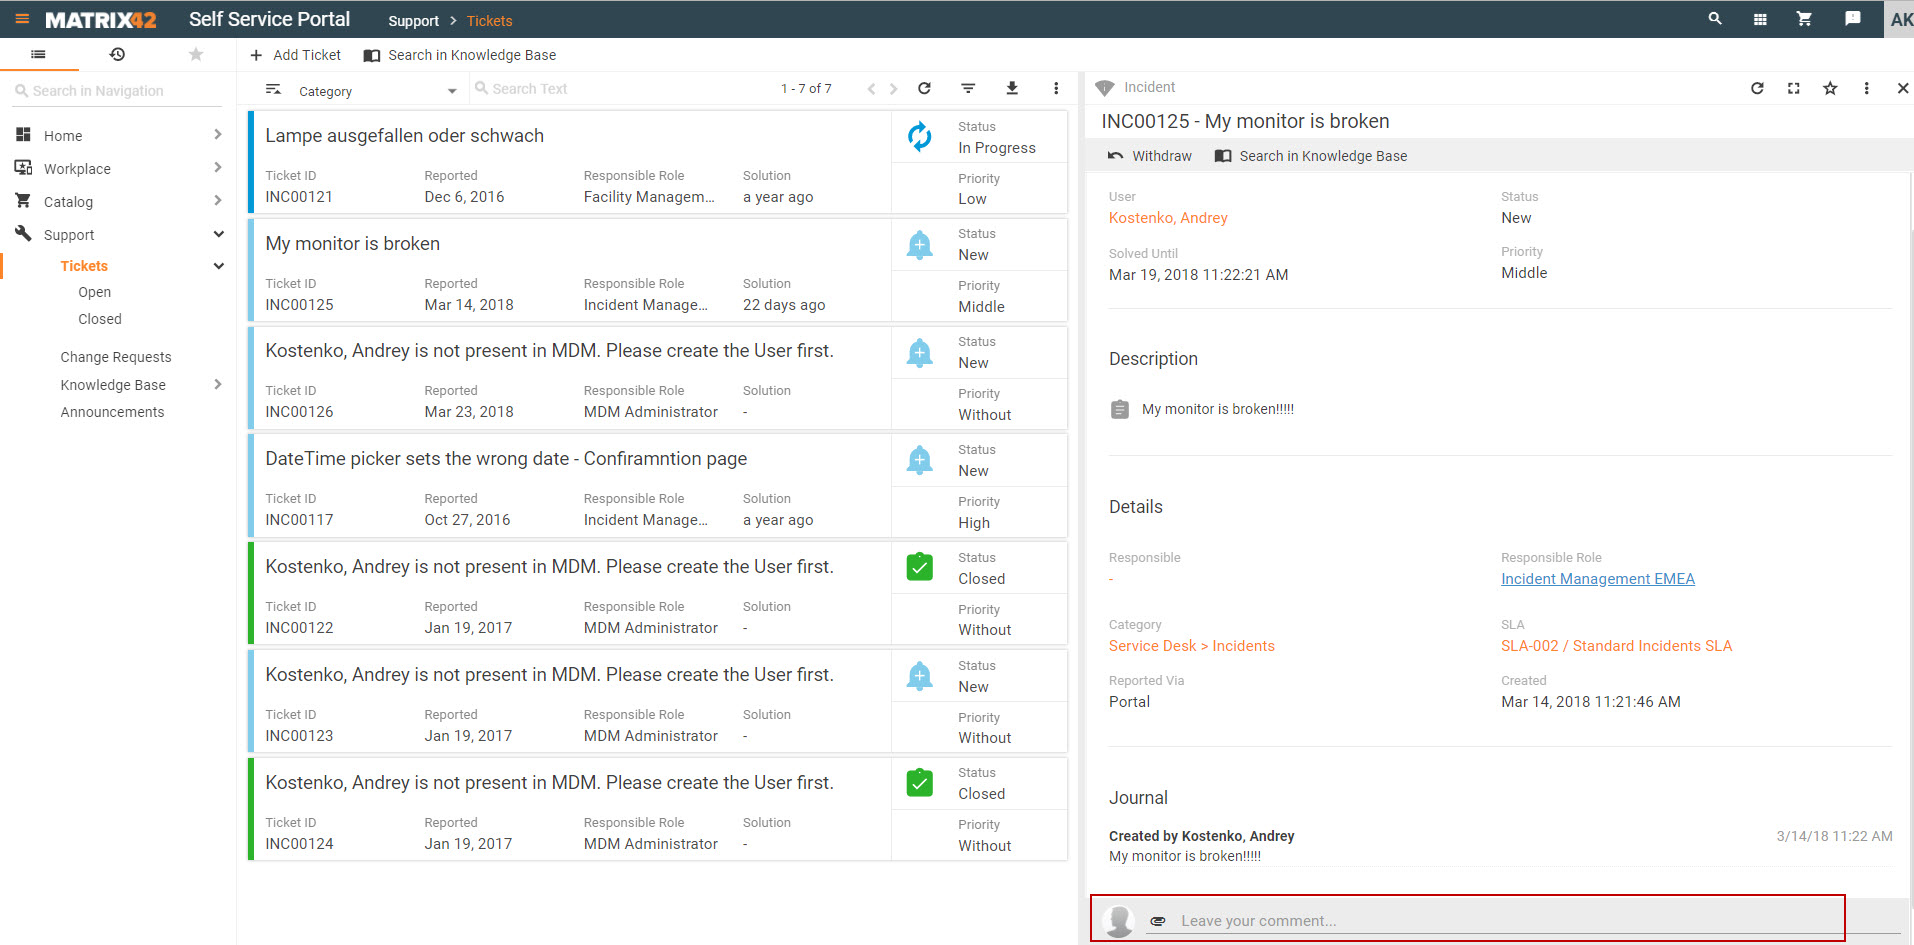
- Click a ticket to open it in Preview.
- Click the Leave your comment... field.
-
Enter the comment, format the text, add links, images and media if needed, and click ADD to save the comment.
TIP: leave the full screen mode to display the ADD button. The comment will be added to the Journal.
Attaching Files to a Ticket
To attach a file to a ticket:
- Go to the Matrix42 Self Service Portal and click Support > Tickets in the navigation area.
- Click a ticket to open it in Preview.
- Click the Attachment icon located in the Leave your comment... field.
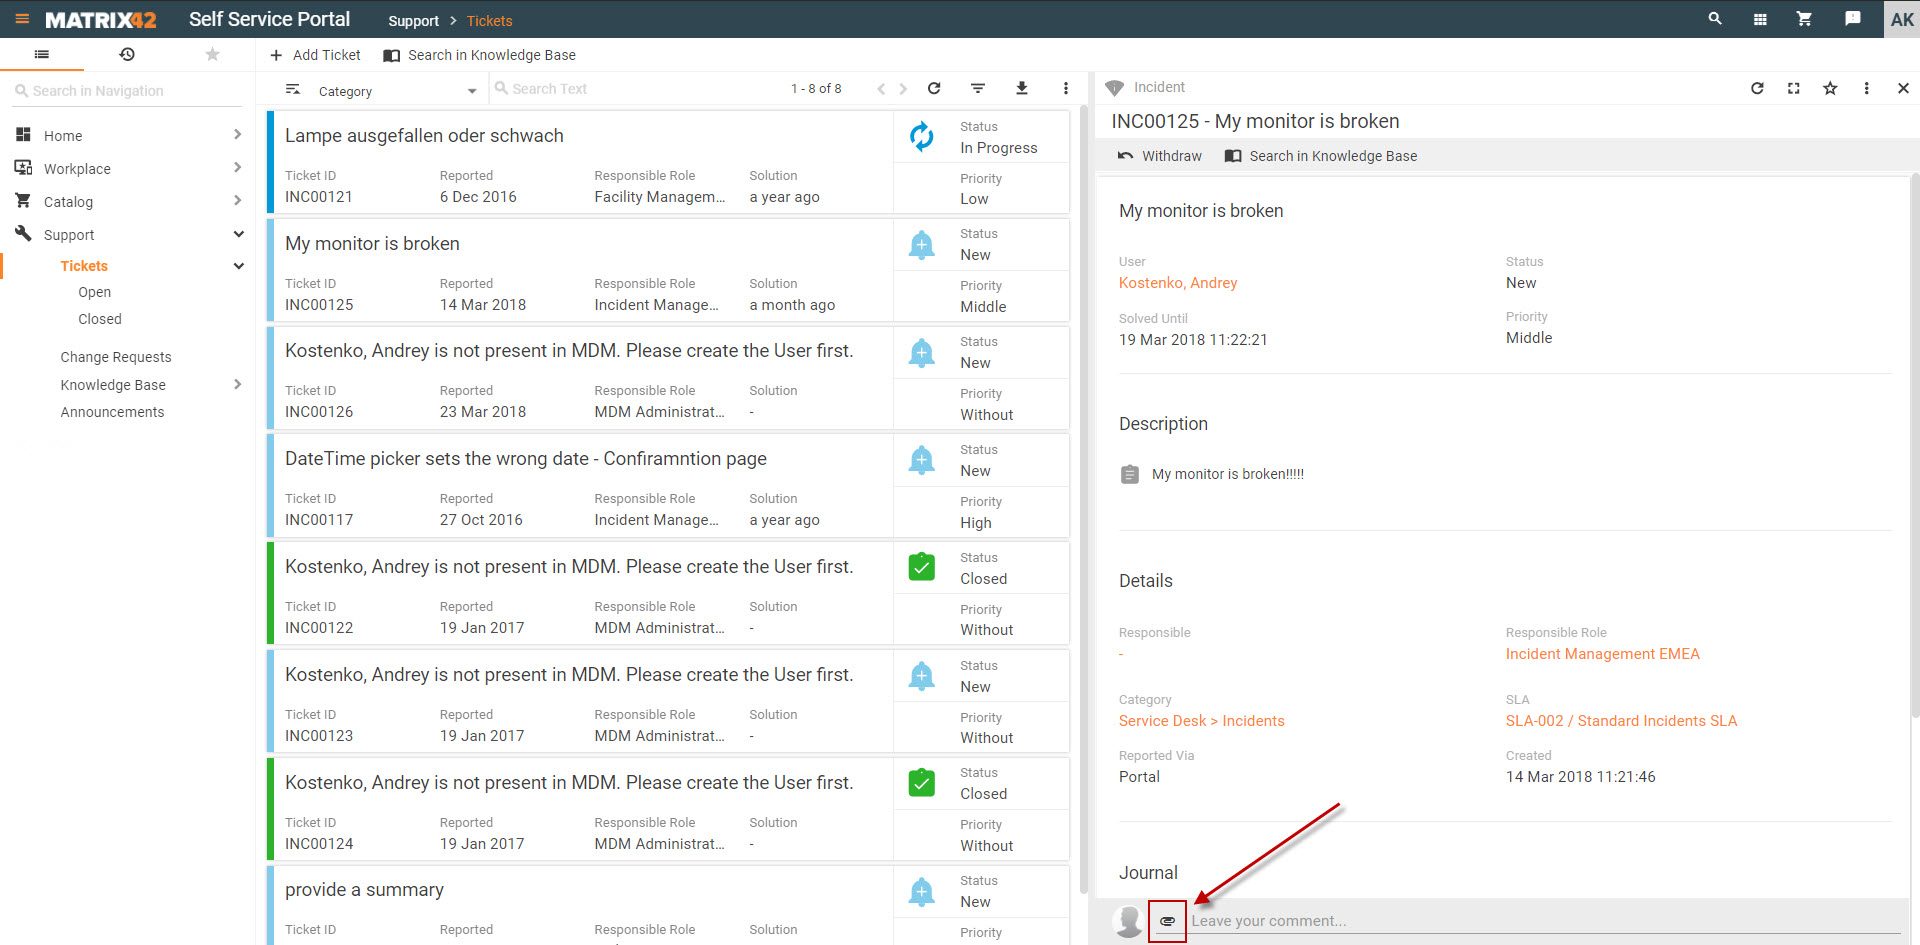
- Drag and drop your file(s) onto the DROP HERE placeholder on the dialog page that appears; alternatively, click the DROP HERE placeholder to select file(s) from your computer.
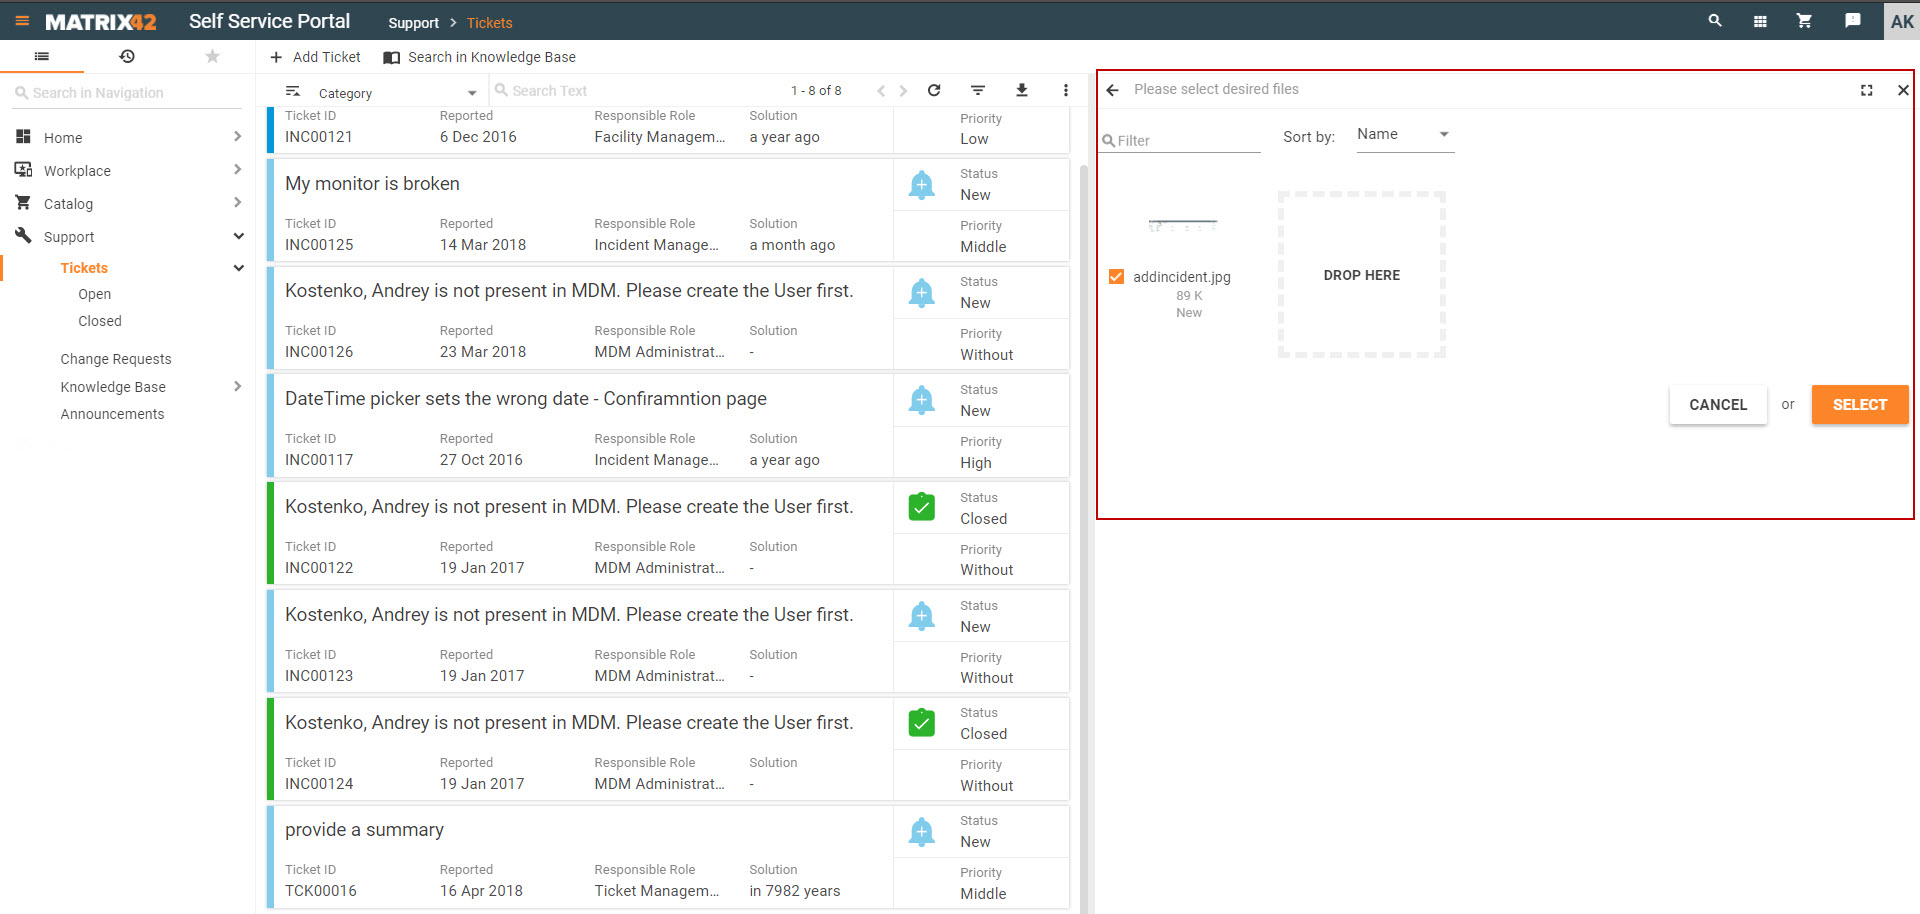
- Click SELECT. The selected file(s) are attached to the ticket.
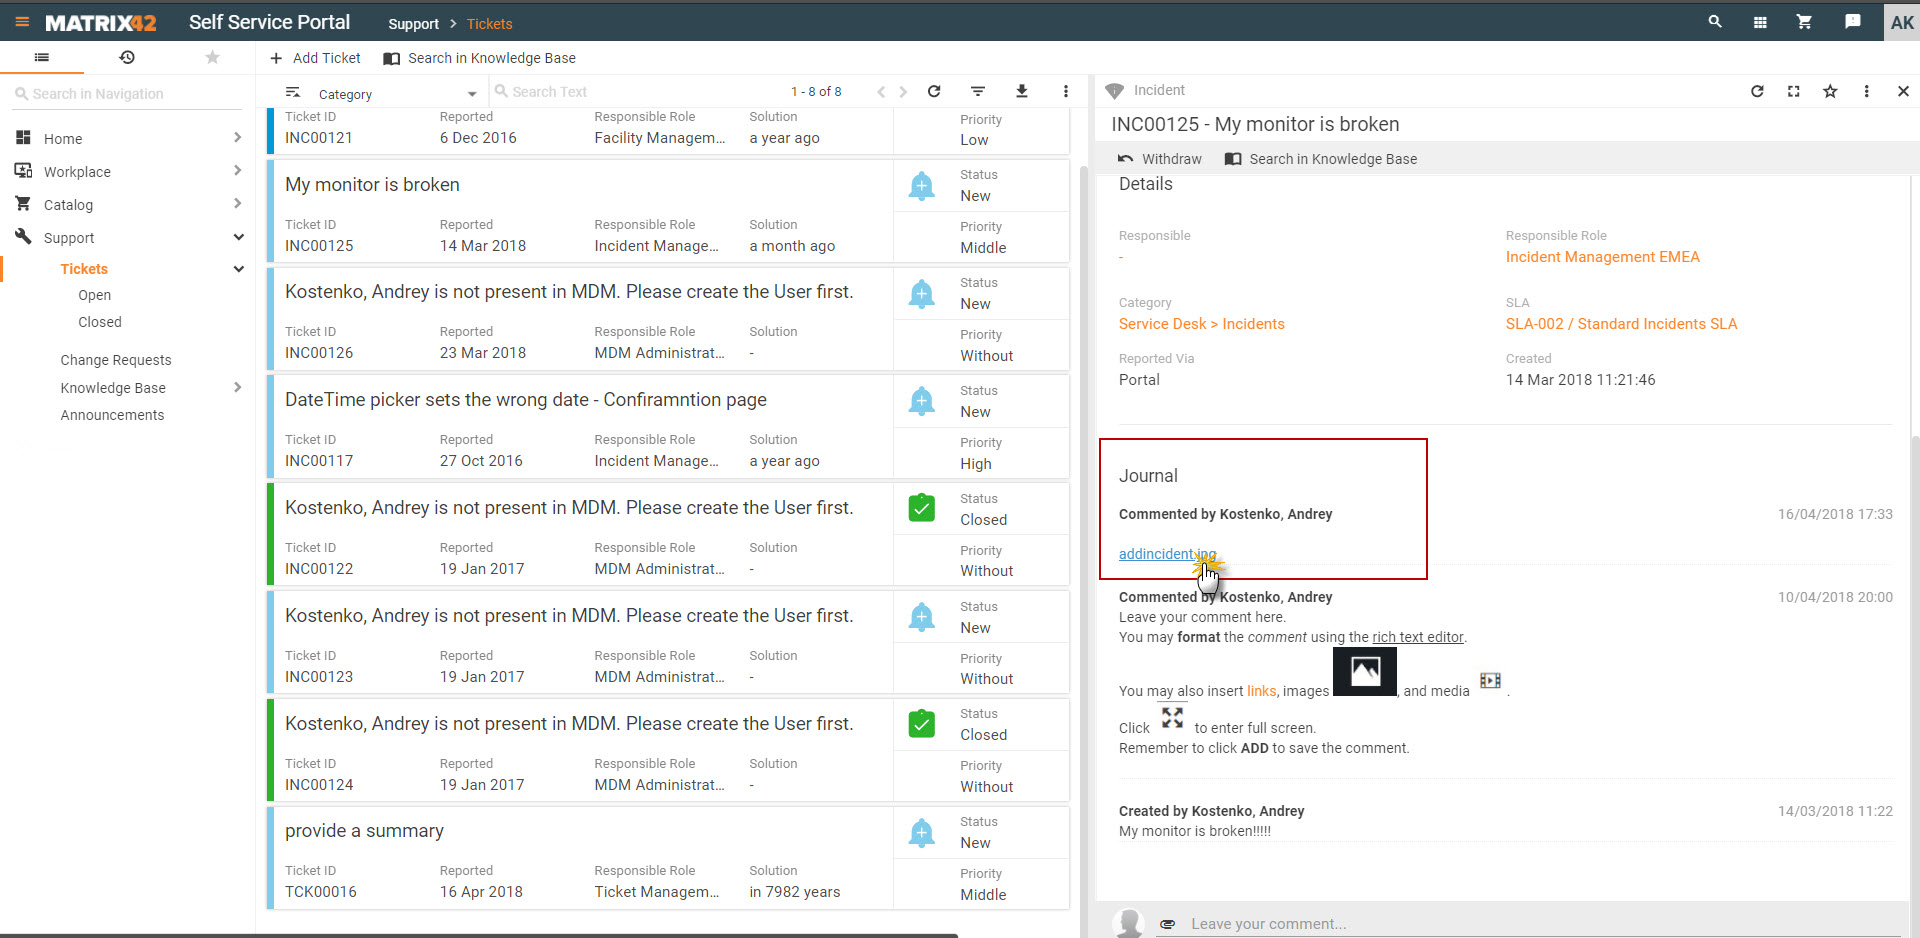
- Click ADD to save the change. The attached file(s) are available in the journal. Click an attached file in the Journal to download it on your computer.
Monitoring Tickets
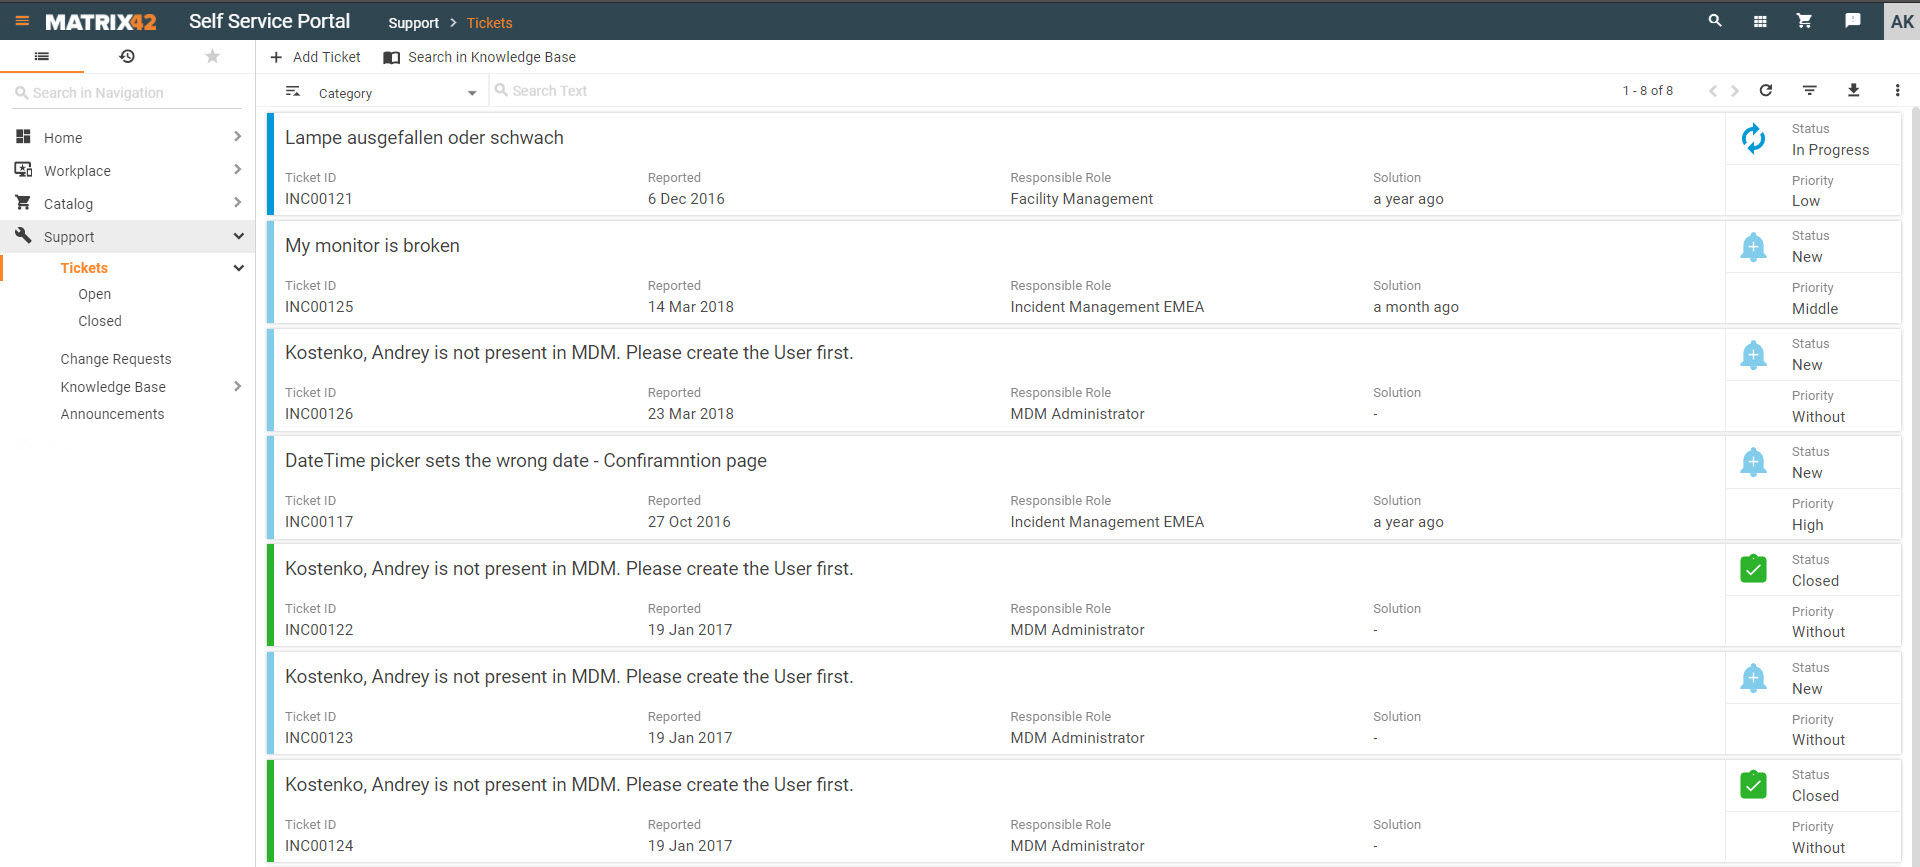
- Go to the Matrix42 Self Service Portal and click Support > Tickets in the navigation area.
All your tickets are listed there. The tickets are color coded for your convenience. We used colors and icons to help you easily differentiate between tickets in different statuses.- New tickets are set out in light blue.
- In Progress tickets are blue.
- Assigned tickets are light green.
- Closed tickets are set out in green.
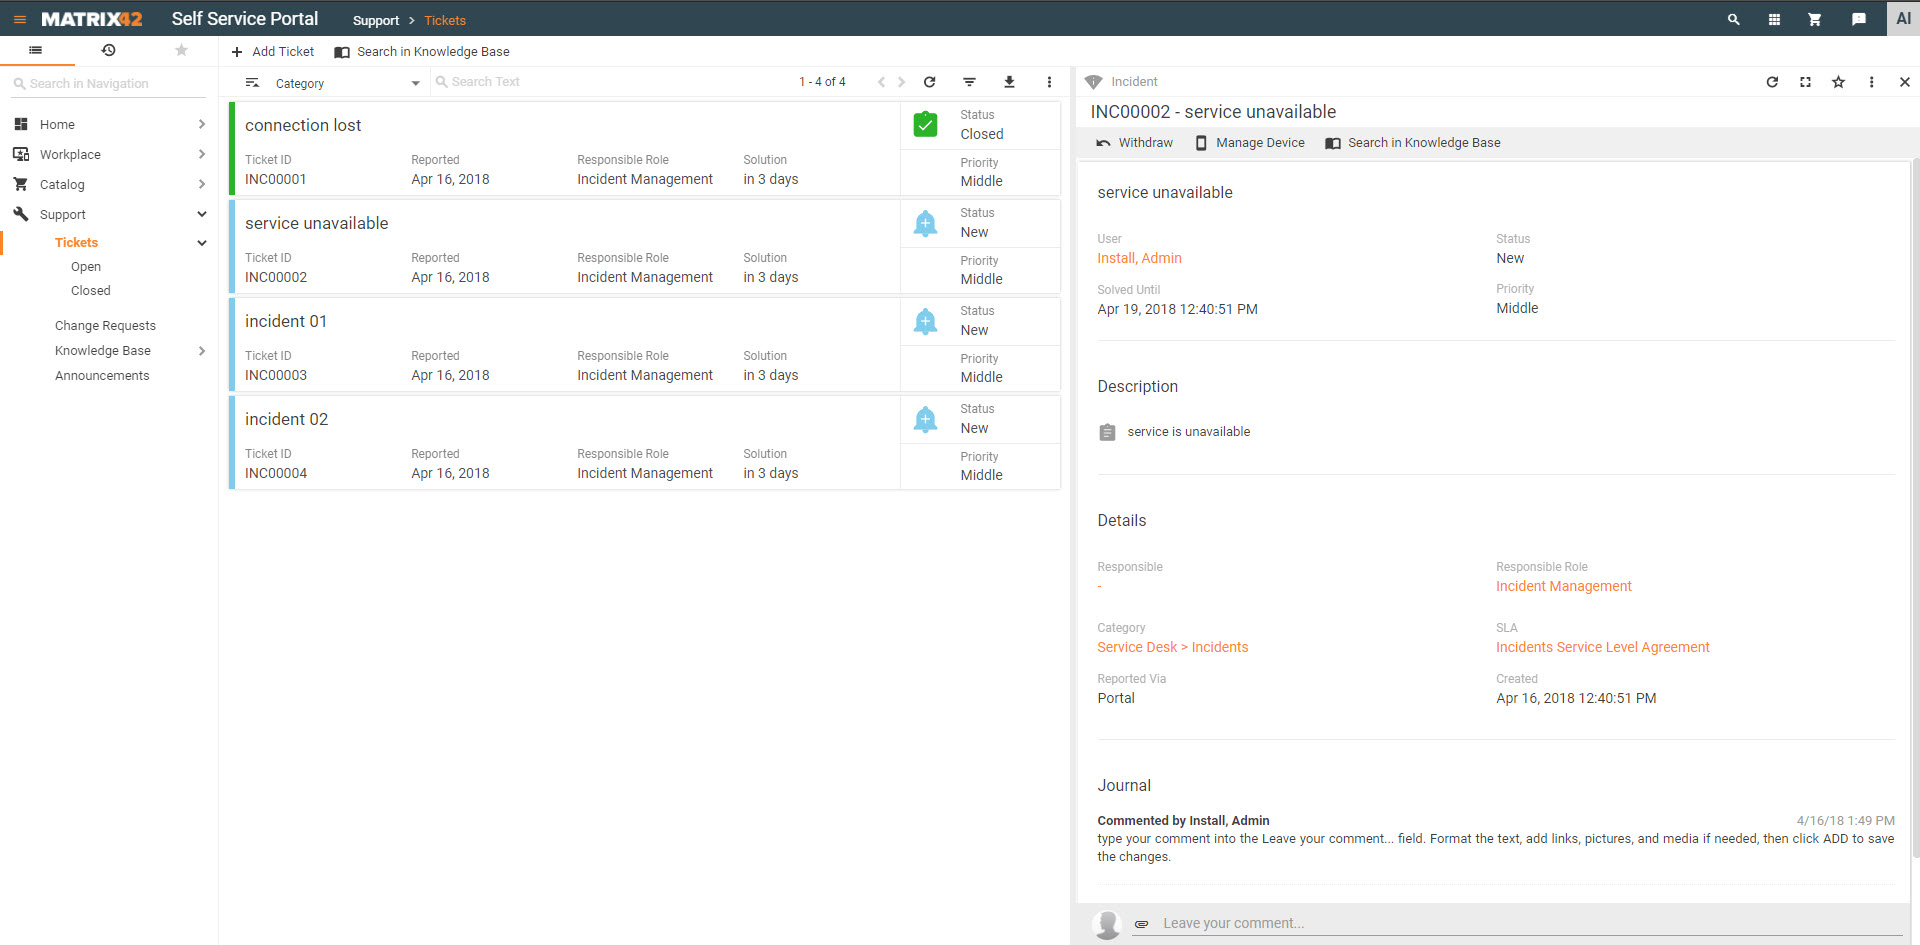
- Click a ticket to open it in Preview. The following information is displayed:
- Ticket Summary: Summary of your ticket.
- Ticket Details: Reported Via, Responsible User, Responsible Role, Asset, Category, SLA, Affected Users, and Created.
- Solution: Solution of the ticket if it is closed.
- Description: Description of the ticket.
- Journal: All journal entries of the ticket that are enabled for portal view.
If a ticket has not been closed yet, you can still withdraw the ticket, add attachment, or leave a comment.
Withdrawing a Ticket
It is possible to cancel the open tickets in the Matrix42 Self Service Portal.
- Go to the Matrix42 Self Service Portal and click Support > Tickets in the navigation area.
- Click a ticket to open it in Preview, then click Withdraw in the toolbar located at the top of Preview.
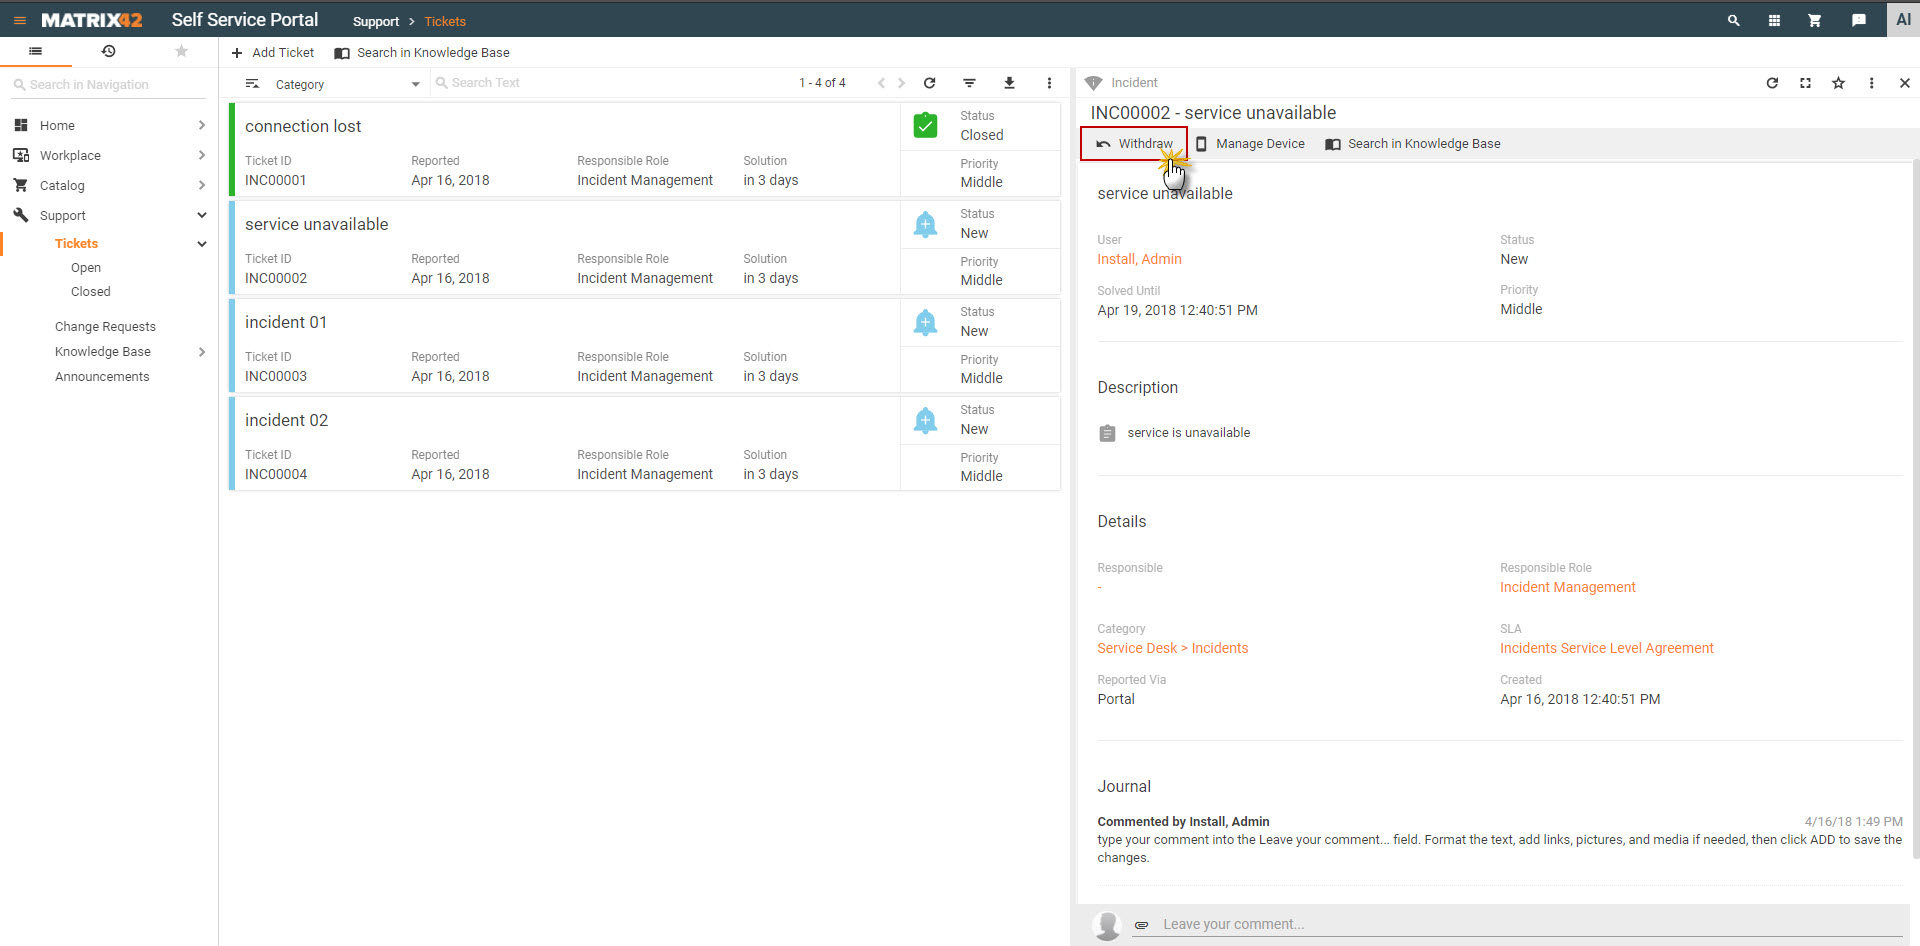
- Enter a reason and click Withdraw. The status of the ticket is set to Closed, and the entered reason is shown in Solution.
Rating a Ticket
You can rate the closed tickets in the Matrix42 Self Service Portal. A user can award up to five stars (only once) for the ticket.
To rate a ticket:
- Go to the Matrix42 Self Service Portal and click Support > Tickets in the navigation area.
- For the corresponding ticket, click stars. The more stars you award, the higher is the rating.
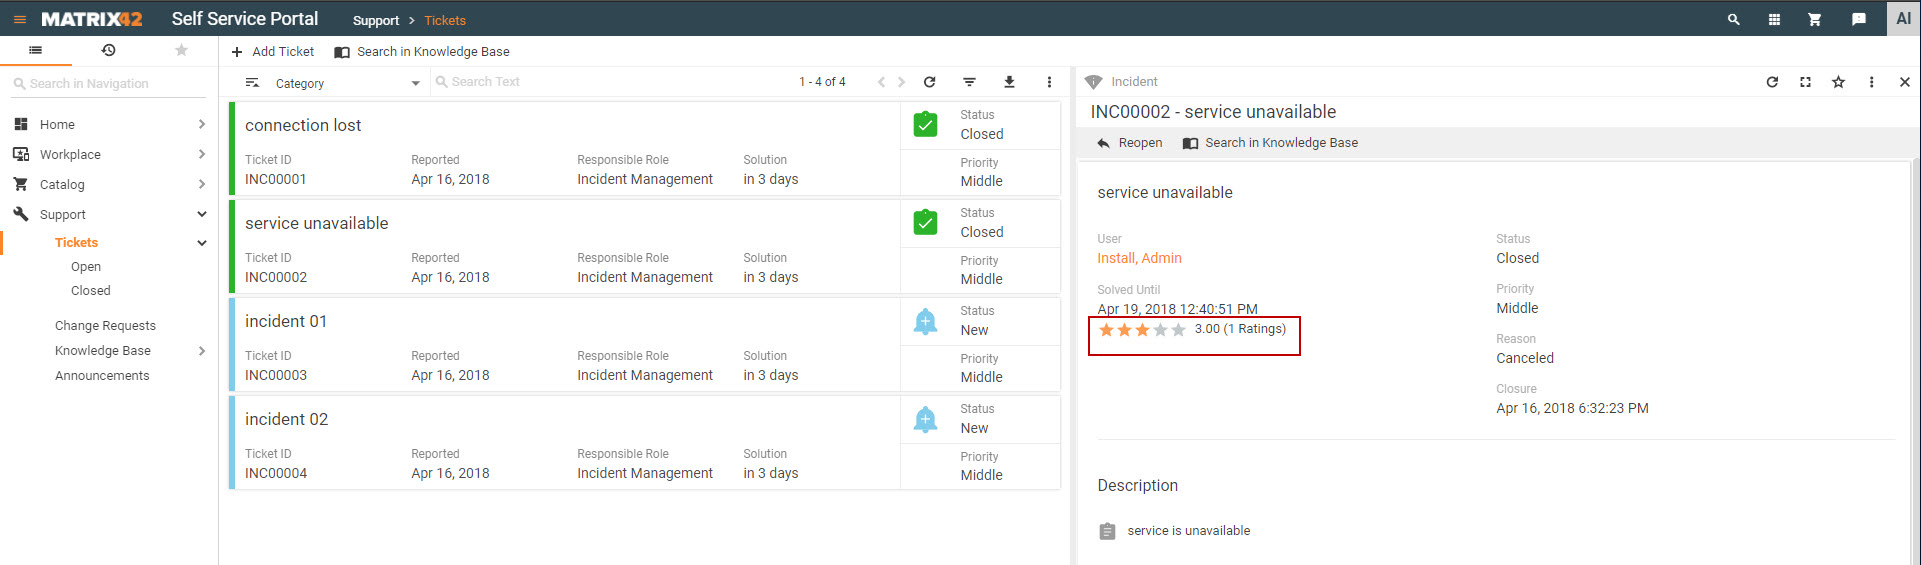
You may also enter an optional comment once you rate the incident. The Service Desk agent will see the comment.
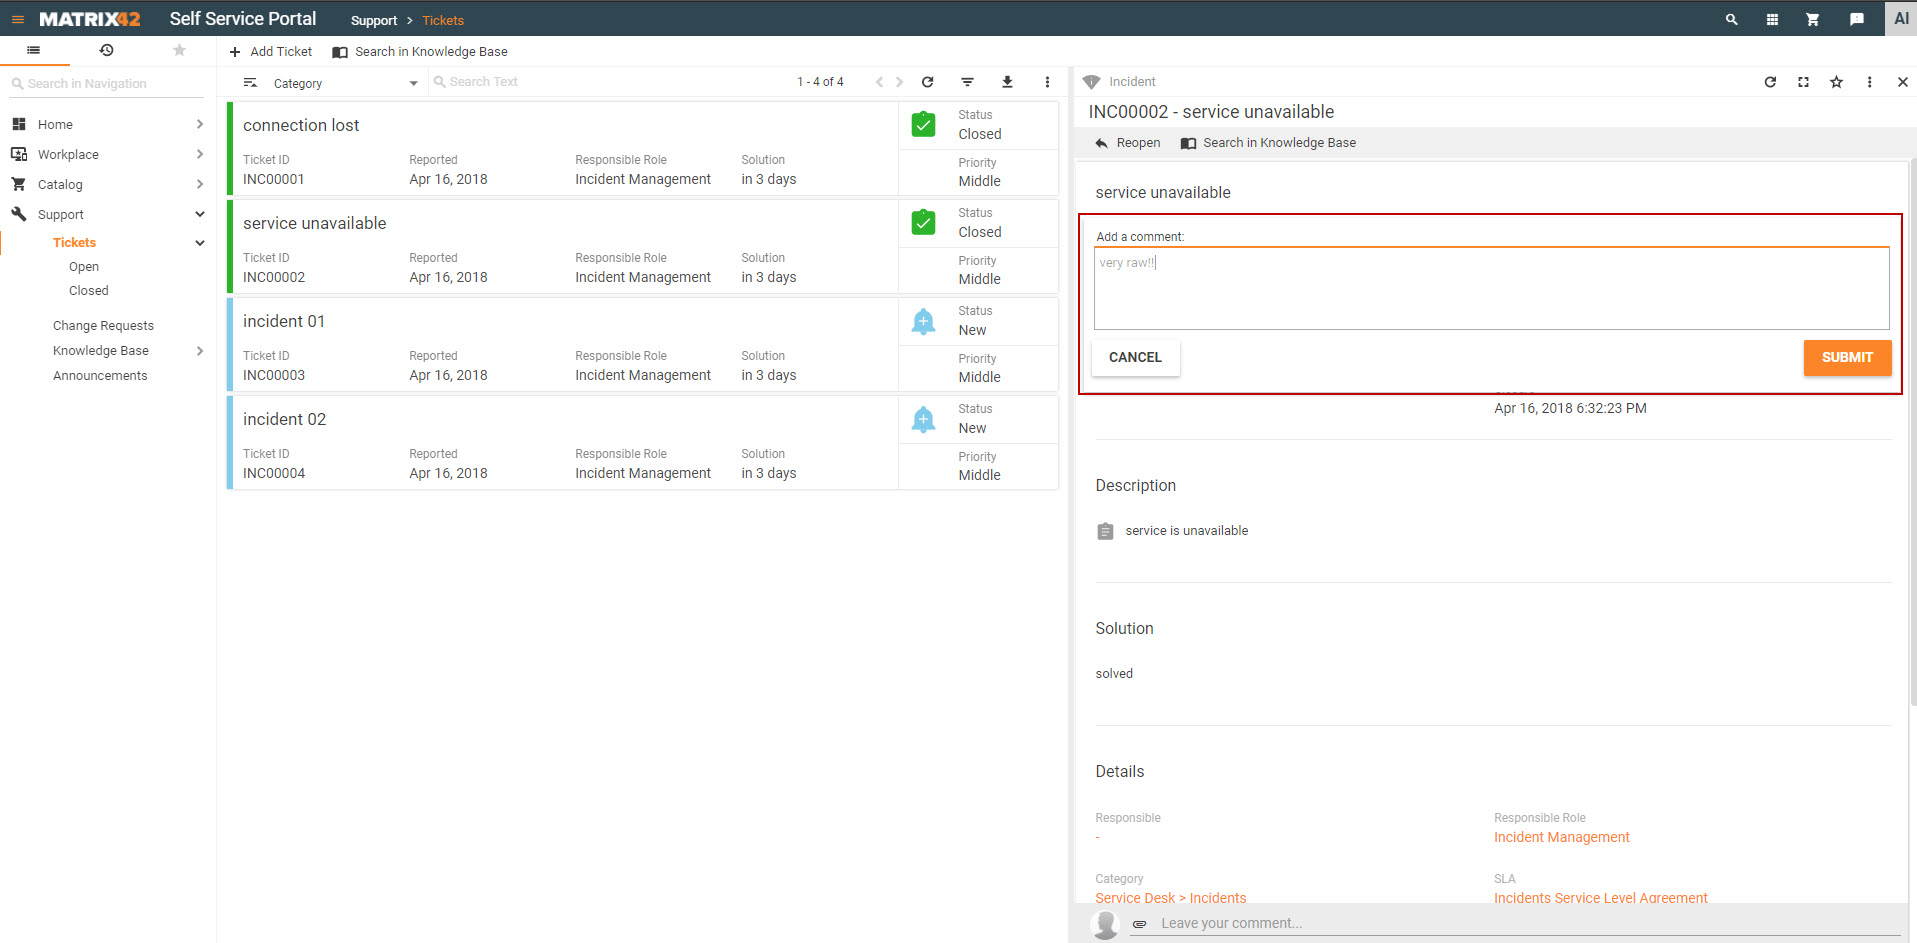
- Make sure to click Submit to save the rating.
Reopening a Ticket
It is possible to reopen closed tickets in the Matrix42 Self Service Portal.
- Go to the Matrix42 Self Service Portal and click Support > Tickets in the navigation area.
- For the corresponding ticket, click Reopen.
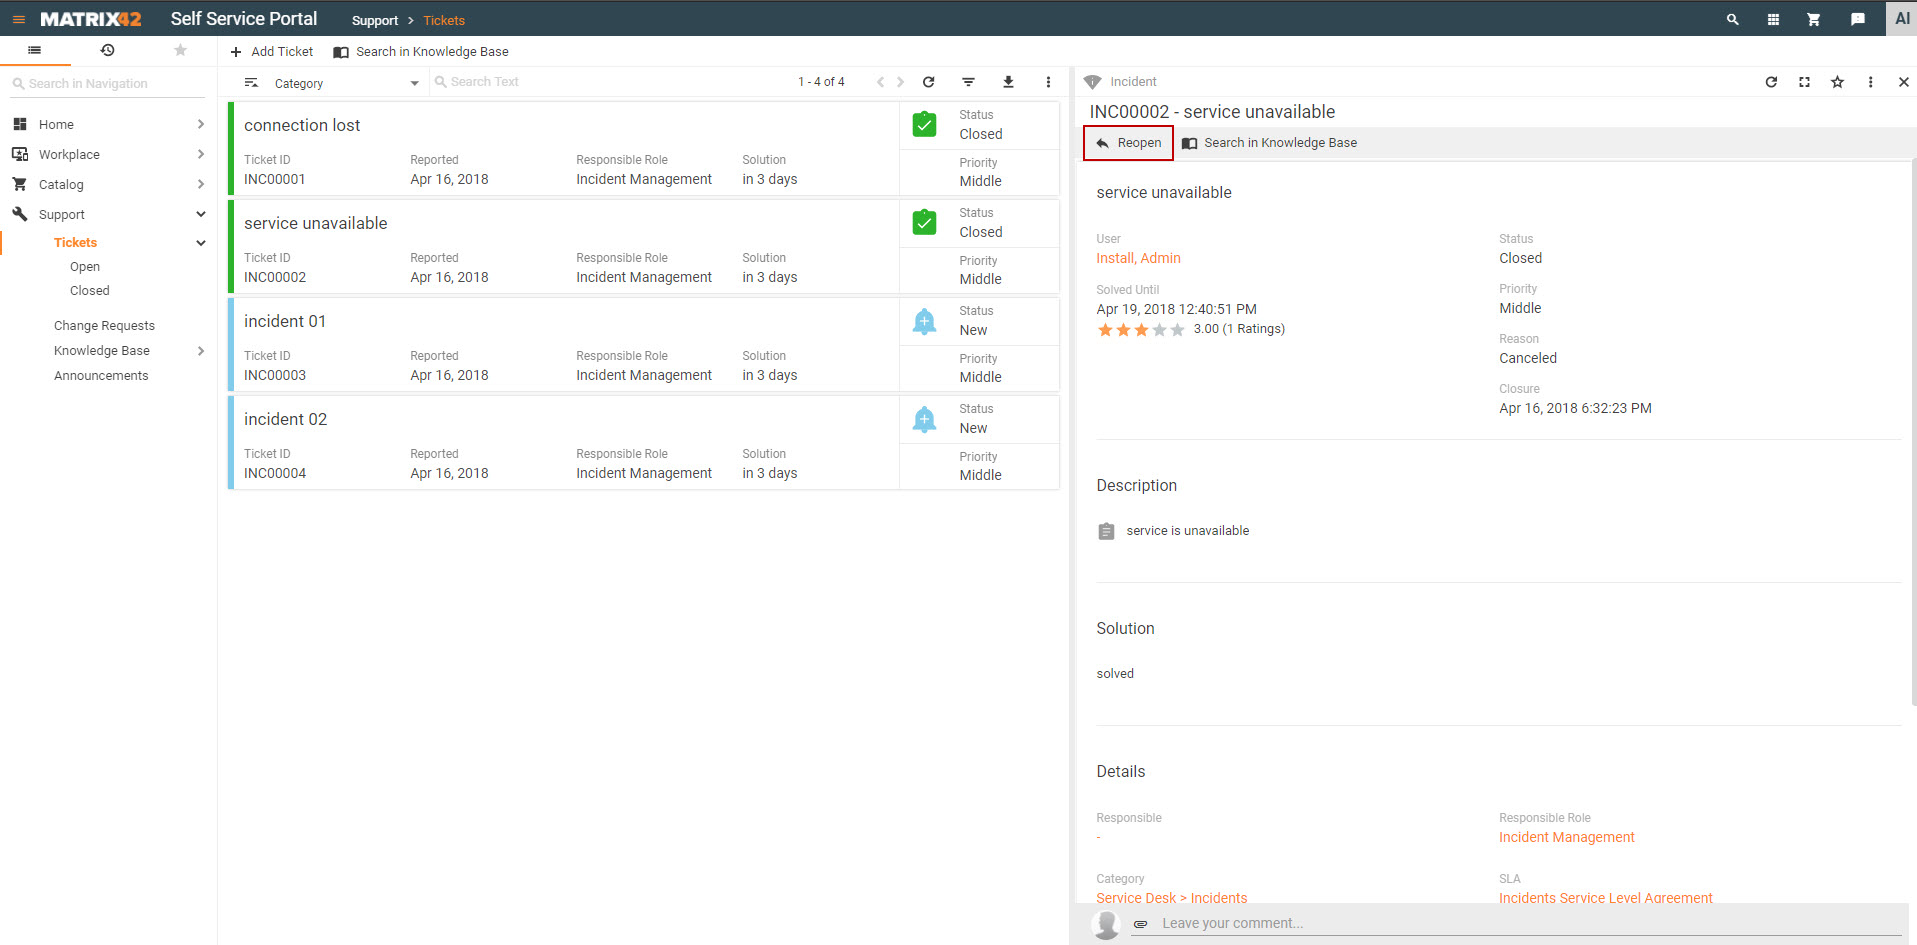
- Enter a reason and click Reopen. The status of the ticket is set to New and the entered reason is shown as Solution.
Searching in Knowledge Base
To search for a possible solution in Knowledge Base articles:
- Click a ticket to open it in Preview and then click the Search in Knowledge Base action in the toolbar.
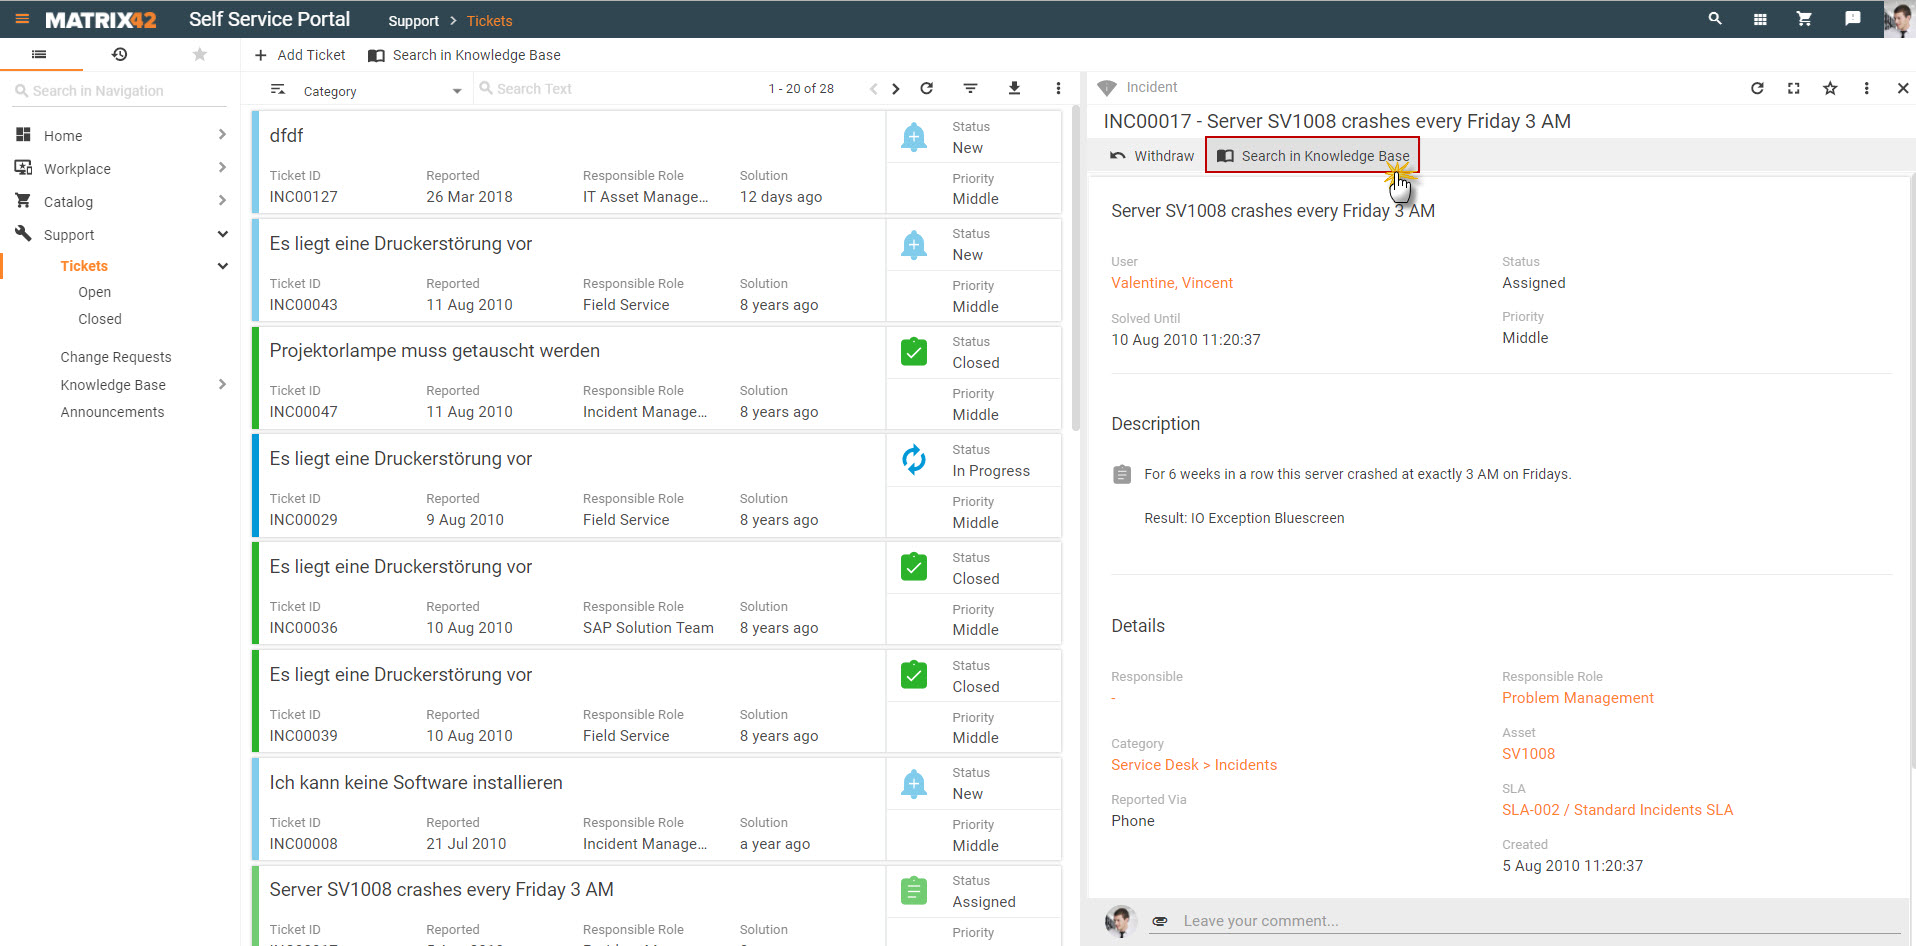
- The Text field in the Search in Knowledge Base right-hand panel that appears will be pre-filled with text specified in the Summary field of the ticket for your convenience. You, however, can edit, replace, or delete the pre-filled text and/or add other search criteria before running the search.
- Read the Searching in Knowledge Base article to learn more about how to use the Search in Knowledge Base functionality.