Android Enterprise II: Enroll corporate-owned devices
Enroll Corporate-owned devices
By enrolling corporate-owned device via the DPC identifier and enabling the device owner mode, you as the administrator have the greatest possible configuration options for your device landscape, and this method is suitable for devices owned by the company. Entering the DPC identifier details allows your users to unbox their device and start the out-of-box experience. At the point where users would normally enter their personal Gmail account details, they can enter the Android Enterprise identifier afw#matrix42 and start the device setup and enrollment process. After entering the identifier afw#matrix42, the Matrix42 Companion application, the Device Policy Controller (DPC), is downloaded and the rest of the enrollment process can be completed. This will activate the device owner mode on the enrolled device so that the device is now classified as a corporate-owned device. This method helps to make rollouts with Android devices seamless and secure. To use the DPC identifier enrollment, a compatible device is needed. Please note that in this step, we first present a form for the general enrollment of corporate-owned devices. You can expand and refine your options for the provisioning of corporate-owned devices in the course of this guide.
Configure Managed Account
To use the DPC Identifier enrollment and activate the Device Owner Mode, it is recommend that a tag with Enabled Managed Account is auto populated to your device(s). To create a Tag proceed the following steps:
- Login to your Silverback Management Console
- Navigate to Tags
- Click Create New
- Enter a Name (e.g. Corporate Owned Android)
- Add a Description (optional)
- Activate Profile
- Enable Device Types (Android and/or Samsung Knox)
- Enable Auto Population and click save
Consider to configure the Auto Population to corporate ownership, LDAP Filter or Device Owner option
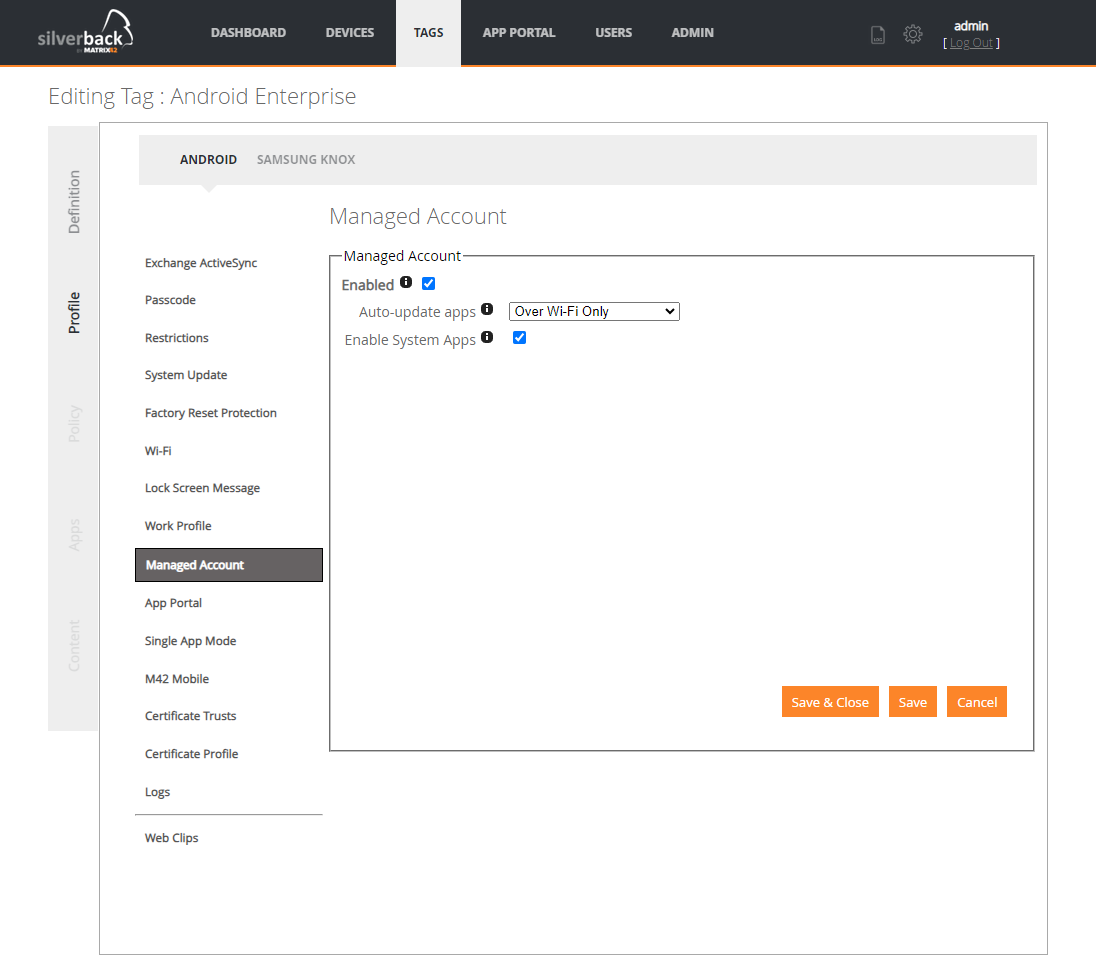
- Navigate to Profile > Managed Account
- Enable Managed Account
- Choose a selection for the Auto-update apps constraint (optional)
- Decide whether or not you want to enable system applications
- Proceed with Save & Close
Device Registration
When your Tag is ready and the Auto Population is configure properly, proceed with a Device Registration. Please note that it is possible to create Enrollment Tokens for your users in advance. Please refer to Devices Guide Part I: Pending
Prepare your Enrollment
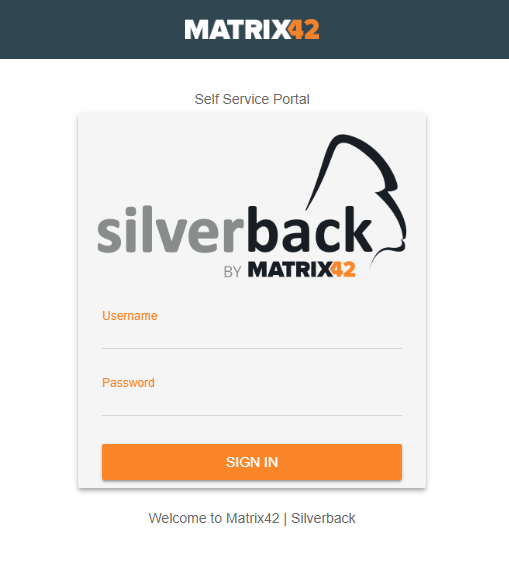
- Navigate to your Self Service portal (e.g. https://silverback.company.com/ssp )
- Enter a username (e.g. maria.miller@imagoverum.com)
- Enter a password
- Click Sign In
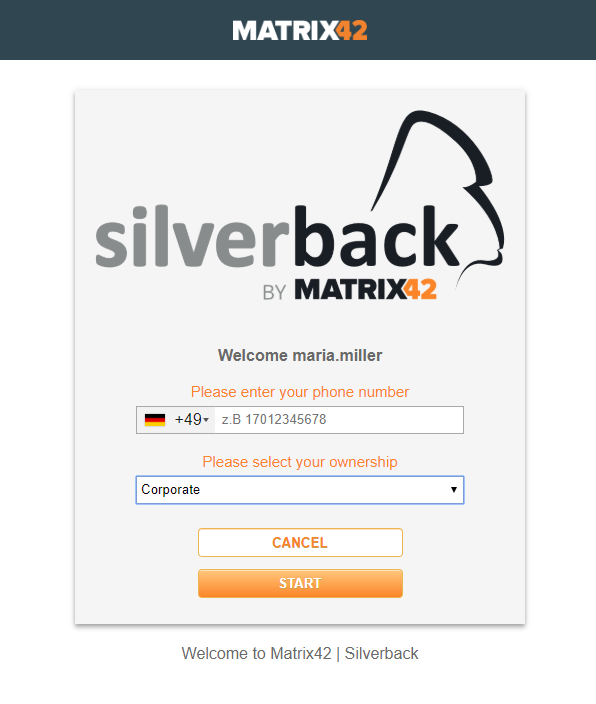
- Select your Ownership of the device
- Click Start (Phone Number is in this case not necessary)
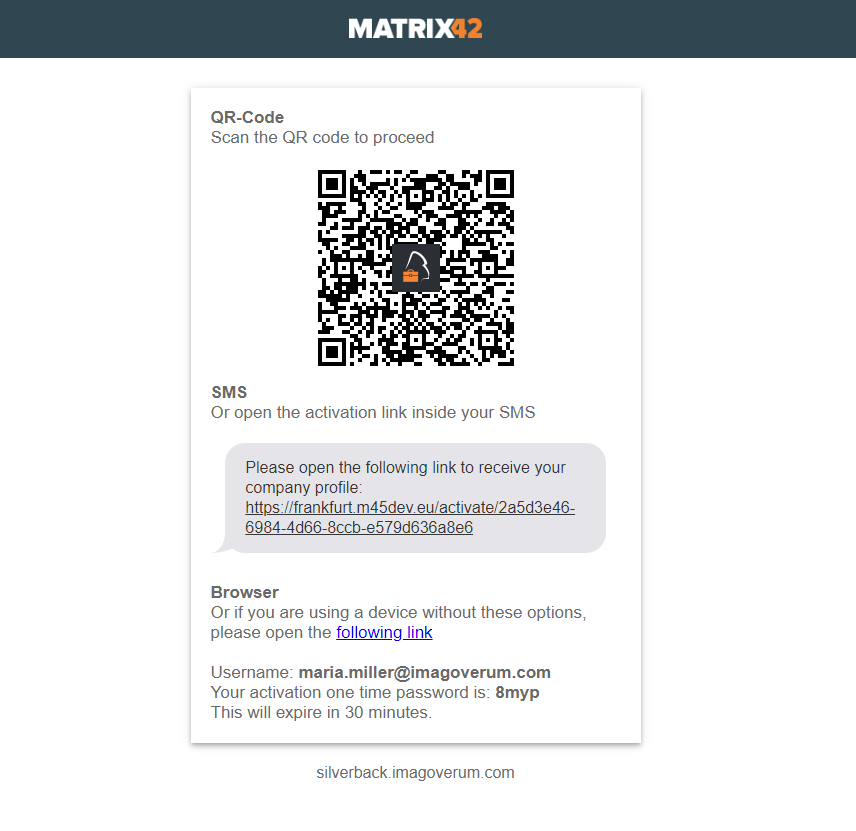
- Your QR-Code and activation one time password is ready
 |
 |
 |
Step By Step Enrollment
For the example enrollment a Samsung J5 (2017) device has been used with Android 7.0. Your experience may vary when using different devices or different Android versions.
- Turn on the device
- Change to the desired language and tab Start
- Connect with Wi-Fi or use cellular and tab Next
- Accept at least End user License Agreement Policy. Tab Next
- Wait until some steps are prepared
- Enter on Add your account page afw#matrix42 and tab Next
- Install Matrix42 Silverback Companion
- Wait until application download is finished
- Confirm with Install
- Wait until installation is finished
- Accept Pop-Ups about Calendar, Phone Calls, Contacts, and Media
- Agree Terms and Conditions
- Proceed with Next
- Wait until the Device Owner mode is activated
- Now scan the QR-Code
- Wait until the registration is done.
- The KLMS Agent screen will appear automatically (only on Samsung Devices)
- Mark the checkbox on and proceed with confirm (only on Samsung Devices)
- Wait again. You will notice on the top that Play Support libraries will be updated
- After a moment you will noticed that your Work account is added
- Exit Companion application by clicking on the back button on your device
- Now the setup is finished and your device is prepared as a work-managed device
- You will notice that you have just a few applications installed
- Go to Settings > Accounts > Accounts
- You will see that you are connected to a managed account
Next Step
- Learn how to activate a Work Profile on personal devices: Android Enterprise III: Work Profiles
- Or proceed with Android Enterprise IV: Mobile Application Management
- Or review the additional provisioning options, which further simplifies the entire enrollment process
- Or review your available device and security configurations via Tags or OEM Configurations