Importing EgoSecure certificate
|
ID: 19061802
Languages: EN, DE
Components: EgoSecure Console, EgoSecure Agents
Operating system: Windows
|
For the communication of EgoSecure components via SSL, the following certificates are required:
- SSL certificate for EgoSecure Server (import to the computer certificate store)
- Authentication certificate for the communication of the Console with the Server (import to the user certificate store)
- Authentication certificate for the communication of the Agents with the Server (import to the computer certificate store)
If you use EgoSecure Data Protection SaaS solution, the SSL certificate for the Server is already installed. Console and Agent certificates are imported to the necessary systems. Agent certificates can be imported directly during the Agent installation. For details, see: Setting up EgoSecure Data Protection SaaS
IMPORTING CERTIFICATE VIA IMPORT WIZARD
If you use Windows 7, import the certificate manually. For details, see: Importing certificate manually
- Double-click the certificate file.
⇒ The Certificate Import Wizard opens. - Enable the Current User radio button to store the Console certificate in the Windows user certificate store.
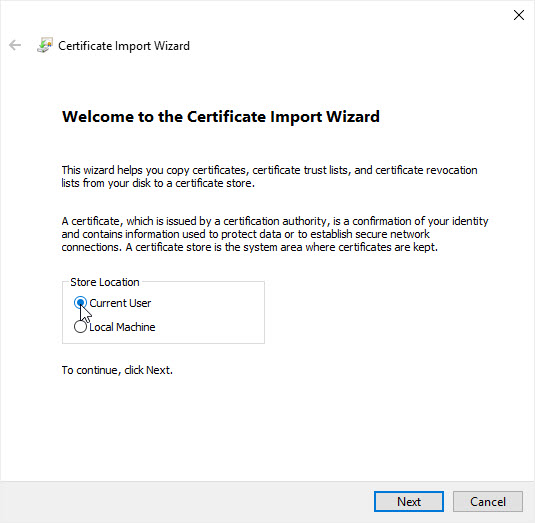
- Click Next.
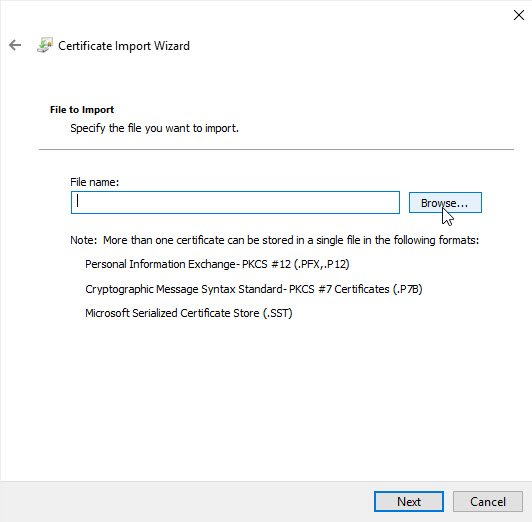
- Select the certificate to import and then click Next.
- Enter the certificate Password and click Next.
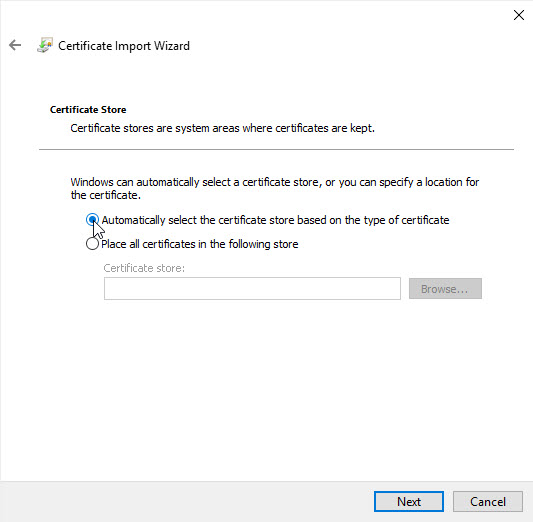
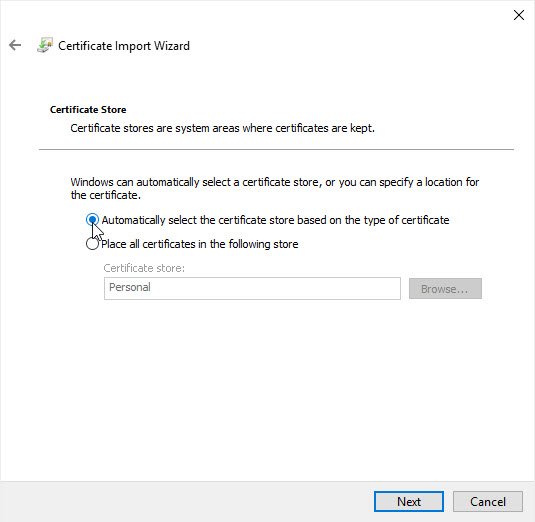
- Select the option Automatically select the certificate store based on the type of certificate and click Next.
- Click Finish.
⇒ The certificate is now imported and ready to authenticate the Console to the EgoSecure Server.
IMPORTING CERTIFICATE MANUALLY
To import a certificate via the Microsoft Management Console, you need a certificate snap-in (certificate store). You can store certificates for the current user or for the local computer. The certificate for Console is stored in the user certificate store. The certificate for the Agent is stored in the computer certificate store.
For details, see: Windows 7: All About the Snap-Ins
Adding certificate snap-ins to the Microsoft Management Console
- Enter MMC.exe in the Windows search box to open the Microsoft Management Console.
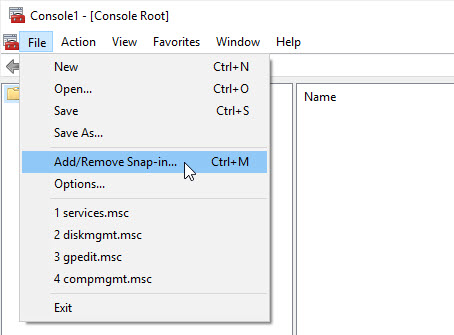
- In the File menu, select Add/Remove certificate snap-in.
- In the Add or Remove Snap-ins dialog, select Certificates and then click Add.
⇒ The Certificates snap-in dialog appears. The My user account radio button is enabled. - In the Certificates snap-in dialog, click Finish.
- Click OK in the Add or Remove Snap-ins dialog to confirm the changes.
Importing certificate
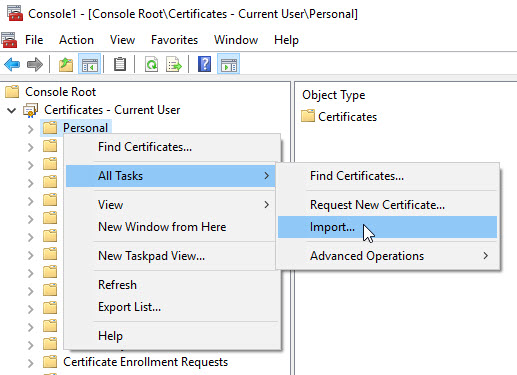
- To import the certificate for the Console, in the navigation menu right-click Certificates - Current User » Personal.
- Select All Tasks » Import... from the context menu.
⇒ The Certificate Import Wizard opens. - Click Next.
- Select the certificate to import and click Next.
- Enter the password and click Next.
- Enable the option Automatically select the certificate store based on the type of certificate and click Next.
- Click Finish.
⇒ The certificate is now imported and available to the active user (Console certificate) or to the computer (Agent certificate).