FDE Initialization and Boot Security
FDE Initialization and Boot Security
This section contains tasks related to boot security.
Installing boot security
Normally, the boot security installation is performed as a part of the initial product installation. Installing boot security is available in the following scenarios:
- Boot security has been disabled and must be re-enabled.
- Boot security was not enabled during the installation.
Follow the steps below to initialize boot security:
- Open the Control Center (as described in Section 1.5).
- Double-click the FDE Initialization icon.
- The Welcome dialog appears:
- Read about the steps of FDE initialization in the Matrix42 FDE – Installation and Troubleshooting Guide, description “Installing Boot Security”.
If boot security was previously installed on the computer, it is possible that the Matrix42 Full Disk Encryption partition already exists. If so, the partition will be reused (this is quite quick as no new partition must be created).
The computer needs to be restarted after the installation and before any hard disk partition can be encrypted. If you click No, do not forget to restart the computer before you try to encrypt a hard disk partition!
Updating boot security configuration
This section details how to make changes to the configuration of Matrix42 Full Disk Encryption boot security. Boot security settings can be updated via the Control Center. This function does not update the Matrix42 Full Disk Encryption on your computer.
Follow the steps below to update a boot security configuration:
- Open the Control Center (as described in Section 1.5).
- Double-click the FDE Initialization icon.
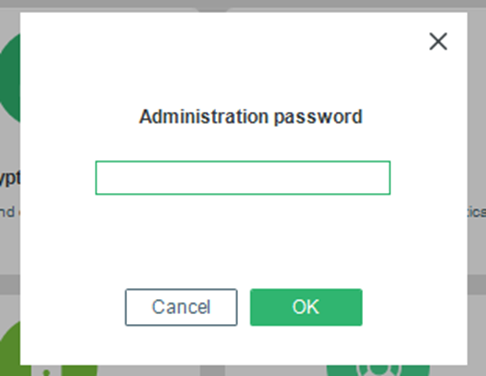
- The Administration password dialog appears.

- Enter the password and click OK.
- The step for hiding encryption tray appears.

By default, the encryption tray appears on the Windows taskbar once a disk is encrypted and shows information about the state of all disks on a computer.
- To hide the icon, check the Hide FDE tray icon box and click Next.
- The step for configuring additional encryption key protection appears.

Enable an additional layer of security to the disk encryption key (DEK).
- The HKEK option utilizes unique hardware-based information from the client to generate an additional hardware-based key encryption key (HKEK).
- The TKEK option uses unique TPM information from the client for generating a TPM-based key encryption key (TKEK). Check TPM system requirements before enabling the option.
The options protect against moving the encrypted drive into another computer within the same network, where the same KEK is used. You can use both options at a time for the protection.
System requirements for computers with TKEK
- UEFI systems starting with Windows 10 and later
- TPM devices with specification version 2.0 are supported only
- TPM must implement the following set of commands:
- TPM2_CreatePrimary
- TPM2_Create
- TPM2_Load
- TPM2_EvictControl
- TPM2_FlushContext
- TPM2_GetRandom
- TPM2_RSA_Encrypt
- TPM2_RSA_Decrypt
- TPM2_ObjectChangeAuth
- TPM must support the following set of algorithms:
- TPM_ALG_SHA256
- TPM_ALG_RSA
- TPM_ALG_OAEP
- TPM_ALG_AES
- TPM_ALG_CFB
- TPM device must be in the Ready state.
When updating BIOS or replacing hardware, the information used for key generation changes and disk recovery will no longer be possible. That is why, please, follow the steps below to avoid it:
- Decrypt the disk.
- Update BIOS or replace hardware.
- Encrypt the disk.
- Enable the Generate hardware-based key encryption key (HKEK) option and/or Generate TPM-based key encryption key (TKEK), and then click Next.
- The FDE Update and Deinitialization dialog appears.

- Click Update.
- Close the dialog once the update finishes.
Removing boot security
This section details how to remove Matrix42 Full Disk Encryption boot security. Boot security can be re-installed via the Control Center. This function does not remove the Matrix42 Full Disk Encryption from your computer.
If one or more drives are encrypted, you must decrypt them before you can remove the boot security.
Follow the steps below to remove boot security:
- Open the Control Center (as described in Section 1.5).
- Double-click the FDE Initialization icon.
- The Administration password dialog appears.

- Enter the password and click OK.
- The two steps for configuring additional protection for disk encryption key and hiding encryption tray appear.
- Skip them via clicking Next.
- The FDE Update and Deinitialization dialog appears.

- Click Deinitialization.
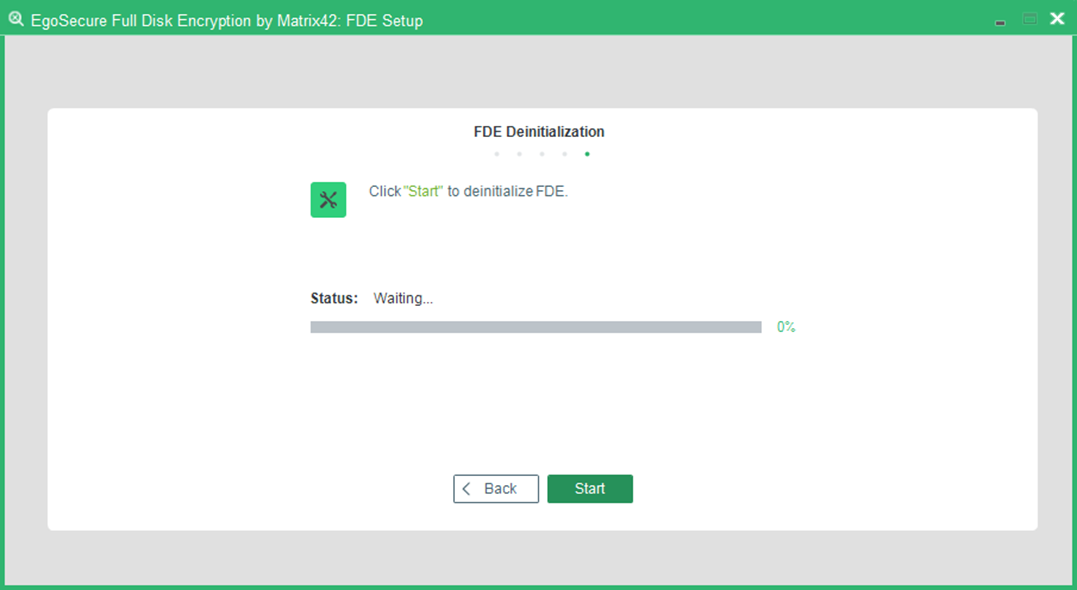
- The FDE Deinitialization Status dialog appears.

- Click Start.
- Note: If PBA is still installed, you will end up with the following warning message:

- Upon successful removal the success dialog appears.
- Click OK to close the dialog.