Devices Guide Part I: Pending
Pending Devices
The Pending Devices section displays all outstanding enrollments for users. There are three different ways to create a pending enrollment:
- By end user self enrollment via Self Service Portal
- Administrator, Helpdesk or Super Helpdesk initiated via (single) provisioning
- Administrator, Helpdesk or Super Helpdesk initiated (bulk) provisioning
The usual way how pending enrollments will be created, is the user driven self enrollment via the Self Service Portal, but under certain scenarios it may be a good choice to create pending enrollments for users. These cases are:
- Centralized IT driven device preparation, where users will be handed out a fully configured device
- Preparation for (bulk) Enrollments with Deployment Programs
- User invitation to circumvent the need to let your users start with the Self Service Portal
- Users might not know their credentials for the Self Service Portal or users are generally not very tech-savvy
Pending Enrollments
The following information for each pending enrollment are shown:
| Information | Description |
|---|---|
| View OTP | Lets you review the enrollment information (including the QR-Code) |
| Username | Displays the username |
| Mobile | Displays the phone number entered in the self service portal |
| OTP Expires | Displays the time to live value for the OTP |
| Token | Displays the unique ID for the enrollment request |
| Reset OTP | Will reset the OTP and generate a new one. |
| Delete | Deletes the enrollment request |
Self Enrollment
Once a user has created their Enrollment Request through the Self Service Portal, they will appear in the Pending container with their Username and the information associated with their current enrollment. If the user for any reason forgets their OTP during the enrollment, Administrators can either View or Reset their OTP and inform the user of the current or new one, or simply Delete the pending enrollment and ask the user to try again. In addition, administrators can customize the content and length of the OTP in the Admin Section of the Silverback Management Console.
Self Enrollment Steps
This process is user driven and the Administrator is not involved in this process. The enrollment process via Self Service Portal is straight forward and contains the following steps:
- Visit the Self Service Portal on the device
- Perform the Authentication
- Enter a Phone Number (optional)
- Select the Ownership (optional)
- Press Start
- Open the provided Link
- Proceed with individual operating system steps.
Provision User
Administrators can setup a device on behalf of a user via the Provision User function. The administrator must specify the user’s information and also provide authorization credentials to validate the request. When a user should enroll their device in this manner, a notification is sent to the user and all administrators that have enabled the receive email alert option. This provides an audit trail and a record to the fact that a device has been provisioned on behalf of a user.
- Click Provision User
- Select the Ownership
- Enter a Username
- Enter a Mobile number (optional) (e.g +491712345678)
- Provide Authorizing Credentials
- Enter Username
- Enter Password
When using the Provisioning Users option with LDAP users or credentials, ensure that the authorizing user is part at any group configured in the Active Directory Tab under User Management. To provision local users, use for the authorization any account that is listed as a System User under User Management.
Once the pending enrollment has been created for the user, the administrator who created the enrollment will see the presented user’s enrollment information in the Provisioned User Details pop-up.
| With Mobile number | 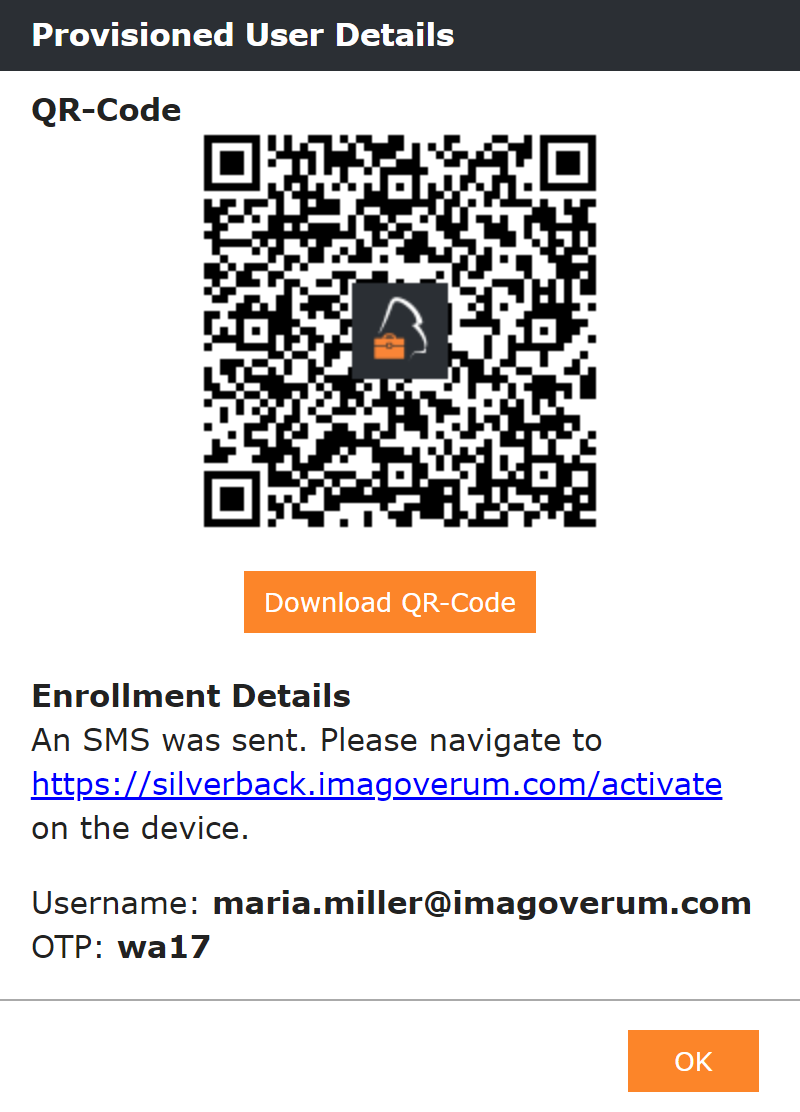 |
| Without Mobile number | 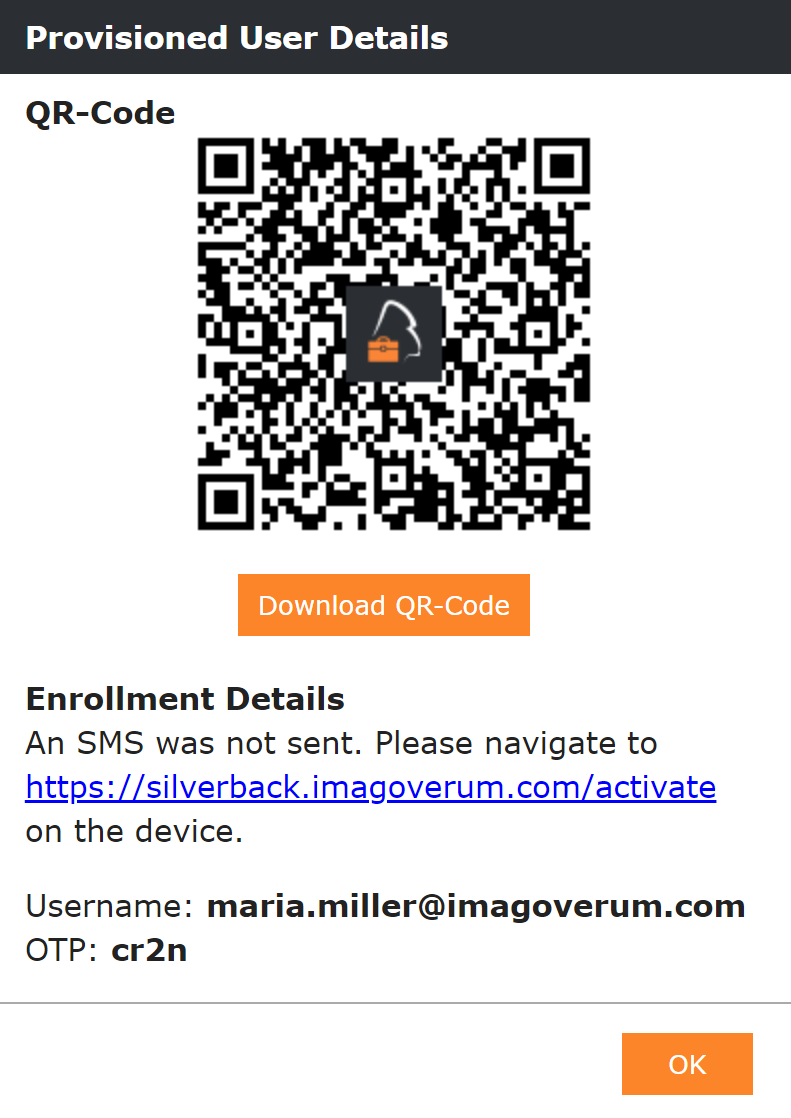 |
Provision User Notifications
Depending on the configuration, the user and administrators (with enabled Receive Email Alerts setting) will receive the following notification to finish the enrollment:
| Administrators with enabled Receive Email Alerts will receive an E-Mail that an Administrator has provisioning a device on behalf of a user. The Template for this scenario can be edited under Admin > Email Templates > Admin Provisioned a Device Notification | 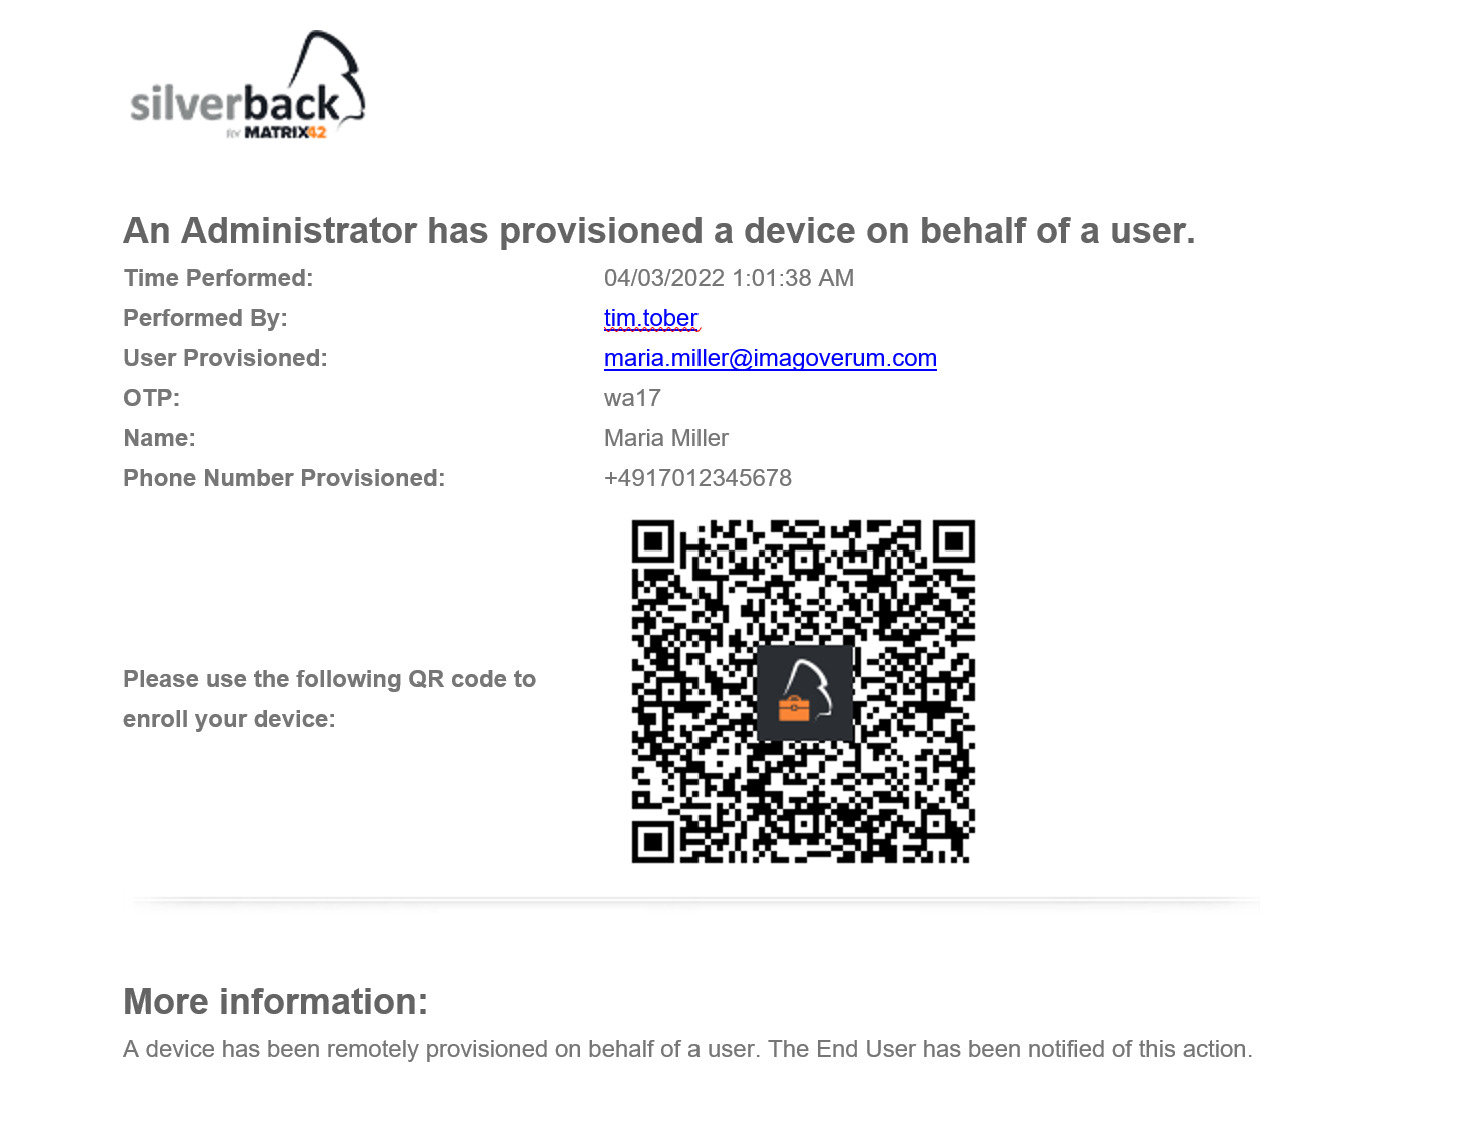 |
| Users will receive an E-Mail that an Administrator has provisioned a device on behalf of a user. The Template for this scenario can be edited under Admin > Email Templates > Admin Provisioned a Device Notification for User | 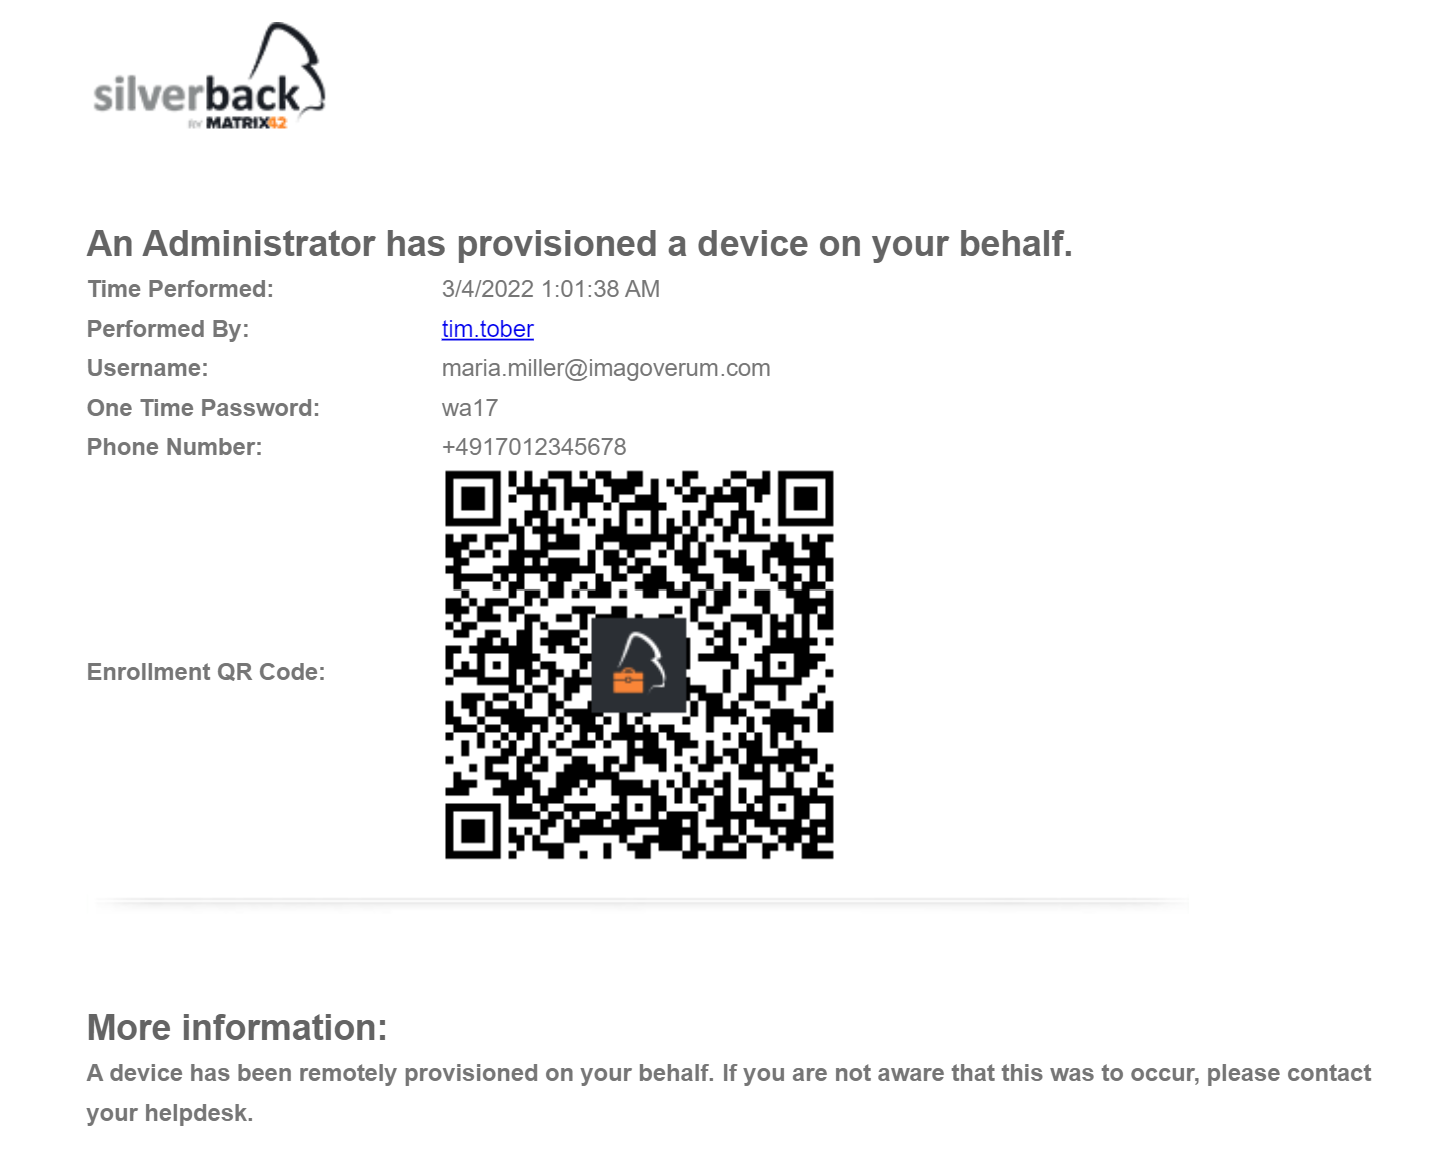 |
| User will receive a SMS with the Enrollment Information. To configure the SMS Sender name navigate to Settings Admin > App Portal and SMS > SMS Sender Label. To edit the content of the SMS navigate to Admin > Email Templates and edit the SMS Template but ensure to keep the variable. | 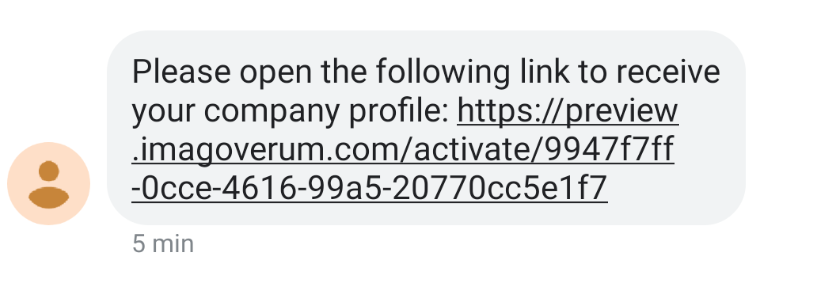 |
Bulk Provision Users
Administrators can setup multiple devices on behalf of users or invite users via the Bulk Provision Users function. This allows a large number of enrollments to be created in a single run, to speed up large rollouts and simplify the process. Bulk Provision works by importing a .csv file with contained user data and configuring notification, OTP and ownership details. Please refer to Bulk Provision Users for additional information. The Bulk Provision Users overview will display the following:
| Information | Description |
|---|---|
| ID | ID of created Bulk Enrollments |
| Status | Status of the request. Either in progress or available for download |
| Created Date | Displays creation date and time |
| Created By | Displays initiator |
| Action | Allows to remove existing Bulk Enrollments |
Finish Provisioning / Enrollment
Depending on the settings made for the enrollment and the selected single or bulk provisioning method, the options to finish the enrollments are as following:
Enrollments via Deployment Programs are not mentioned here. Please refer to the Integration Guide for additional information about Deployment Programs.
| Condition | Android/Samsung Knox | iOS/iPadOS/macOS | Windows 10/11 |
|---|---|---|---|
| User receives Email |
Administrators can stage the device for the user by visiting the Activation URL or Scanning the QR-Code on the target device. Users can manually start with the device enrollment by any option that is given at the current device state. The Activation URL is configured and displayed under Settings Admin > General Activation URL. |
Administrators can stage the device for the user by visiting the Activation URL or Scanning the QR-Code on the target device. Users can execute the same actions to perform the enrollment. The Activation URL is configured and displayed under Settings Admin > General Activation UR |
Administrators can stage the device for the user by visiting the Activation URL on the target device. Users can execute the same actions to perform the enrollment. The Activation URL is configured and displayed under Settings Admin > General Activation UR |
| User receives SMS |
Administrators or Users can review the SMS and open the provided link. First, user will be prompted to install the Matrix42 Companion. After successful installation user needs to re-open the URL. Depending on the Simple Enrollment Configuration it is needed to enter the OTP. Afterwards the usual enrollment process starts. The Simple Enrollment Configuration is located under Admin > Self Service Portal > Simple Enrollment The SMS enrollment is not applicable with Device Owner devices on Android Enterprise, as the enrollment is starting during the out-of-the-box-experience. |
Administrators or Users can review the SMS and open the provided link. Either the profile download will start or and depending on the Simple Enrollment Configuration, it is required to enter the OTP on the activation page. Afterwards the usual enrollment process starts. The Simple Enrollment Configuration is located under Admin > Self Service Portal > Simple Enrollment The SMS enrollment is not applicable with devices enrolling with the Device Enrollment Program, as the enrollment is starting during the out-of-the-box-experience. |
The SMS enrollment is not applicable for Windows 10/11 devices. |
Advanced QR-Code Provisioning
The Advanced QR-Code provisioning method allows to enroll corporate-owned devices into the Android Enterprise Device Owner Mode by scanning the QR-Code during the initial device setup. Administrators or users can tap the Welcome screen six times in the same spot to launch the QR code setup wizard. The QR-Code contains Wi-Fi credentials or a flag to use mobile data and allows either to automatic provisioning the device or let the user start at the Self-Service Portal. Please refer to Advanced QR-Code Provisioning for further information.