Prerequisites for Citrix XenServer Inventory
Overview
This document provides reference information on the data provider Inventory of Citrix XenServer.
Citrix XenServer data provider is able to collect information about virtual machines on a XenServer environment.
Supported Versions
Following versions have been tested and are supported by XenServer Inventory data provider:
- XenServer 6.5
- XenServer 6.5 SP1
- XenServer 7.0
- XenServer 7.1
- XenServer 7.5
- XenServer 7.6
- Hypervisor 8.0
- Hypervisor 8.1
- Hypervisor 8.2
- Hypervisor 8.2 CU1
Required Access Rights
A minimum of the read-only access rights is sufficient to run the Citrix XenServer inventory.
In the data provider configuration, a user name should be filled in without the domain prefix.
To implement the read-only access to the XenServer infrastructure, the role-based access control (RBAC) should be used. This requires using the Active Directory services.
You can configure a user with a minimum set of access rights either by running commands in an SSH client (e.g., PuTTY) or by using XenCenter.
Configuring Minimum Access Rights via SSH Client
Establish the connection between your SSH client and the XenServer host and run the following commands.
- Connect XenCenter to the Active Directory service:
xe pool-enable-external-auth auth-type=AD service-name=<fully qualified name of AD server> config:user=<user name> config:pass=<user password>
- In case of significant clock skew between XenServer and AD server, perform the clock synchronization:
ntpdate -u de.pool.ntp.org
- Retrieve the Active Directory user's UUID:
xe subject-add subject-name=<user name>
- Assign the read-only role to the user:
xe subject-role-add uuid=<user UUID> role-name=read-only
Configuring Minimum Access Rights via XenCenter
- Connect XenServer to the Active Directory service.
In the tree view in XenCenter, go to the Users tab and click Join Domain.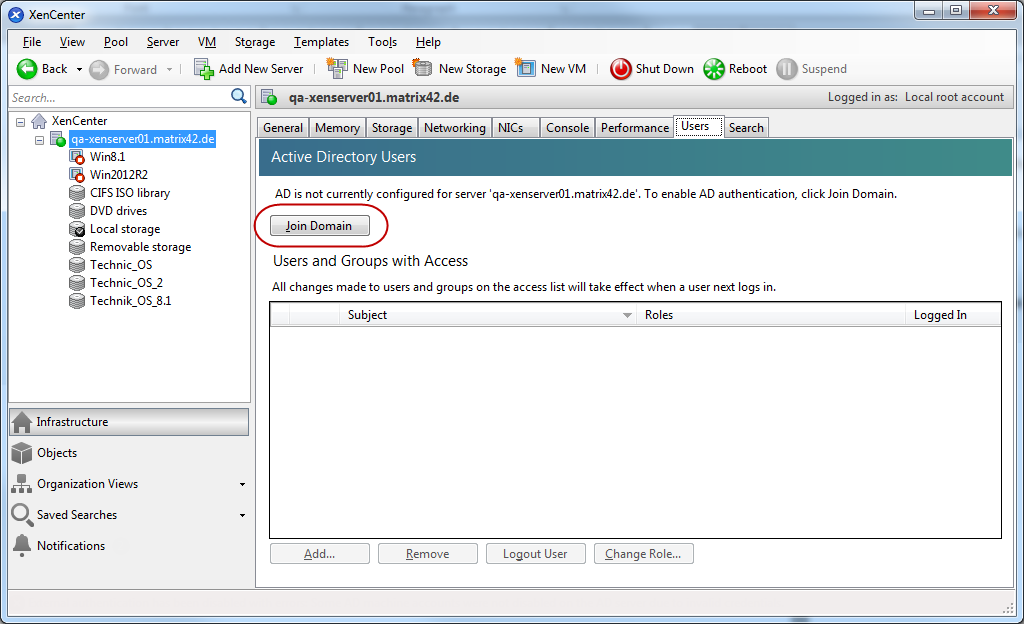
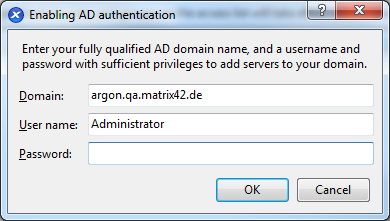
- In the window that opens, enter the fully qualified domain name, user name, and password, and click OK.
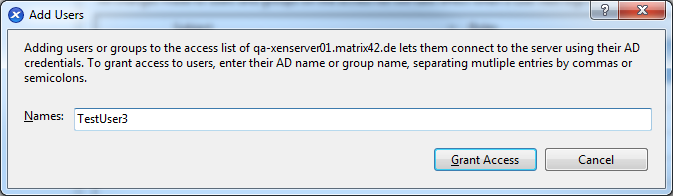
- Add the AD user to the XenServer list of users:
In the tree view in XenServer, go to the Users tab and click the Add... button.
- In the window that opens enter the user name and click Grant Access.
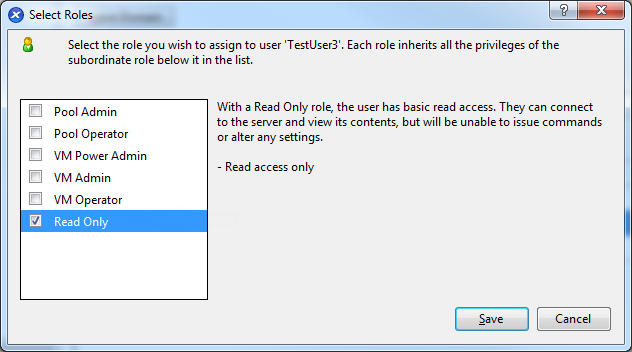
- Assign the read-only role to the user:
In the tree view in XenServer, go to the Users tab, right-click the corresponding user and select Change Role.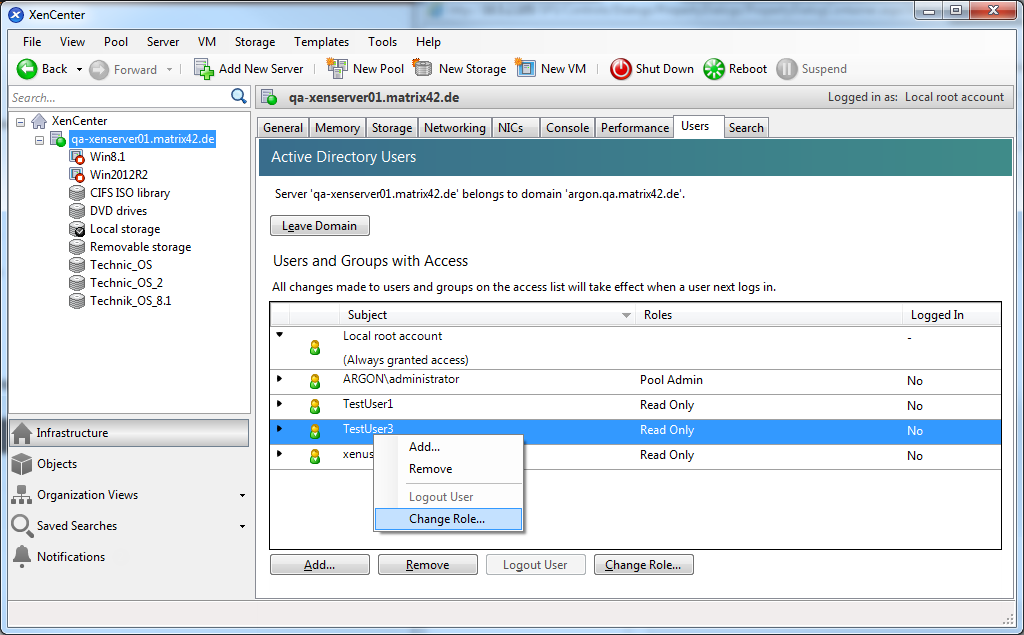
- In the window that opens select the Read Only checkbox and click Save.
Further information: