Entra ID Integration III: Windows Autopilot
Windows Autopilot Overview
Windows Autopilot is Microsoft's deployment program that uses a collection of technologies to fast setup and pre-configure new devices. In general, it is similar to Apple's Device Enrollment Program or the Knox Mobile Enrollment or Android Zero Touch for Samsung and Android devices.
Devices or device identifiers will be added to a cloud service and when devices or users are starting with the out-of-the-box experience, internet connected devices will contact the cloud service and will retrieve configurations. To add devices to the cloud service, you have different options and the first one is to get in contact with your hardware vendor as they might be capable to add devices after purchasing them into the Windows Autopilot deployment program for you. Another option is to add devices manually to Windows Autopilot and this is what we will do within this Guide.
In general Windows Autopilot simplifies the complete lifecycle of the device. Users will be able to easily enroll devices from the out-of-the-box experience without any interaction of the IT department. Your users only need to connect to an internet connection, and they need to know their Microsoft Entra ID Credentials and can enroll the device within a few steps. After that, Silverback can apply all configurations and can transform the device into an enterprise ready and secured device and can install the UEM Agent to install Software Packages on top. Additionally, you can easily deploy the EgoSecure Data Protection agent for an additional security layer.
We have added an additional Knowledgebase Article: Windows 10/11: All about Windows Autopilot that provides more information about Windows Autopilot.
Requirements
- Accomplished Microsoft Entra ID Integration Guide I & II
- Microsoft Entra ID Premium P1 or greater, or any bundle which includes this license
- Windows 10 1703 and above registered devices to your organization.
- Internet access for devices when going through the OOBE to connect to the Autopilot cloud service
- Please refer for additional software, licensing and network requirements to Windows 10/11: All about Windows Autopilot
Review registration settings
Before you start, you should review if your users are already able to Join devices to Microsoft Entra. To do that, perform the following steps:
- Open Azure Portal and login as an Administrator
- Select Microsoft Entra ID
- Expand Manage and select Devices
- Expand Manage and select Device Settings
- Under Users may join devices to Microsoft Entra, select either All or Selected:
- If All is selected, all users can join their devices to Microsoft Entra ID
- If Select is selected, only users specified can join their devices to Microsoft Entra ID
- To add users, select the link under No member selected, press +Add and select the desired users and/or groups to add
- Once all of the desired users and groups are selected, press Select and confirm with OK
- Press Save
If you are using selected users, we recommend that you use the same group here as you used in the MDM User scope when configuring the MDM and WIP application
Register device
This chapter describes the manual process of registering the device with your organization. In addition to the manual steps described, please note that there is another way to retrieve and upload the hardware IDs directly within the Out-of-the-Box experience, as demonstrated in the following video: Uploading Devices. Another option is to contact your hardware vendor, as they may be able to pre-register devices for you.
Get Hardware ID
- Install Windows 10 1703 or above on a client or on a virtual machine
- Open Powershell as an administrator and run the following command
- Install-Script –Name Get-WindowsAutoPilotInfo -RequiredVersion 1.2 (other versions will not include the mandatory Product ID value)
- Accept the bunch of prompts
- Navigate in Windows Explorer to C:\Program Files\WindowsPowerShell\Scripts\ and check if the installed script is listed
- The next step is to use the script to pull the device information from WMI
- Use command in PowerShell Set-ExecutionPolicy unrestricted
- Accept the prompts
- Now navigate in PowerShell to C:\Program Files\WindowsPowerShell\Scripts
- Use the following command: .\Get-WindowsAutoPilotInfo.ps1 -OutputFile .\myautopilot.csv
- If everything went well you should now see a .CSV file with the name you chose in the set location
- Take the .csv file and copy it to a USB Device or to a Network Share or proceed on your current machine
Upload Hardware ID via Intune
- Login to https://endpoint.microsoft.com/
- Navigate to Devices and select Enrollment in the Device onboarding section
- In the Windows Autopilot section, select Devices
- Click Import and select the *.csv file and press Import
Upload Hardware ID via Unified Endpoint Management
- First, you will need to install and configure the Windows Autopilot Extension
- After the successful integration, you can perform the following steps: Add Devices to Windows Autopilot
Create and Assign Profiles
Once you have uploaded your first device or devices and made them known to the cloud service, the next step is to configure the behavior of the out-of-the-box experience for your users by creating, configuring, and assigning Autopilot profiles.
Profile Creation
You have two options for creating a profile. Decide which of the two options you would like to use:
Profile Assignment
Once you have successfully created and configured your profile, you must now assign this profile to the corresponding device(s) via groups. Again, the options through Microsoft Intune or Unified Endpoint Management are available, as described in the Profile Assignments section of the Windows 10/11: All About Windows Autopilot guide.
Factory Wipe
Depending on newer Windows 10/11 versions, the step by step guide might be different.
- Navigate to Windows Settings
- Click Update & Security
- Click Recovery
- Click Get started to reset this
- Click Remove everything
- Choose
- Just remove my files (recommended)
- Remove files and clean the drive (optional)
- Plug your PC in
- Click Reset
- Wait until the reset process is finished
Client Enrollment
The registration process on Microsoft can take up to 24h until the Device Enrollment will work.
- Start the Out-of-box-experience of your Windows 10/11 Device
- Select your Region
- Select the right keyboard layout
- Add, if needed, a second keyboard layout or skip
- Add your network
- You now see that the device belongs to your organization
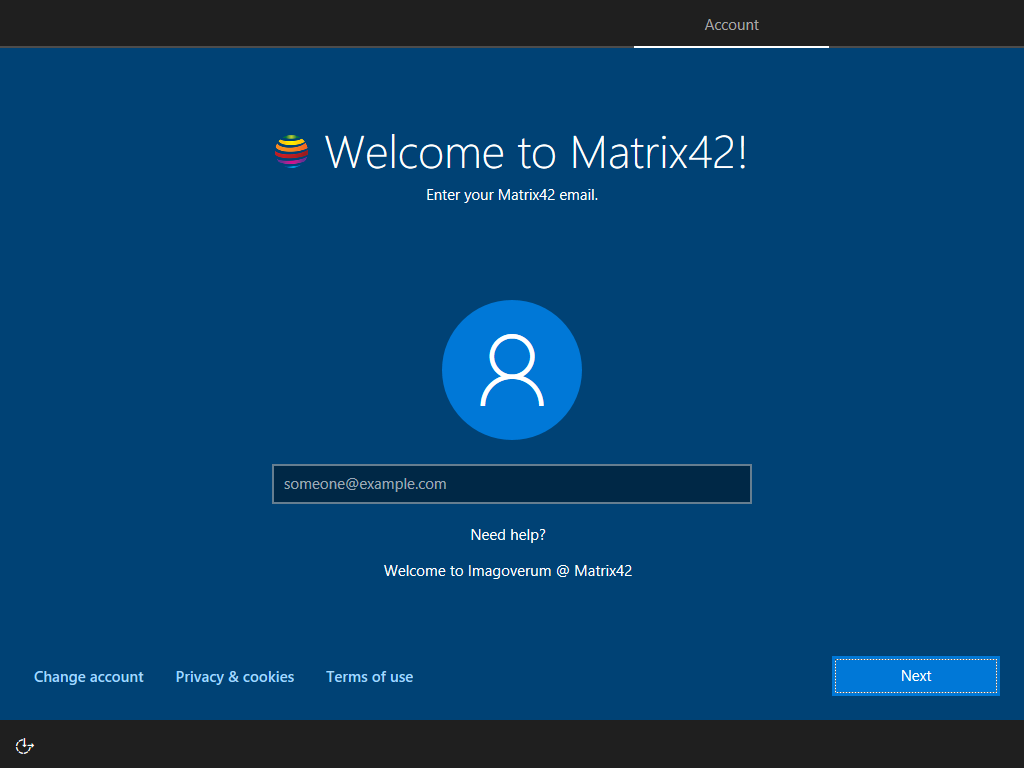
- Type in your Microsoft Entra ID Username. This is the email address to use to login into Office 365 and similar Microsoft Online Services
- Enter your Password
- Accept the Terms of use
- Wait until the device will start

- Create your PIN for using as a sign-in method (forced by Microsoft)
Next Steps
- If you missed it at the beginning, please refer to Windows 10/11: All about Windows Autopilot for additional information about Windows Autopilot
- Review all Windows 10/11 Profiles and configurations: Tags Guide Part IV: Windows 10/11
- Try an Microsoft Entra join enrollment: Entra ID Integration IV: Microsoft Entra Join
- Protect your mobile applications with the Entra ID Integration VI: App Protection Policies