Silversync Guide VII: Personal File Management
Personal File Management
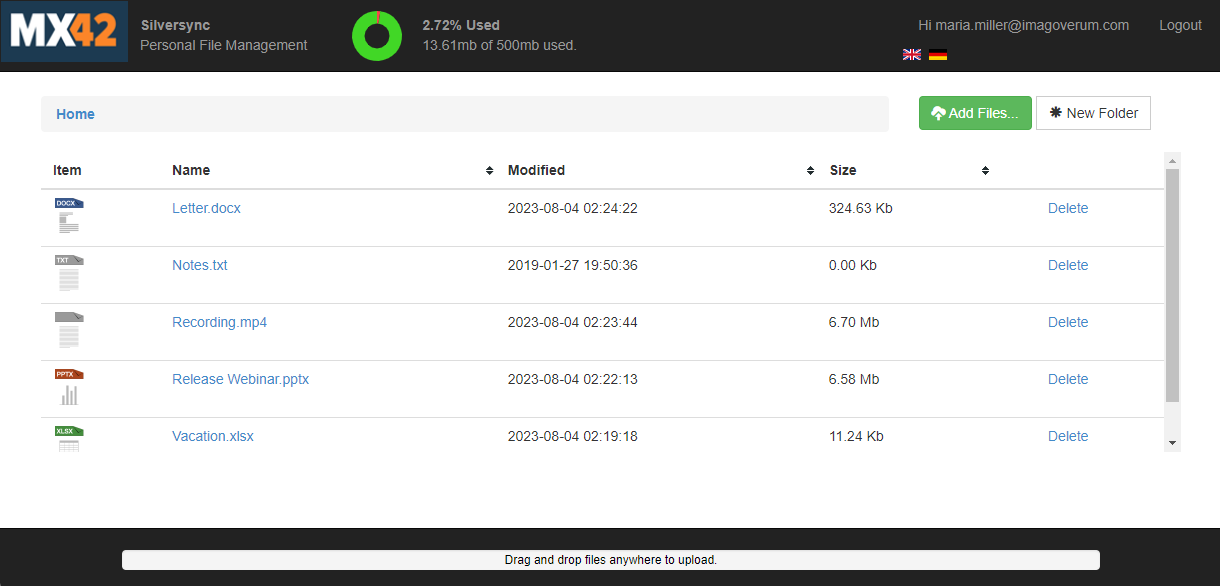
Personal File Management is a web-based user's personal storage space that allows users to upload or download their own content via Silversync.
Administrators define a location on the Silversync server and when users log in via the web interface and upload files, the system automatically creates a dedicated user folder for with specific permissions under the location defined by the administrator.
The storage size can be limited and expanded. A logo is supported with branding to give users a common feel with your other corporate sites. In general, users can create new folders, upload files via drag and drop, delete unused files and download files to their destination.
Configuration
- Open your Silverback Management Console and login as an Administrator
- Navigate to Admin
- Navigate to Silversync
- Click Edit
- Navigate to Personal File Management
- Change Content Location to C:\Userdrives
- Change the Maximum Server Storage Per User to e.g. 1000 (maximum) or keep 500 MB (optional)
- Upload a custom Personal File Management Logo (optional)
- Click Save and Close
Login and Folder Creation
- Open the URL for the Personal File Management Console
- Login as a user
- Click New Folder
- Enter a Folder Name, e.g. Documents
- Click Create
Review Folder Creation
- Open the Windows Explorer on your Silversync Server
- Open C:\Userdrives
- You should see now a new created folder with the name e.g. maria.miller@imagoverum.com
- When you use Server Authenticates
- Right Click Folder
- Click Properties
- Click Security
- Click Advanced
- Review the Owner: It is the Network Service
- Click Cancel
- Click Cancel
- Right Click Folder
- When you use User Authenticates
- Right Click Folder
- Click Properties
- Click Security
- Click Advanced
- Review the Owner: It is SYSTEM
- Click Cancel
- Click Cancel
- Right Click Folder
- When you use Server Authenticates
Upload a File
- Navigate back to Personal File Management Console
- Click Add Files
- Select any document file
- Wait until upload is finished
Check File Upload
- Navigate back to Windows Explorer on Silversync server
- Open C:\Userdrives\tim.tober@imagoverum.com\Documents
- You should see your uploaded file
Create User Folders in Advance
- When you use Server Authenticates
- Navigate to your Silversync Server
- Open the Windows Explorer and navigate to C:\Userdrives
- Create new Folders
- Right-click each folder
- Click Properties
- Click Security
- Click Advanced
- Change Owner to NETWORK SERVICE
- Click Apply
- Click OK
- Close Properties
- When you use User Authenticates
- Navigate to your Silversync Server
- Open the Windows Explorer and navigate to C:\Userdrives
- Create new Folders
- Right-click each folder
- Click Properties
- Click Security
- Click Advanced
- Change Owner to SYSTEM
- Click Apply
- Click OK
- Close Properties
Next Steps
Enroll a device, assign the previously created and use Tag and review the access to the user folder from the Matrix42 Documents application. The user folder will be a separate entry in the list of assigned folders and shares, and depending on the access methods used, users will be able to upload files from the Matrix42 Documents application to their personal folder.