Layout Templates
Overview
Layout Templates – Dialogs, Previews, Wizards, Landing Pages, and Dataset Views – are Solution Builder entities that allow users to easily create the UI of their Applications without any (or with only minor) coding involved.
To create a Layout Template for a page, in Administration, under User Interface → Layouts:
- Layout type: select the type of the Layout (Dialog, Dataset View, Preview, Wizard, or Landing Page) and add a new one;
- Configure Layout properties: fill out and save the provided form. Here you will need to provide not only certain basic entity related data, such as the Name and Description for the entity but also certain previously created Schema, such as Configuration Item;
- Layout Designer: design the look and feel of the new entity (a Dialog, Preview, Wizard, or a Landing Page) in the Layout Designer.
Most of the layouts available in the Solution Builder are pretty much self-explanatory. Thus, when building your Application, you would select “Dialogs” from the Layouts list to create a Dialog. You will then use this Dialog to create and subsequently edit new entities, such as Licenses, Contracts, and what is not in your own Application built with the help of the Solution Builder.
Likewise, you would select “Previews” to create a Preview for an entity. The Preview you create for an entity, such as a License or a Contract, allows you to preview the entity that you select in the grid. You will not be able to edit the selected item from the Preview dialog and will need to open the Edit dialog instead. On the plus side, the Preview dialog opens up way faster than the Edit dialog. In other words, Previews and Dialogs are two separate entities with different purposes.
Click the Wizards navigation item in the Navigation Panel on the left of the screen to create a "Wizard". Wizards, unlike Dialogs, usually consist of several steps and have buttons at the bottom, such as NEXT, BACK, and CANCEL, which allow the user to navigate the wizards.
For more information on the layout types see:
Configure layout
Users are able to apply changes to the layout with one of the following methods.
Configure product default layout
This option is recommended in case when you want to keep most of the elements, and want to add or hide changes.
To apply it, select Layout in Administration and call the action "Customize" and do all required changes in the Layout Designer.
The benefit of that approach is the possibility to receive updates from the product team. All changes you do will stay, and product changes will be also applied.
In this case, the product team stays the owner of the layout.
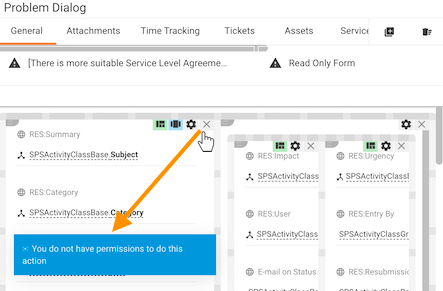
However, you will not be able to delete the "system" containers but only hide them:
Also, predefined system logic in behavior will stay, and you will be not able to turn it off.
Example of predefined system logic in behaviors: mark ticket as read after opening the Ticket preview in Service Desk, etc.
Create a copy of the product default layout
This option is recommended when you want to use the layout as the basis but for something completely new.
To apply it, select Layout in Administration and call the action "Copy". As a result, a completely new layout will be created based on the selected template. Proceed to change it with the Layout Designer.
From the benefits, you can delete everything you want on the canvas, do any changes as there are no limitations, comparing to the first approach when you configure the default product layout.
In this case, you become the owner of the layout.
Pay attention, that when choosing this option, you stop receiving product updates for that layout, same as product-specific behaviors implemented especially for this template, will stop working. Example of predefined system logic in behaviors for specific template: Mark ticket a read after opening the Ticket preview in Service Desk, etc.