Secure Erase
Overview
With Secure Erase, files, folders and partitions are deleted without recovery due to the methods of file overwriting. Secure Erase is activated only for a user.
Securely delete files manually
With Secure Erase enabled for a user, you can add the Secure Erase option to the user's Windows context menu so that the user can erase files on demand with Secure Erase. You can also define which methods for file overwriting are available to the user.
Permitting a user to delete files securely via Windows context menu
- Select a user in User management.
- Under Secure Erase | Settings, enable Add Secure Erase to context menu.
- Click Save.
Enabling Secure Erase methods for user
- Select a user in User management.
- Under Secure Erase | Settings tab, enable the check boxes with overwriting methods available for the user.
- Click Save.
Planning scheduler tasks
Via the Scheduler you can plan and execute Secure Erase tasks. You can both delete predefined directories as well as the recycle bin or regularly empty the folder with temporary files. You can also safely erase empty sectors of the hard disk and free up unused hard disk space.
Planning a secure delete of files and folders
- Go to Product settings | Secure Erase | Scheduler.
- In the Scheduler area, click Add.
- A new entry appears in the list.

- In the Name column, enter a task name.
- Enable the check box in the Global column to assign the task to all users.
- In the Settings area, select Secure delete from the Action drop-down.
- In the Secure delete method drop-down, select a method of file overwriting.

- To select objects for deletion, click Add file..., Add folder... or System folder... button.
- A dialog folder appears.

- Select objects and click OK or Open to confirm the selection.
- Set the Empty Recycle Bin securely box to delete the contents of the Recycle Bin.
- Select Delete temporary directories securely to clear the contents of the Windows temporary directories.
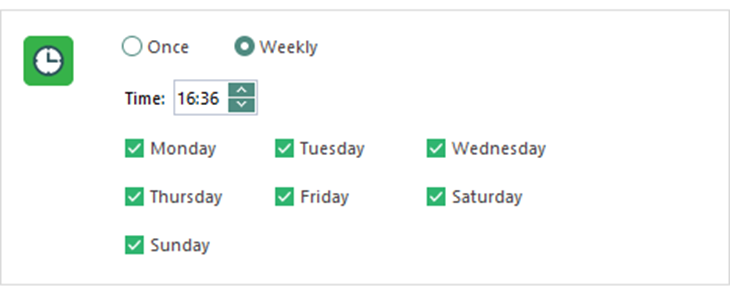
- Select the task frequency (once or weekly).

- Click Save.
Planning a secure delete of empty sectors
- Go to Product settings | Secure Erase | Scheduler.
- In the Scheduler area, click Add.
- A new entry appears in the list.
- In the Name column, define a task name.
- In the Settings area, select Empty sectors secure delete from the Action drop-down.
- Select the hard drives, where to delete empty areas. Only the free space is cleaned up.
- Select the task frequency (once or weekly).
- Click Save.
Assigning a planned task to a user
- Under User management, select a user.
- Under Secure Erase | Scheduler, enable the task.
- Click Save.