Company Branding I: Startup Page
Silverback offers the ability to brand your Silverback Management Console Login page and the Self-Service Portal page. This helps to provide a recognizable look and feel for end users and can be done with just a few steps. First you should choose if you want to use the banner or the logo format. Second choose if you want to add a footnote.
- Scroll down this page to see all the possible combinations
- Then proceed with the configuration.
- Open Silverback Management Console (e.g. https://silverback.imagoverum.com/admin)
- Login as Administrator
- Navigate to Admin
- Navigate to Self Service Portal
Use default text and graphics
| Enabled | |
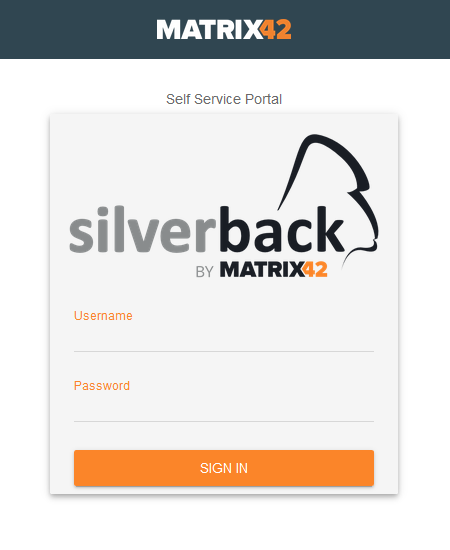 |
Silverback Self Service Portal and Management Console Login will look like this. When you disable Use default text and graphics you will be able to change the Banner. When you disable this value you will be able to upload your own banner. |
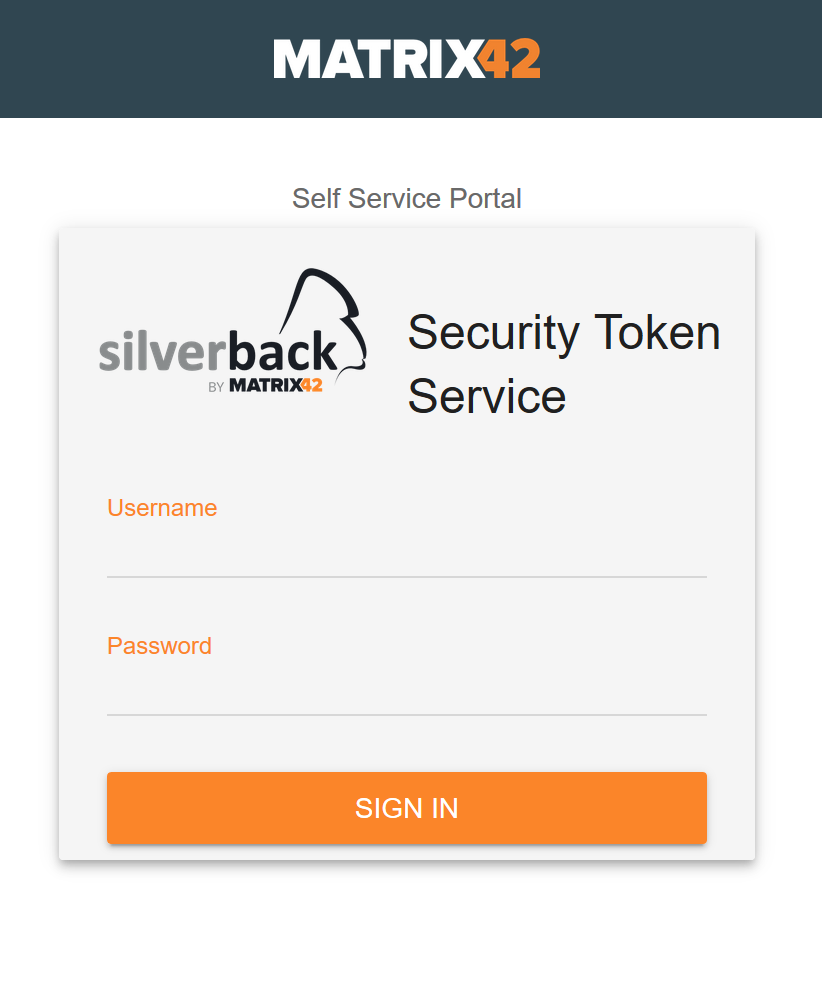
Banner or Logo
- Choose between Banner or Logo
- Then enable or disable Use Banner
| Disabled | Enabled |
 |
|
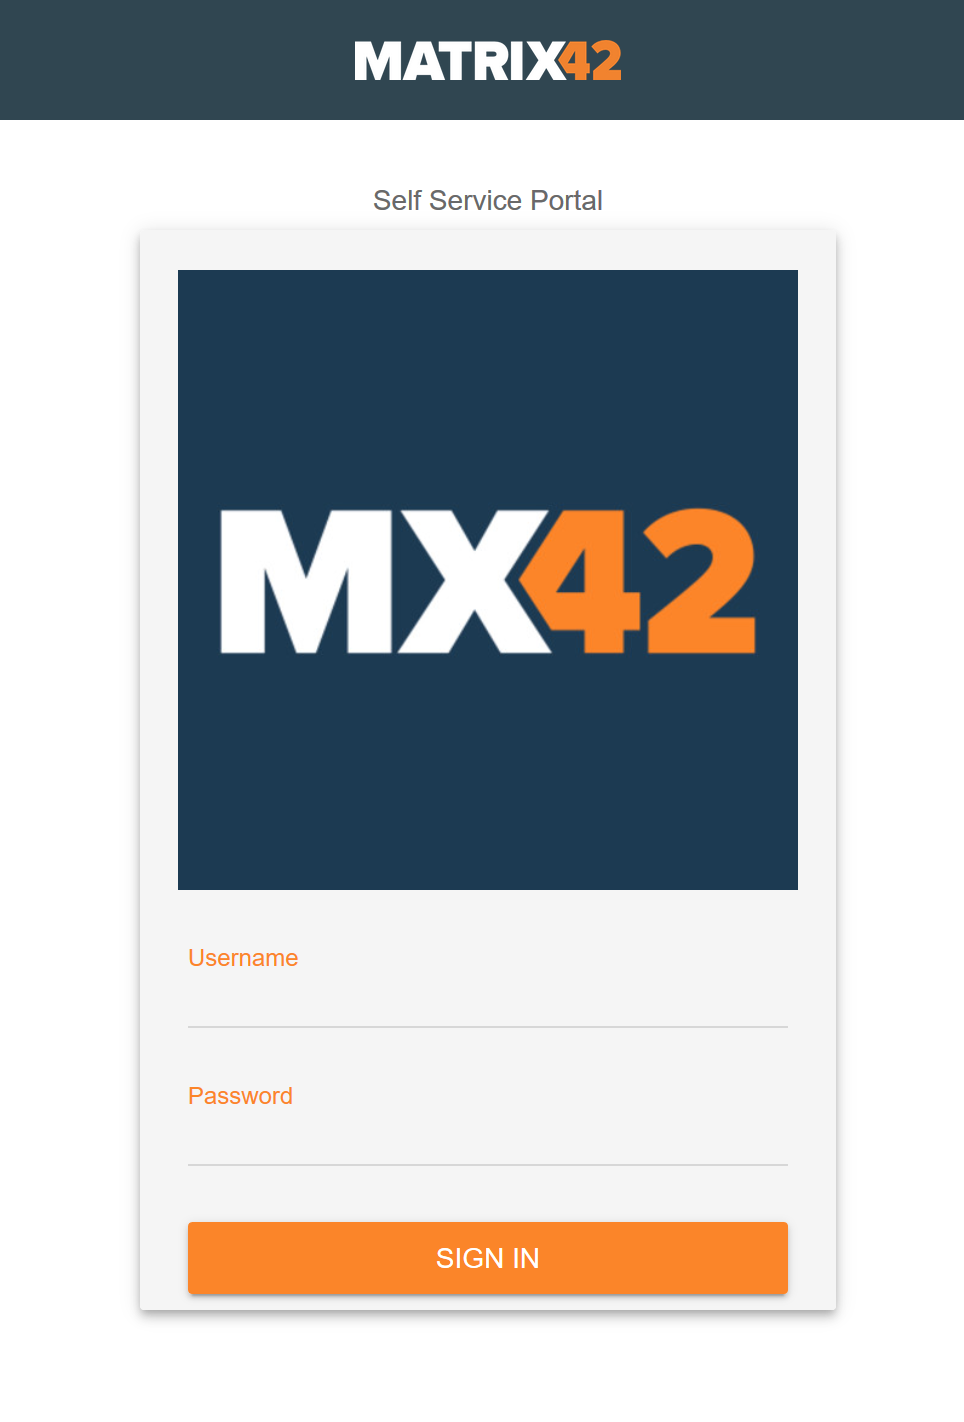
Change Banner
- Disable default text and graphics
- SSP Banner field will get free to choose File
- Click Choose File
- Navigate to your desired file
- Select your File
- Click Open
- Click Save
Supported file types: *.jpg, *.png, *.gif
| Original | Branded |
 |
 |
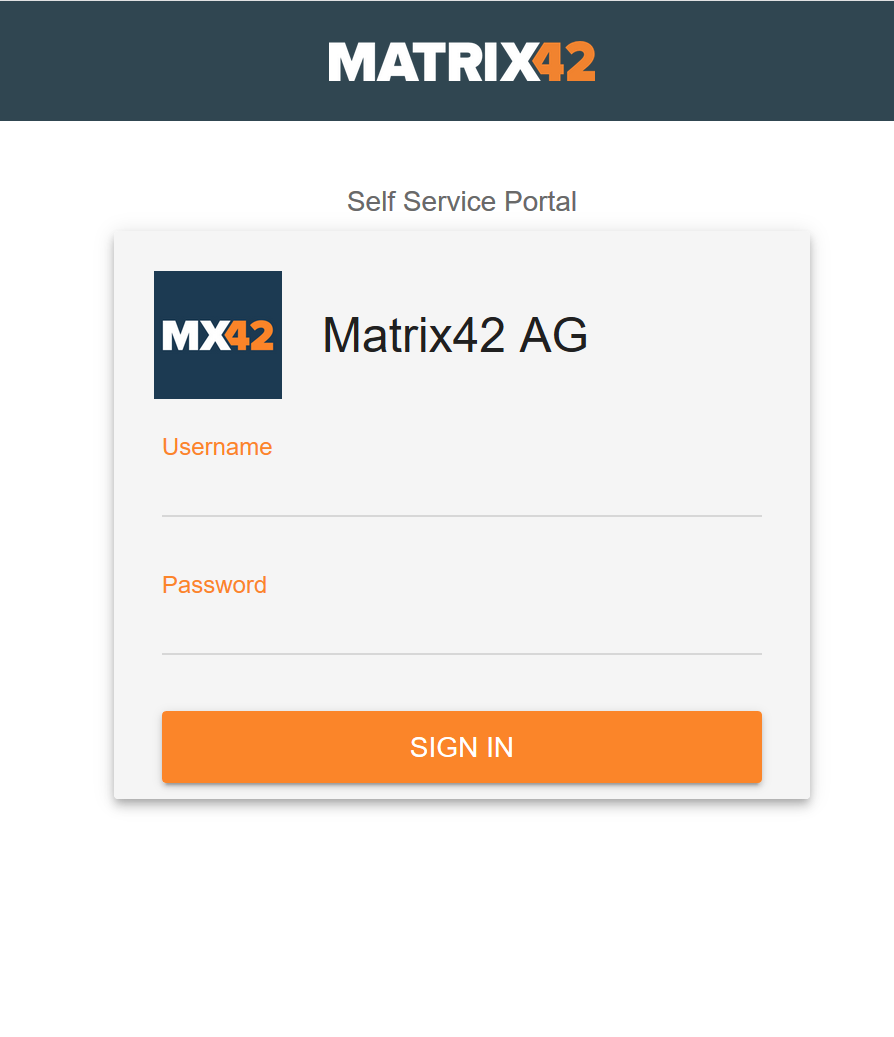
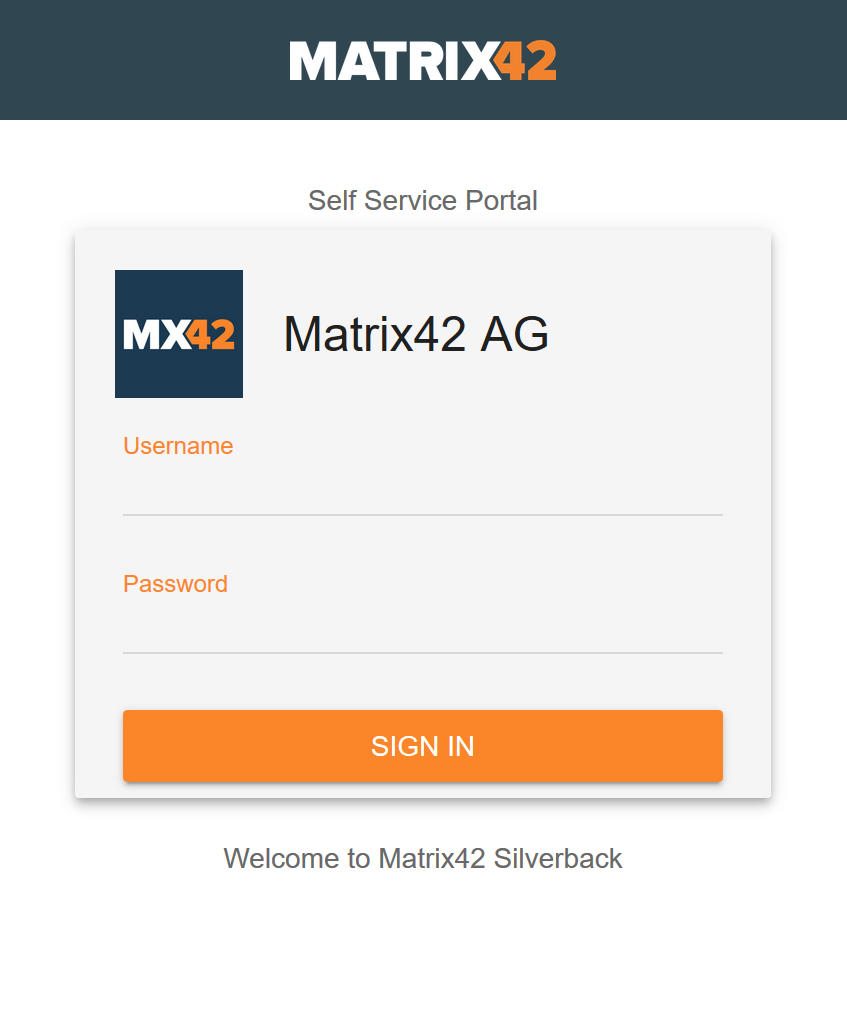
Change Logo
- Disable Use default text and graphics
- Disable Use banner
- Enter as Header Text e.g. Matrix42 AG
- Click Choose File
- Navigate to your desired file
- Select your File
- Click Open
- Click Save
The Logo file should not exceed 100KB.
| Original | Branded |
|
 |
Add a footnote
- Enter an addtional text to SSP Text
- E.g. Welcome to Matrix42 Silverback
- Click Save
| Before | After |
|
 |
Next Steps
- Check your recent changes by opening Management Portal or Self Service
- Brand your Enrollment Page: Company Branding II: Self Service Portal Enrollment Page