Extension I: File Upload Service
Overview
The File Upload Extension is required by the UEM App and provides base components which are used by the package upload wizard. It is automatically installed when installing or updating the UEM Extension and is hidden in the Extension Gallery. The Package Upload Wizard in UEM/SUEM App uses the configured storage for temporary file storage. The packages are uploaded to Azure and downloaded by the core system. After the upload is finished or not successful ended the file is removed from Azure. The File Upload Service currently supports Azure Blob storage only.
Usage example
The "Add package" action in the UEM and SUEM Apps use the file upload service to provide a download link to the corresponding core system like Empirum or Silverback. When adding a software package the added file is uploaded to the Azure storage and an access link is created. This link is provided via an Enterprise Service Bus Message to the core system. The core system receives the message and performes the appropriate actions. the status of the low can be reviewed in the Administration -> Integration -> Enterprise Service Bus -> Remote Actions. Once the process is successfully finished the file will be removed from the Azure storage.
Configuration
Create Storage Account
- Open the Azure portal https://portal.azure.com and login with your account to your organizations subscription
- Select Storage Accounts
- Click "Create" (alternatively an existing storage account can be used)
- Choose the desired Subscription and Resource Group where the storage account should reside in
- Provide a name for the new storage account
- Select the options
- Region as desired
- Performance (standard would be sufficient for this purpose)
- Redundancy (LRS would be sufficient for this purpose)
- Choose the desired options in the other tabs.
- Create the new storage account
- After creation switch to the storage account
- Select Containers
- Create a new container with private access and save the name for later
- Select Access Keys and copy a connection string
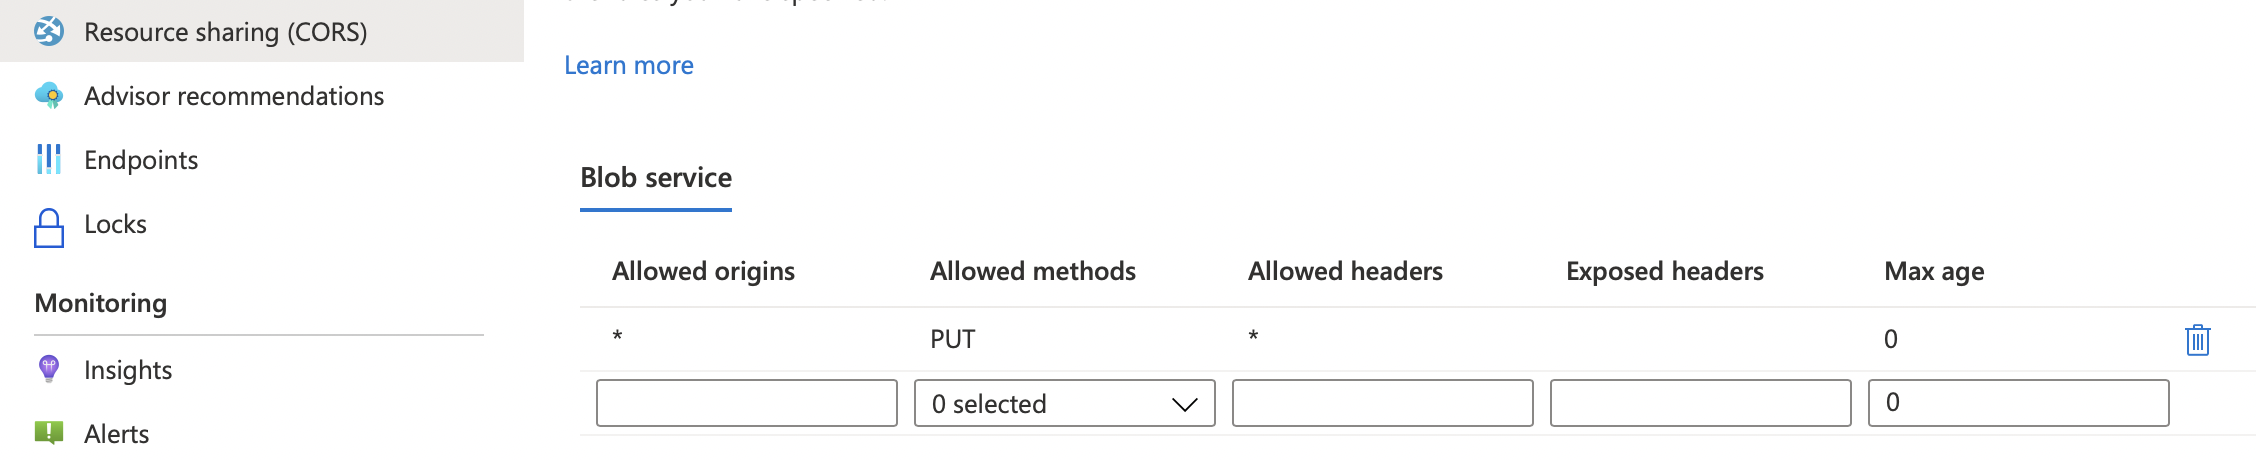
- Select Resource Sharing CORS and allow the PUT method for all (*) origins and headers
Configure Storage Connection
- Open your Unified User Experience
- Navigate to the Administration App (required Admin Role)
- Select Integration - File Upload Service - Storage Connections
- Click "Add Storage Connection"
- Provide a name for the connection
- The Drop Down currently only offers "Azure Blob" and cannot be changed
- Paste the connection string of the Azure Storage Account used for the file uploads
- Enter the name of the container created in Azure
- Save
Next Steps
- Proceed with Getting Started Guide
- Proceed with Administrator Guide