Creating a configuration policy
Creating a configuration policy
This section details how to create a configuration policy for the FDE component only.
You need to have knowledge about the target computer for deployment. Details such as number of partitions, drive letters, whether encrypted, and so on are necessary for the successful deployment of Matrix42 Full Disk Encryption. Once the policy is created, deploy it, for details see Deploying FDE policies.
Follow these steps to create a FDE configuration policy:
- Open the Control Center (as described in section 1.5).
- Double-click the Policy Builder icon.

- Select Full Disk Encryption policy builder.
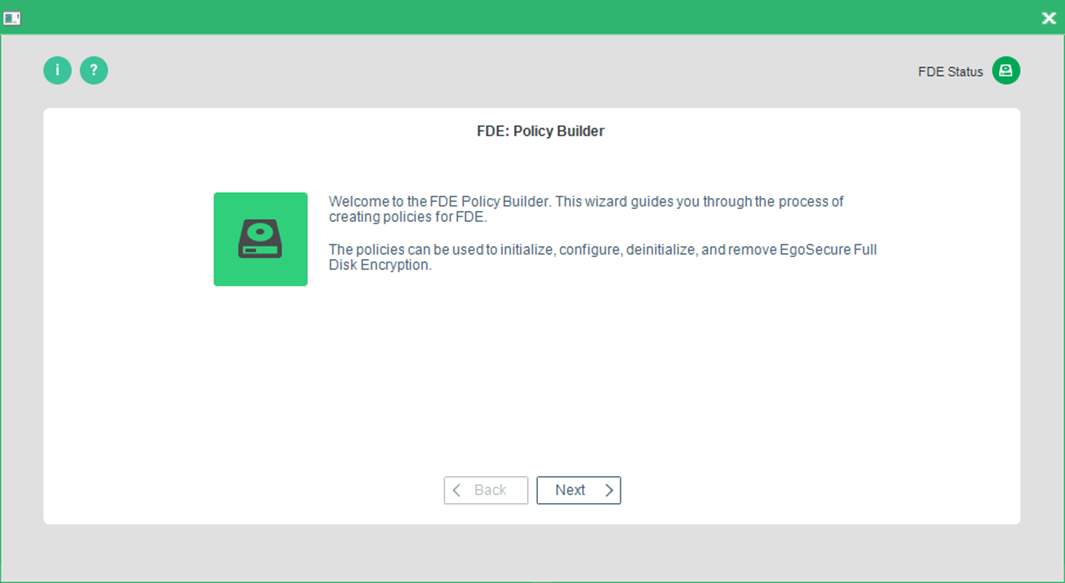
- The FDE Policy Builder Welcome dialog appears.
- Click Next.

- The Policy selection dialog appears.

- The Policy type dialog appears.
- Select Create a configuration policy and click Next to continue.

- The configuration options dialog appears:

Any option you check in this dialog will affect the dialogs that appear hereafter! These steps assume that you have checked every option to detail every dialog! If you have not checked every option and have reached one of the steps here that does not match that on your monitor, then skip the step(s) until you come to the correct dialog!
The following options are available:
| Option | Description |
|---|---|
|
Change the Administration password |
Check this option to change the administration password on the target computer. |
|
Perform encryption of hard drive partitions |
Check this option to encrypt the partitions on the target computer. |
|
Create an Emergency Recovery Information file |
Check this option to create new ERI for the target computer. |
|
Configure ERI password restrictions |
Check this option to configure ERI password restrictions. |
|
Configure Logging |
Check this option to configure logging. |
|
Configure TPM |
Check this option to enable the TPM for Matrix42 Full Disk Encryption. |
|
Configure Branding or Helpdesk text updates |
Check this option to configure Branding or Helpdesk text updates |
|
Switch to expert mode |
Check this option to configure each option in detail. |
- Make your selection and click Next.
- The Administration Password dialog appears.

- Enter the new administration password and confirm it. Click Next.
Hard Disk Encryption Options
- The Hard Disk Encryption Options dialog appears.

The following options are available:
| Option | Details |
|---|---|
|
Encrypt all local drives using the same settings for each |
This option enables the encryption for every partition/hard disk on the target computer with the same settings. If you uncheck this option, all the available drives in the hard disk will be displayed in the list. To display every drive letter, click Show all. |
|
Show all |
Display every drive letter in the drive list. |
|
Set encryption options |
Set the encryption options for every partition or the selected drive in the list. The following dialog will appear:
The dialog has the following options:
|
|
Clear |
Clear any incorrect settings made to a drive. |
- Select the encryption settings for either all drives or independently for each one and click Next to continue.
Emergency Recovery Password
- The Emergency Recovery Password dialog appears.

The following options are available:
| Option | Details |
|
Allow blank password while saving emergency recovery password |
Check this option if you do not want to protect the ERI file with a password (not recommended!). |
|
Minimum required password length |
Set a minimum password length for the ERI file (recommended!). |
|
Private emergency recovery information |
This option should be used if you do NOT intend to define a single ERI file for company-wide use. This disables the recovery of all notebooks through one ERI file. |
Allowing the storage of ERI files without a password imposes a security risk! It is recommended to ALWAYS use a password to protect ERI files.
1. Once you have made your selection, press Next to continue.
Emergency Recovery Information Options
- The first Emergency Recovery Information options dialog appears.

The options available are in the table below:
| Option | Details |
|---|---|
|
Create emergency recovery information |
Check this option to create ERI (highly recommended!). |
|
Emergency recovery password |
The password used to access the ERI file in an emergency. |
|
Confirm password |
Confirm the password for the ERI file. |
|
Path for ERI file
|
The location to which the ERI file is saved. Either enter the path for the ERI file manually or click “…” to browse for a location. Remember that this location must be accessible from the target computer! For details about ERI copies, see Creating an ERI file. |
- Make your selection and click Next.
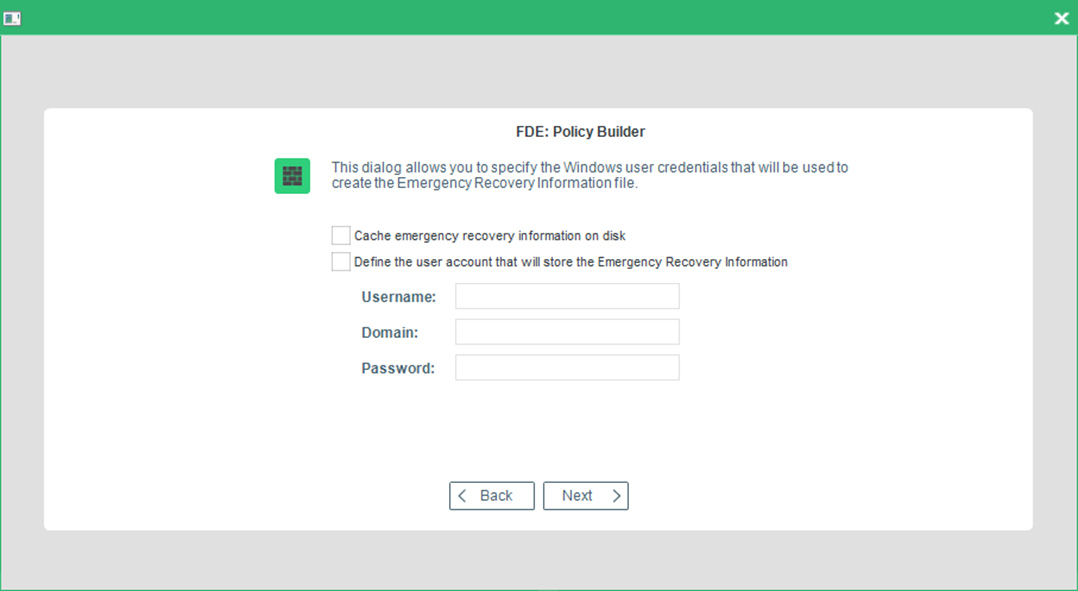
- The second Emergency Recovery Information options dialog appears

The following options are available:
| Options | Details |
|---|---|
|
Cache Emergency Recovery Information on hard disk |
Check this to store the ERI on the hard disk. |
|
Define the user account that will store the Emergency Recovery Information |
Check this if you want a specific user to be able to store ERI to a network drive that requires specific access. |
|
Username |
The Windows credentials username required for network access. |
|
Domain |
The Windows credentials domain required for network access. |
|
Password |
The Windows credentials password required for network access. |
- Once you have made your selection, click Next to continue.
- The step for configuring additional encryption key protection appears.

- Enable an additional layer of security to the disk encryption key (DEK).
- The HKEK option utilizes unique hardware-based information from the client to generate an additional hardware-based key encryption key (HKEK).
- The TKEK option uses uses unique TPM information from the client for generating a TPM-based key encryption key (TKEK). Check TPM system requirements before enabling the option.
- The options protect against moving the encrypted drive into another computer within the same network, where the same KEK is used.
- You can use both options at the same time for protection.
System requirements for computers with TKEK
- UEFI systems starting with Windows 10 and later
- TPM devices with specification version 2.0 are supported only
- TPM must implement the following set of commands:
- TPM2_CreatePrimary
- TPM2_Create
- TPM2_Load
- TPM2_EvictControl
- TPM2_FlushContext
- TPM2_GetRandom
- TPM2_RSA_Encrypt
- TPM2_RSA_Decrypt
- TPM2_ObjectChangeAuth
- TPM must support the following set of algorithms:
- TPM_ALG_SHA256
- TPM_ALG_RSA
- TPM_ALG_OAEP
- TPM_ALG_AES
- TPM_ALG_CFB
- TPM device must be in the Ready state.
When updating BIOS or replacing hardware, the information used for key generation changes and disk recovery will no longer be possible. That is why, please, follow the steps below to avoid it:
- Decrypt the disk.
- Update BIOS or replace hardware.
- Encrypt the disk.
- Enable the Generate hardware-based key encryption key (HKEK) option and/or Generate TPM-based key encryption key (TKEK) option, and then click Next.
Tray Settings
- The step for configuring FDE tray settings appears.

- By default, the encryption tray appears on the Windows taskbar once a disk is encrypted. To hide the icon, check the Hide FDE tray icon box and click Next.
Logging Options
- The Logging dialog appears.

The available options are in the table below.
| Option | Details |
|---|---|
|
Path |
Enter a full path for the FDE log file either directly into the field Path or click “…” to open a file explorer. Remember to enter the log file name and *.log extension. |
|
Size |
Set the maximum log file size. |
- Once you have made your selection, press Next to continue.
TPM
- The TMP dialog appears.

| Option | Details |
|---|---|
|
Activate TPM protection |
Check this option to enable the TPM feature for Matrix42 Full Disk Encryption on your computer. |
|
Open key files for additional systems |
Check this option to import TPM keys from another Matrix42 Full Disk Encryption installation. |
- Make your selection and click Next.
Branding
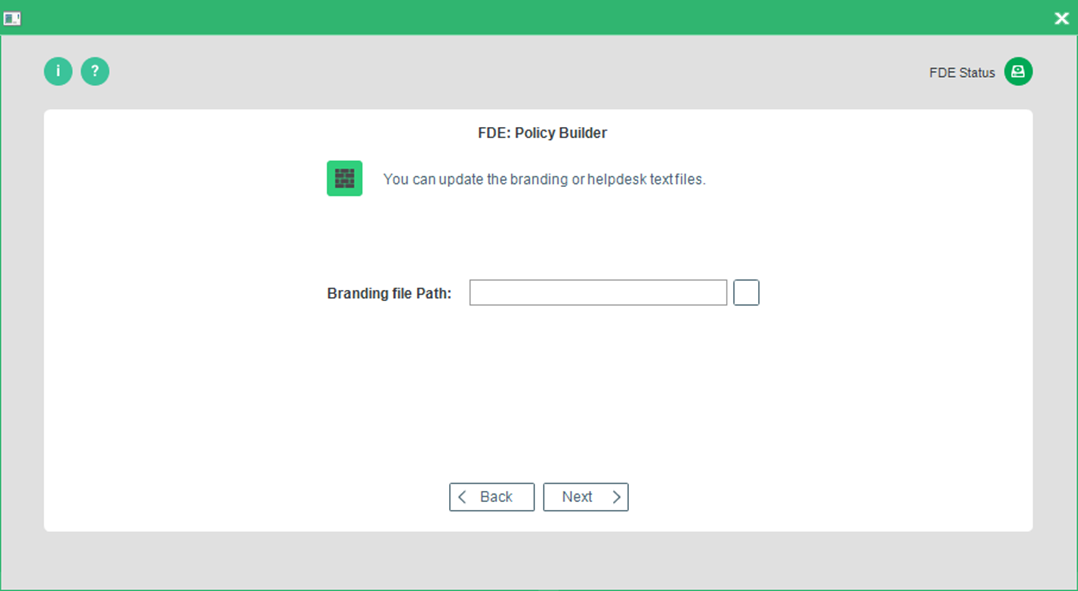
- The Branding Update dialog appears.

- Select the branding or helpdesk text file and click Next to continue.
Boot Messages Options
- The Boot messages options dialog appears. The messages below are shown only on computers with Windows versions below Windows 10.

This dialog allows you to define the following installation messages:
| Option | This option determines if |
|---|---|
|
Show status dialogs |
… status dialogs should be displayed on the target computer during policy deployment. |
|
Show warning messages |
… warning messages should be displayed on the target computer during policy deployment. If you do not select this option, warning messages are suppressed. |
|
Show error messages |
… error messages should be displayed on the target computer during policy deployment. If you do not select this option, error messages are suppressed. |
|
Show success messages |
… success messages should be displayed on the target computer that relate to individual policy tasks during deployment. |
|
Show other messages |
… information messages should be displayed on the target computer during and after policy deployment. If you do not select this option, information messages are suppressed. |
- Make your selection and click Next to continue.
Administrator Password
- The Administration password (target computer) dialog appears.

- Enter and confirm the Matrix42 Full Disk Encryption administration password already set on the target computer. Click Next to continue.
Policy Location
- The Policy location dialog appears.

The following options are available:
| Option | Details |
|---|---|
|
Policy file path
|
Enter the path for the policy in this field by clicking ‘…’ and selecting a location and filename for the file in the file browser. |
|
Create an unencrypted copy of the policy
|
Check this option to create an unencrypted copy of the policy (recommended for reconfiguration). If you want to reconfigure a computer that has already been configured using a policy, then check this option - the Policy Builder can only open an unencrypted policy to edit the settings. |
|
Plain copy of policy
|
Enter the path for the plain copy of the policy in this field by clicking ‘…’ and selecting a location and filename for the file in the file browser. |
- Enter the paths for your policy and click Finish to complete the procedure.
- It is recommended to always store plain copies in a safe place. Use the plain copies to create new policies for future changes in configuration.
- For security reasons encrypted policies cannot be edited with the FDE Policy Builder.
