File Menu
Overview
The File menu of the Workflow Studio offers different possibilities to create new workflows, components, and templates, or to open the existing ones. Besides, the properties of new or checked-out workflows, components, and templates will be defined or edited in the File menu.
New
The New menu item in the Workflow Studio's File menu offers various options to create new workflows, components, or templates.
New Blank Workflow
You can create new workflows from scratch. Click "Create" to open a new blank workflow in the editor, where you can add the existing activities from the Repository and configure and connect them as desired.
New Workflow From
You can create new workflows based on templates or as a copy of another existing workflow. The dialog presents two lists, one with the existing workflows and the other with available templates from which you can choose.
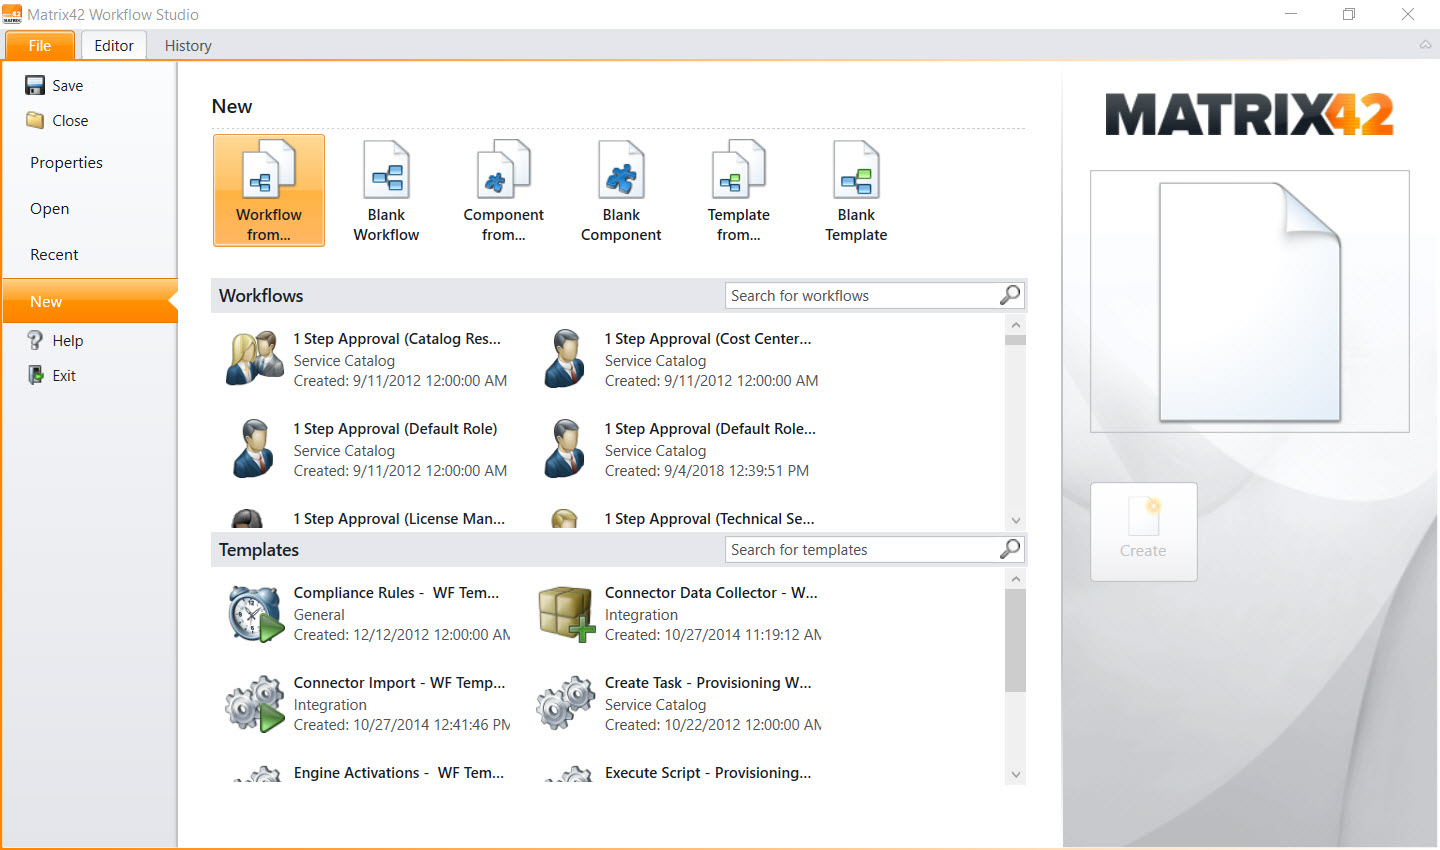
Click "Create" to open a new workflow in the editor, where you can add further activities from the Repository, and configure and connect them as desired. Besides, the meta information (properties) will be copied from the template or workflow to the new document. If the source is a workflow, the display name will be changed to "Copy of (original workflow title)".
New Blank Component
You can create new components from scratch. Click "Create" to open a new blank component in the editor, where you can add the existing activities from the Repository and configure and connect them as desired.
New Component From
You can create a new component as a copy of another existing component. The dialog presents a list with the available components, from which you can choose. Click "Create" to open a new component in the editor, where you can add further activities from the Repository and configure and connect them as desired. Besides, the meta information (properties) will be copied from the source component. The display name will be changed to "Copy of (original workflow title)".
New Blank Template
You can create new workflow templates from scratch. Click "Create" to open a new blank template in the editor, where you can add the existing activities from the Repository and configure and connect them as desired.
New Template From
You can create new templates based on other templates or workflows. The dialog will present two lists, one with existing workflows and the other with the available templates from which you can choose. Click "Create" to open a new template in the editor, where you can add further activities from the Repository and configure and connect them as desired. Besides, the meta information (properties) will be copied from the template or workflow to the new document, and the title of the template will be changed to "Copy of (original workflow title)".
Open
The Open menu item in the Workflow Studio's File menu offers the options to open an existing workflow, component, or template. Based on your decision, different views will be provided.
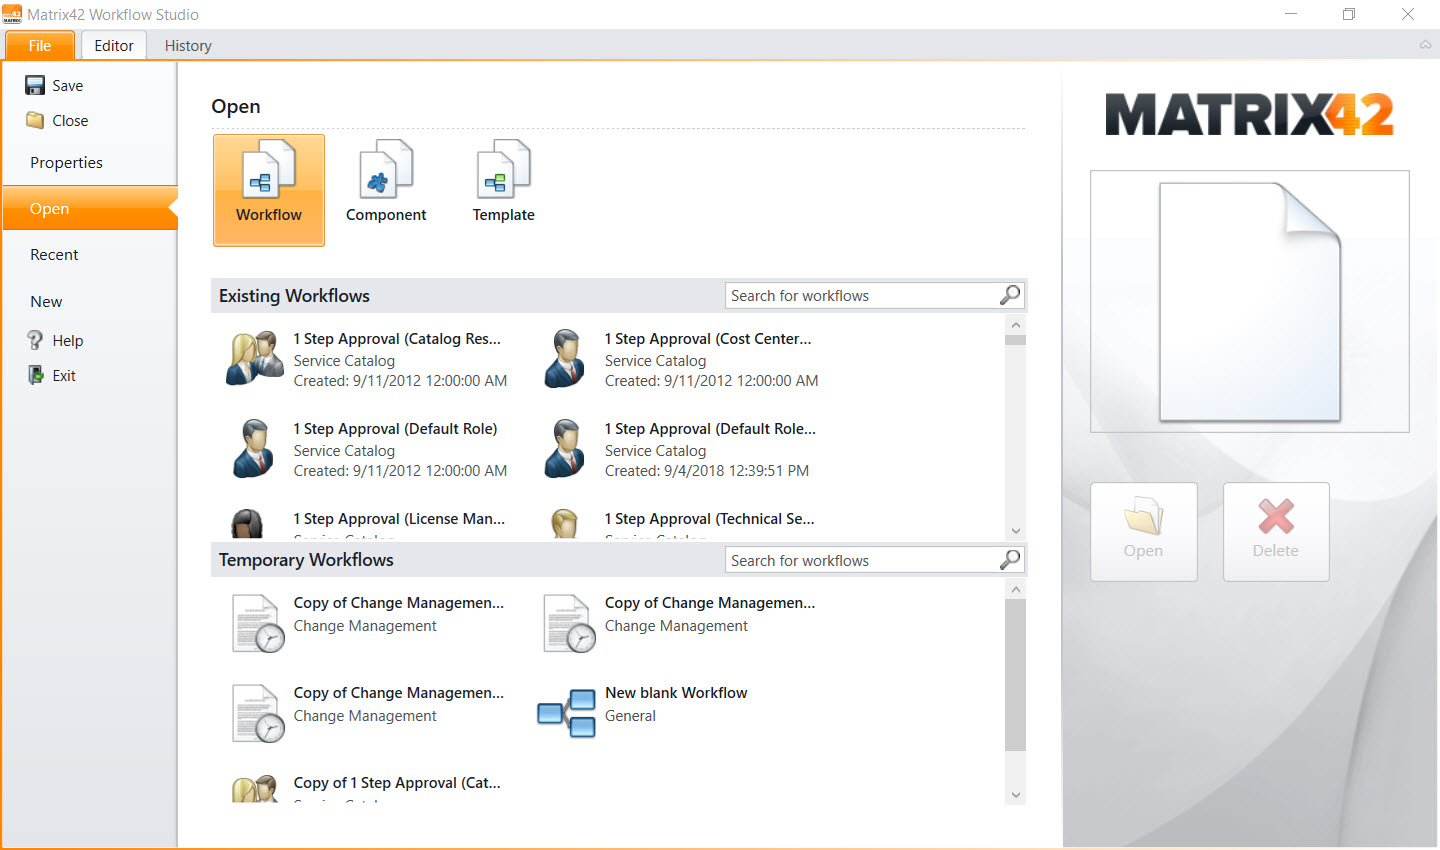
Open Existing Workflow
This page is divided into two lists. One presents all public (checked-in) versions of workflows, the other offers the pending workflows of the current user (previously checked-out or new workflows which were not checked-in yet). The list of pending workflows is hidden if no pending workflows are available for the current user. The open page provides a search for workflows by keyword (searches the name and comments).
Double-click an existing workflow or click "Open" to open the selected workflow in the editor in the read-only mode. It becomes editable after it is checked out. Select a temporary workflow and click "Open" to open the temporary workflow in the editor. It can be directly edited.
Furthermore, by clicking "Delete" on the right you can delete the selected temporary workflow which was never checked-in before.
Open Existing Component
This page is divided into two lists. One presents all checked-in versions of components, the other offers the pending components of the current user (previously checked-out or new components which were never checked-in). The list of pending components is hidden if no pending components are available for the current user. The open page provides a search for components by keyword (searches the name and comments).
Select an existing component and click Open to open the component in the editor in the read-only mode. It becomes editable after it is checked out. Select a temporary component and click Open to open the temporary component in the editor. It can be directly edited.
Furthermore, by clicking Delete on the right you can delete the selected temporary component which was never checked-in before.
Open Existing Template
The page is divided into two lists. One presents all checked-in versions of a template, another offers pending templates of the current user (previously checked-out or new templates, which were never checked-in yet). The list of pending templates will be hidden, if no pending templates are available for the current user. The open page provides a search for templates by keyword (searches the name and comments).
Select an existing template and click Open to open the template in the editor in the read-only mode. It becomes editable after it is checked out. Select a temporary template and click Open to open the temporary template in the editor. It can be directly edited.
Furthermore, by clicking Delete on the right you can delete the selected temporary template which was never checked-in before.
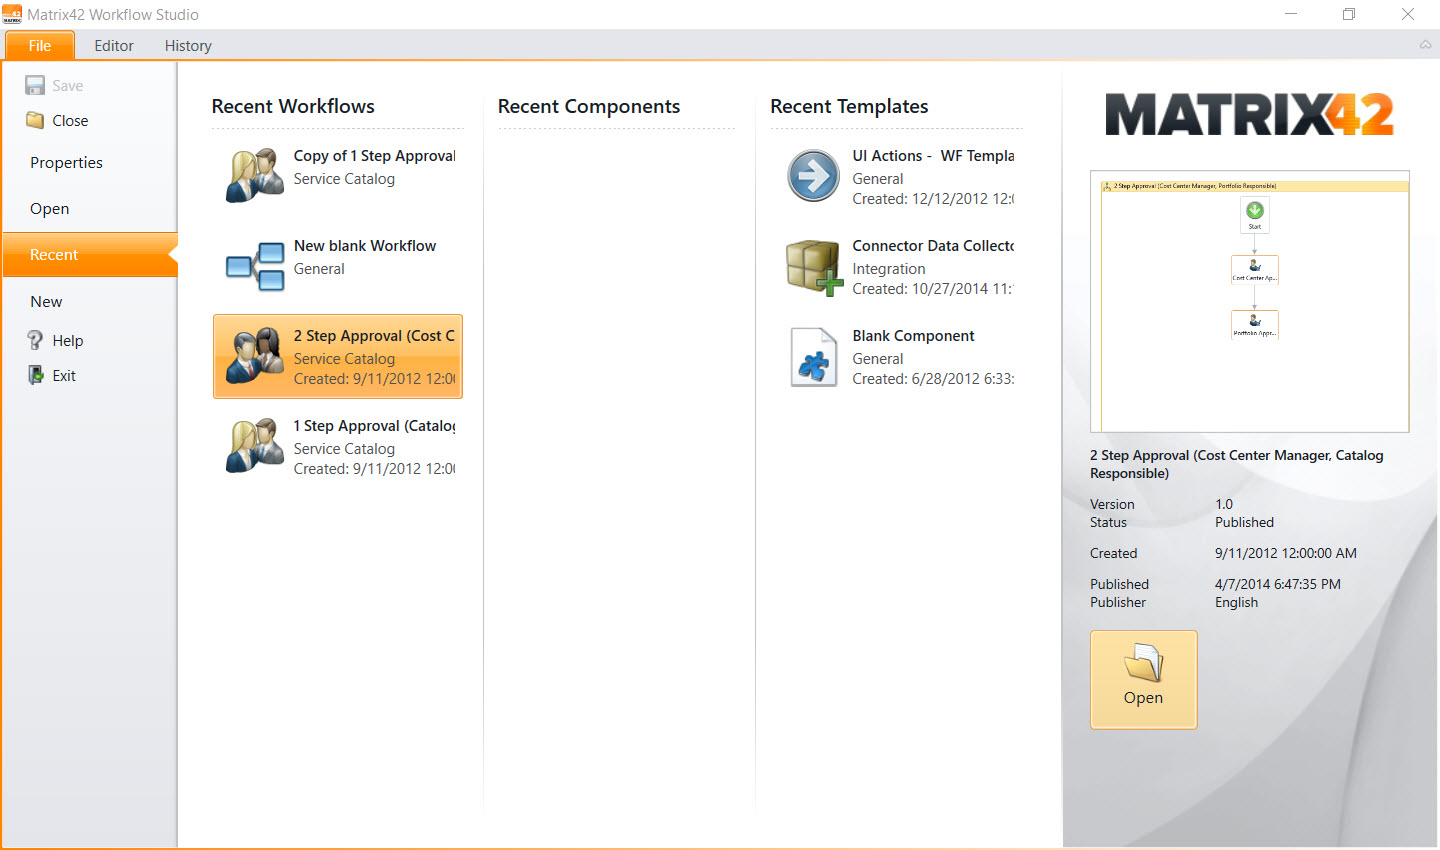
Open Recent
The page of the Recent menu item is divided into the three sections: Recent Workflows, Recent Components, and Recent Templates. Each section lists the last 10 objects that have been recently opened by the current user.
Select an object and click Open to open the object in the editor in the read-only mode. It becomes editable after it is checked out.
Edit Properties
The document properties can be reviewed and modified on a dedicated page in the main menu. For review of the properties, an object should be opened and focused in the editor. For modification it should be additionally checked out. To save the changes, click "Save" on the right.
Depending on the type of the currently focused document, this page will show the following attributes:
Workflow Properties
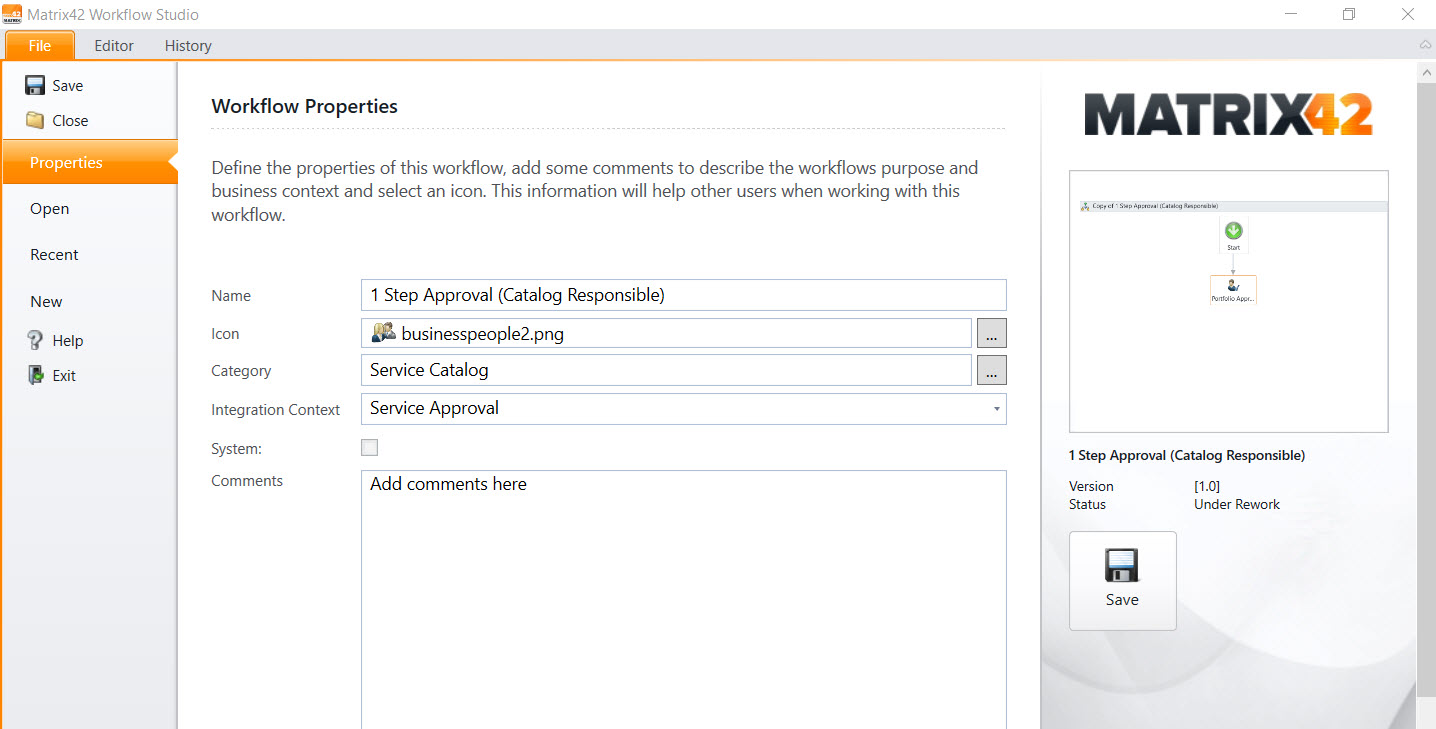
Define the properties of this workflow, add some comments to describe the workflow's purpose and business context and select an icon. This information will help other users when working with this workflow.
Name (mandatory): Difference between Name and Technical Name: Technical name is assigned permanently after the first save and cannot be changed later. The workflow engine works with the technical names. The Name serves only as an explanation/description for business users. The same behavior is for components and templates.
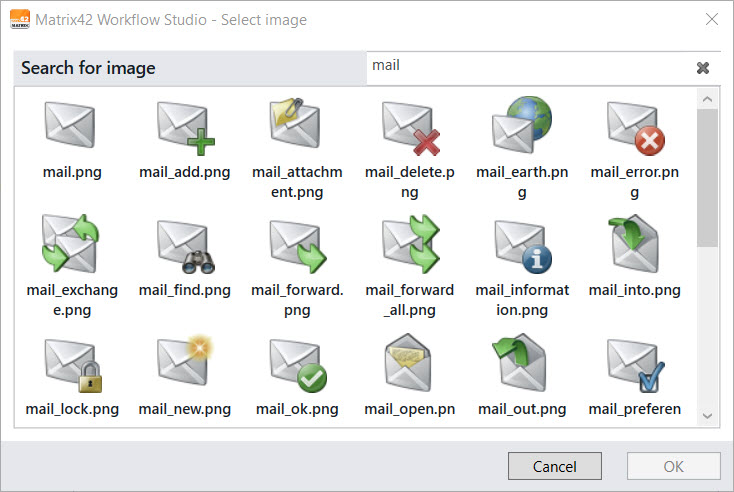
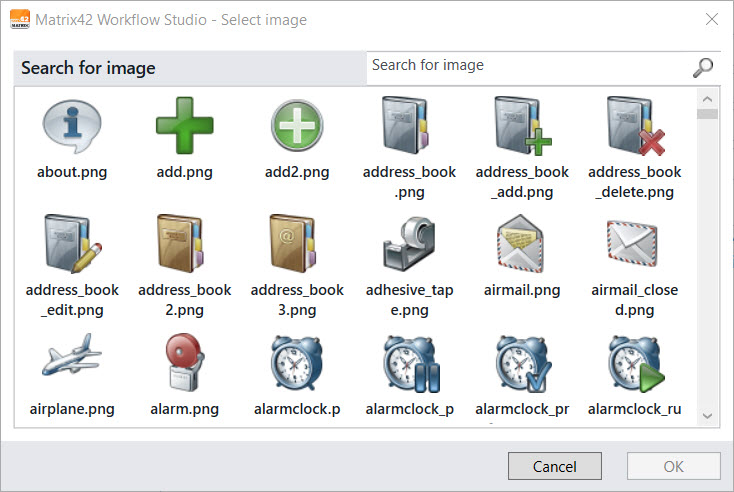
Icon (mandatory): Click the selection control (three dots) to the right of the field to select an icon from the library of available images. Use the search field at the top of the dialog that appears to locate the icon you need.
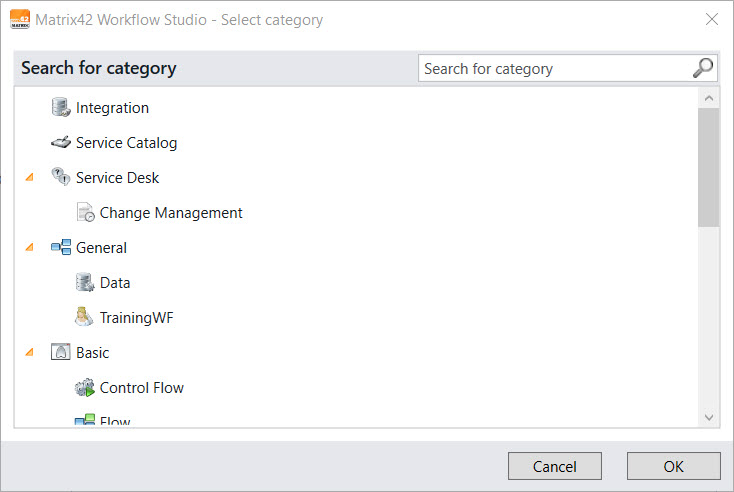
Category (mandatory): Click the selection control (three dots) to the right of the field to select a category from the list of available ones. Use the search field at the top of the dialog that appears to locate the category you need.
Integration Context (mandatory): Integration Context defines where the workflow can be selected later and which input parameters it will get when it is called by the business logic. For example, the Service Approval Integration Context is selected here. When such workflow is initiated, it receives parameters from the booking that has started the workflow.
If the Execute on Client checkbox is selected for a certain integration context type on the Data dialog page of the PLWEWorkflowPickupContext data definition, server workflow activities will not be available for the workflow with such an integration context.
System: Select the checkbox to mark the workflow as System. Workflows marked as such cannot be subsequently modified.
Comments: You may also add comments to describe, for example, the purpose and business context of the workflow. This information will help other users when working with this workflow.
Component Properties
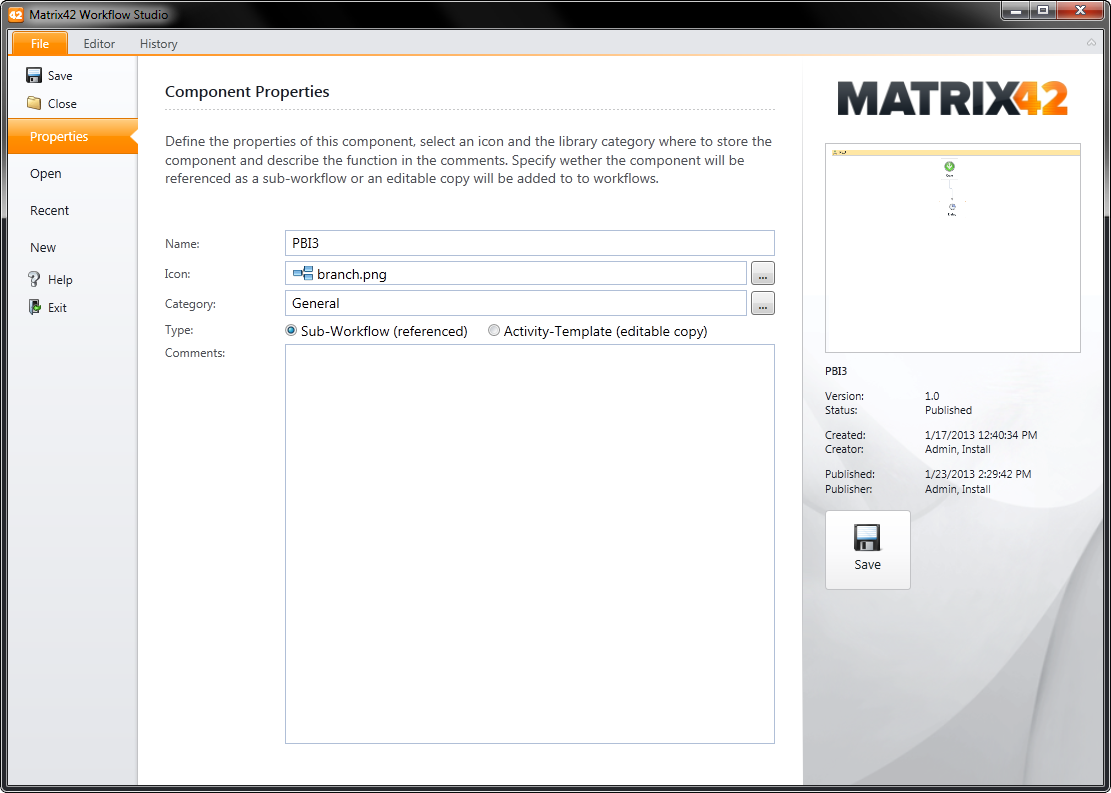
Define the properties of the component, select an icon and the library category where to store the component and describe the function in the comments. Specify whether the component will be referenced as a sub-workflow, or an editable copy will be added to workflows.
Name (mandatory): Specify the name of the component here.
Icon (mandatory): Click the selection control (three dots) to the right of the field to select an icon from the library of available images. Use the Search field at the top of the dialog that appears to locate the icon you need.
Category (mandatory): Click the selection control (three dots) to the right of the field to select a category from the list of available ones. Use the Search field at the top of the dialog that appears to locate the category you need.
Type: Specify whether the component will be referenced as a sub-workflow, or an editable copy will be added to workflows. Sub-workflow (referenced) and activity template (editable copy).
Comments: You may also add comments to describe, for example, the purpose and business context of the component. This information will help other users when working with this component.
Template Properties
Define the properties of this template, add some comments to describe the workflow's purpose and business context and select an icon. This information will be copied to new workflows that are created from this template.
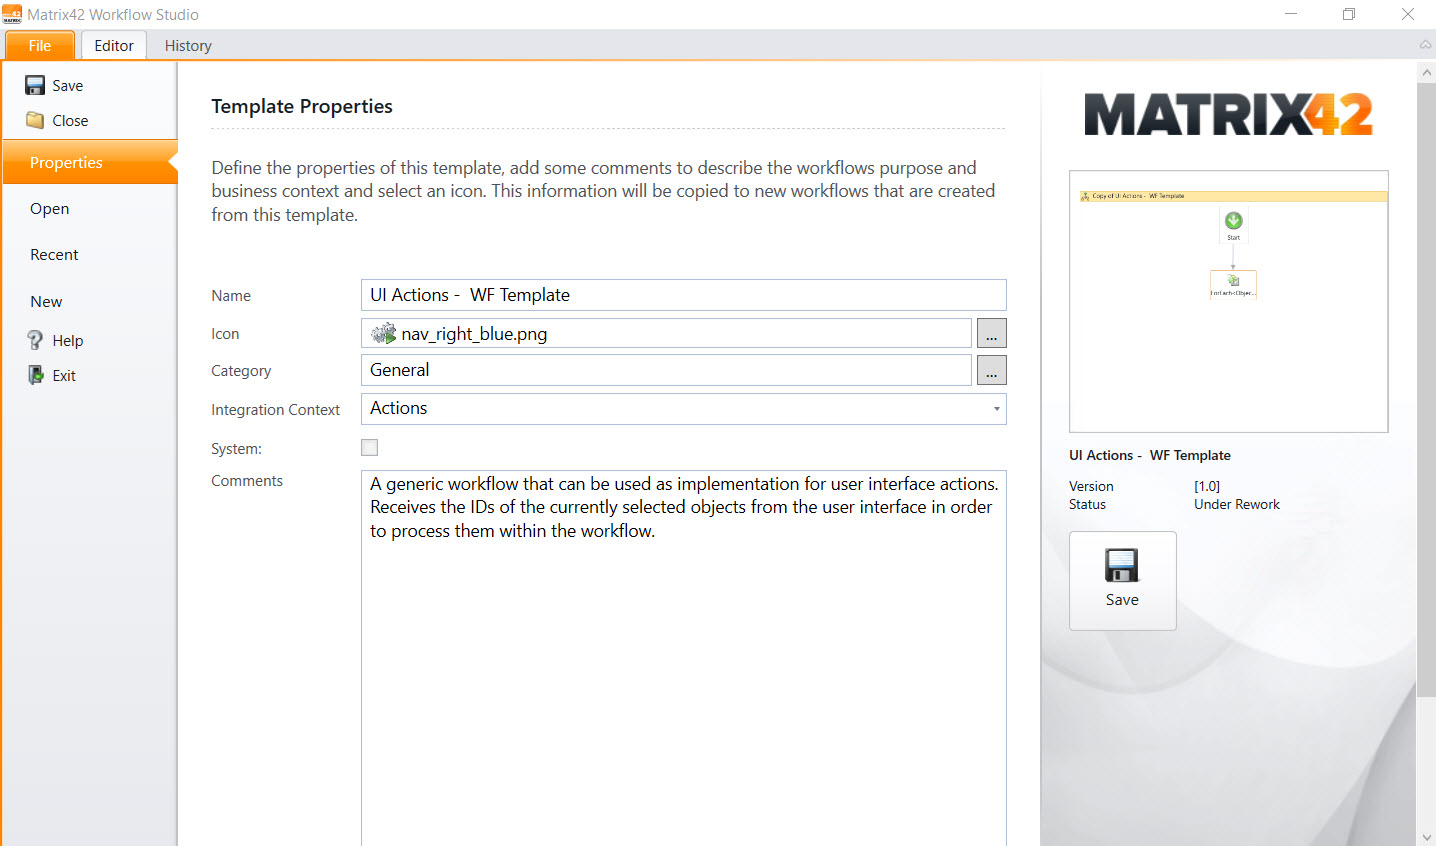
Name (mandatory): Specify the name of the template here.
Icon (mandatory): Click the selection control (three dots) to the right of the field to select an icon from the library of available images. Use the Search field at the top of the dialog that appears to locate the icon you need.
Category (mandatory): Click the selection control (three dots) to the right of the field to select a category from the list of available ones. Use the Search field at the top of the dialog that appears to locate the category you need.

Integration Context (mandatory): Integration Context defines where the template can be selected later and which input parameters it will get when it is called by the business logic.
Comments: You may also add comments to describe, for example, the purpose and business context of the template. This information will help other users when working with this template.
Save
This function is available in the File menu and in the editor only if the current document was checked out or for new documents that have not been saved yet. It saves a personal version of the document that is visible only for the current user, overwriting the previous personal version.
If the mandatory object properties have not been defined yet, the system forwards you to the properties dialog and marks the missing fields. When saving, the system generates the preview image of the document and adds it to the meta information. After the document is saved, the system shows a notification in the Workflow Studio's header bar.
Close
This function, which is available in the File menu and the editor, closes the currently focused document. The system checks if there are any unsaved changes and provides the following options:
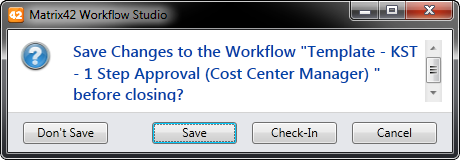
Don't Save: The document will be closed without saving. All temporary changes will be discarded!
Save: The document will be saved as a local temporary copy before closing.
Check-In: The document will be checked-in before closing.
Cancel: Cancels closing of the document.
Help: This function browses to the "Matrix42 Online Documentation".
Help
This function browses to the "Matrix42 Online Documentation".