How to structure and deploy Reports for Cloud Environments?
Overview
Learn how to create and deploy Reports for the Cloud Environments where there is no direct access to the Application Server.
Prerequisites
- Cloud Environment
Steps
- Request Database backup via M42 Support Ticket
- Wait for Matrix42 to provide you with the database backup files
- Install SQL Server locally on your computer
- Restore the database from the backup file
- Install Report Builder
- Connect to the restored database
- Create a new report
- Export report to a .rdl file
- Create a Configuration Package for the report
- Install the Configuration Package with the report
Request database backup
Send an e-mail to helpdesk@matrix42.com stating from which environment you need to have the database backup. As there are different types of environments (test, pre-production, or production). Specify the URL of the instance you would like to backup, for example:
- qwerty.m42cloud.com
- qwerty-test.m42cloud.com etc.
Request processing
Based on the sent e-mail Matrix42 automatically creates a ticket for the request. Upon the ticket processing, first, you will receive a download link for the requested database backup, this download is protected by a password. With the second e-mail, you will receive the password for downloading the files. For technical reasons, all cloud backups are split into 10 files.
Local SQL Server
Install SQL Server locally on your computer.
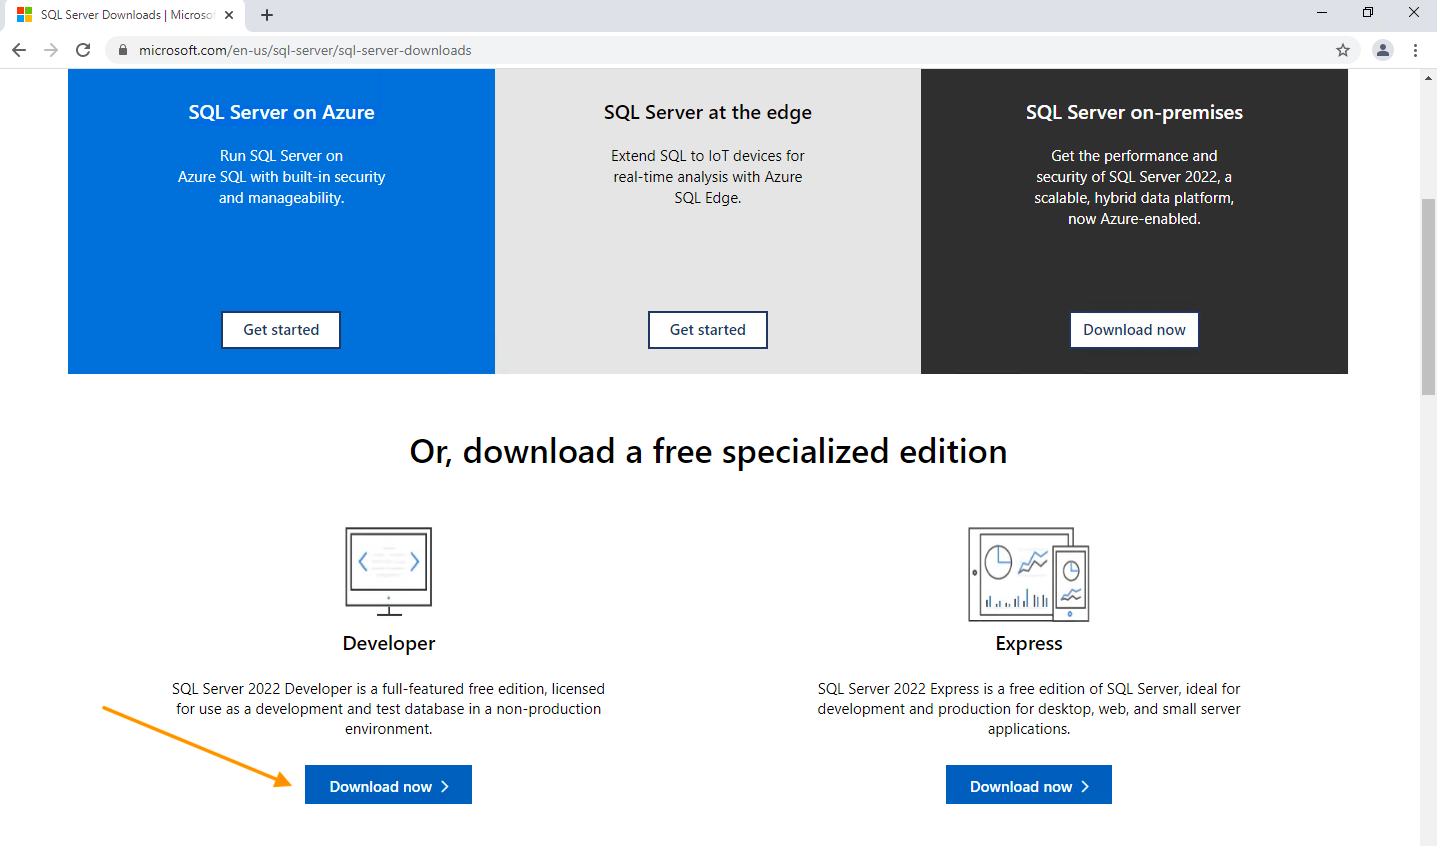
- Open the Microsoft SQL Server Downloads link and download the free SQL Server 2022 Developer edition:
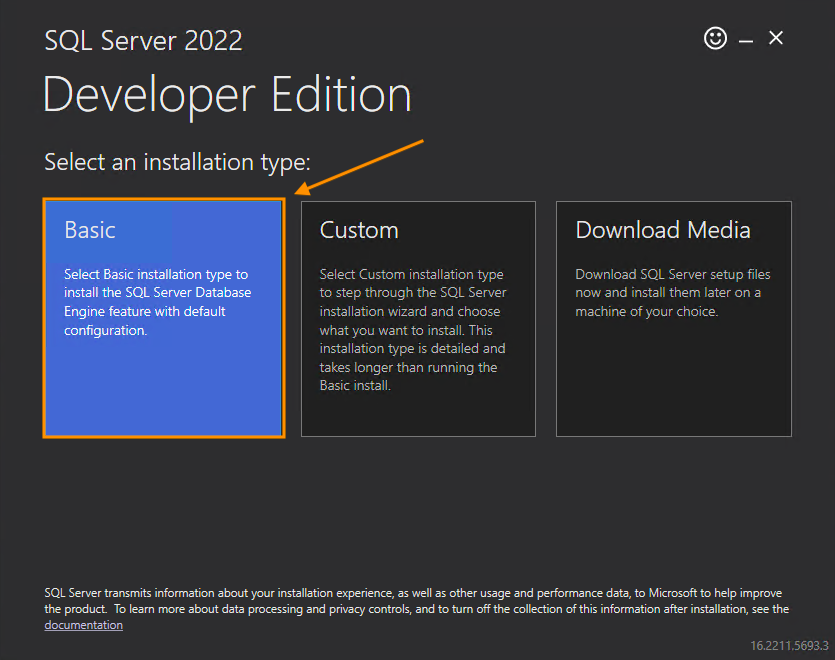
- Run the installation file and proceed with Basic installation type:
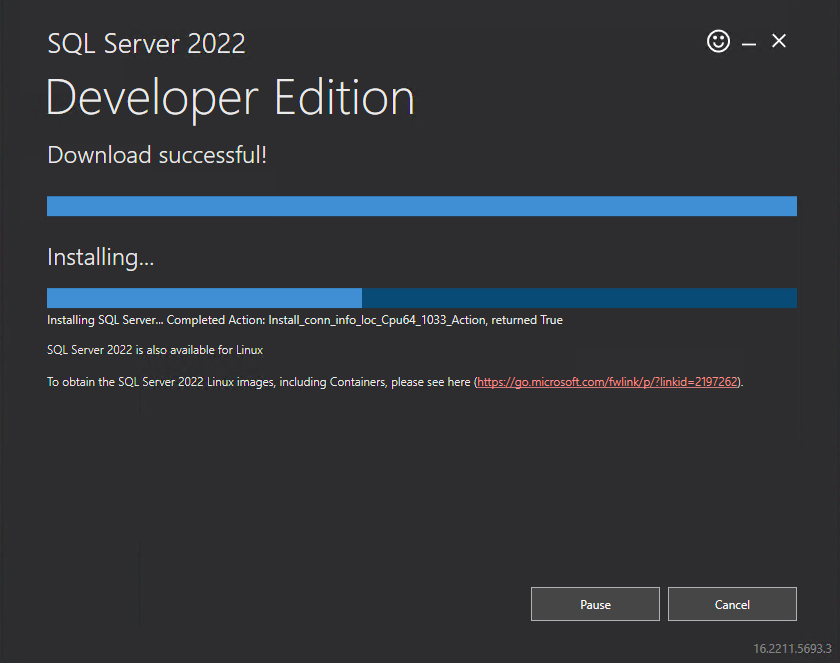
- Use the default settings on the suggested steps and wait until the installation is completed:
Install SQL Server Management Studio (SSMS)
- Upon successful installation on the SQL Server, run SSMS installation:

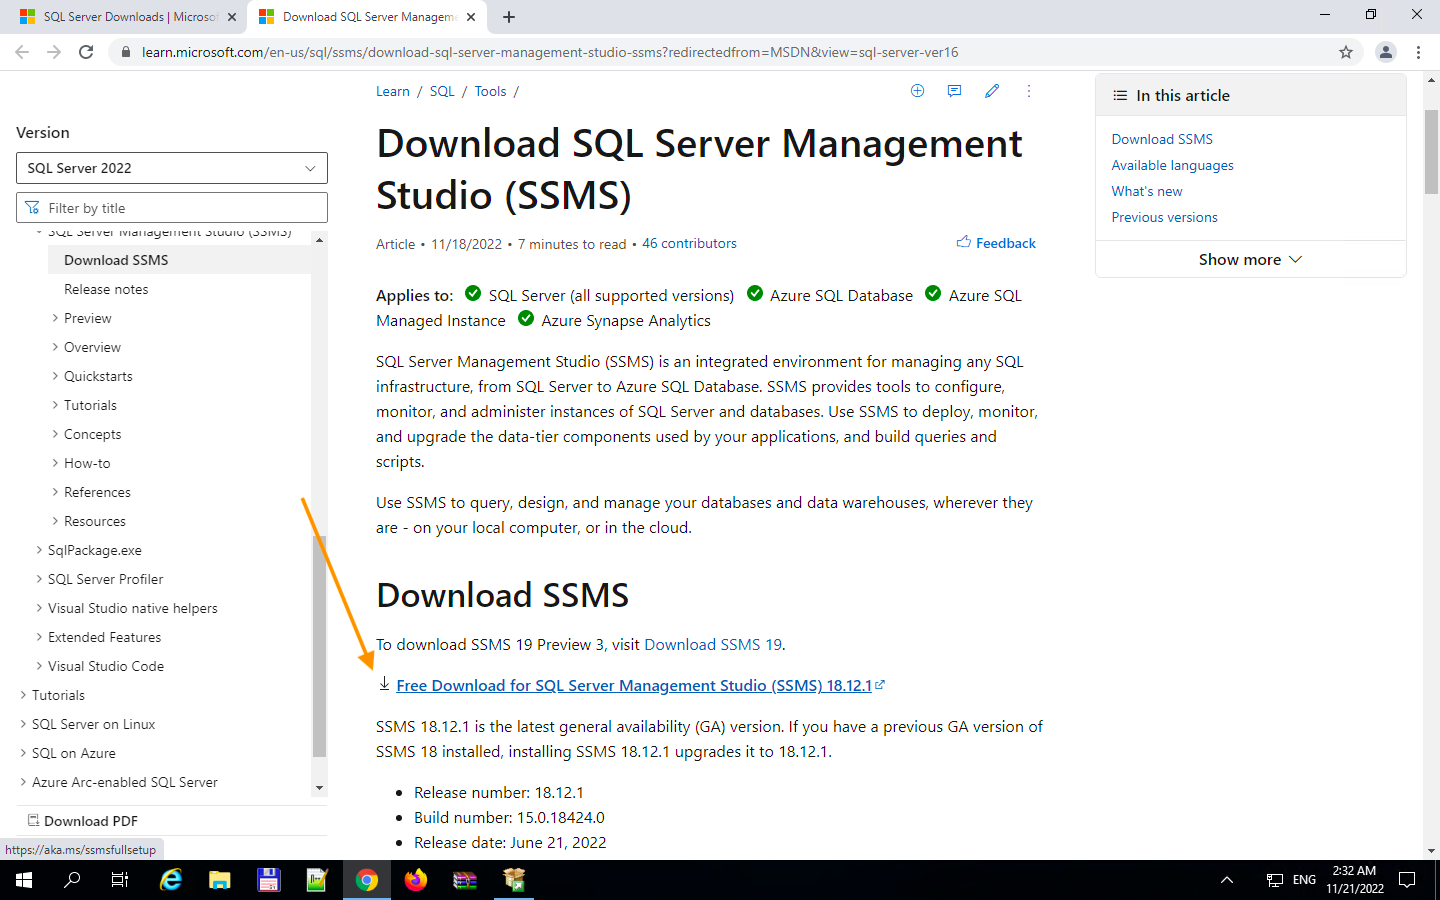
- You will be redirected to the Download SQL Server Management Studio (SSMS) page or use the direct Free Download for SQL Server Management Studio (SSMS) 18.12.1 link:
- Run the installation file and proceed with the default installation settings on the suggested steps:
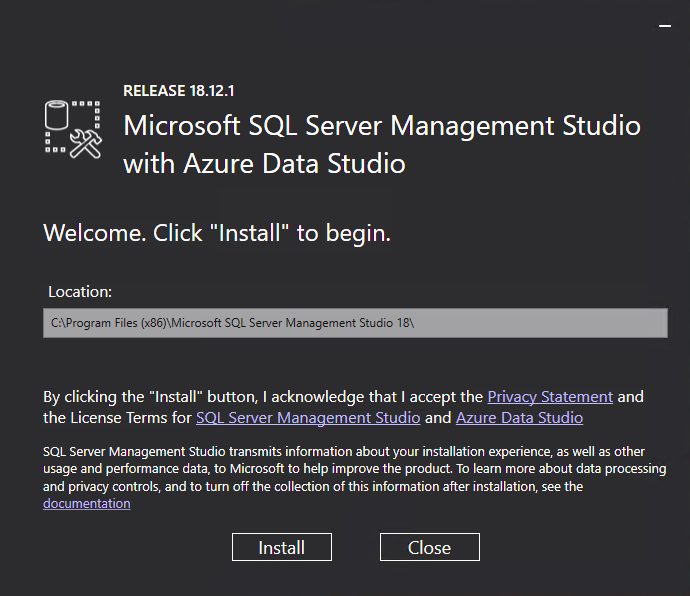
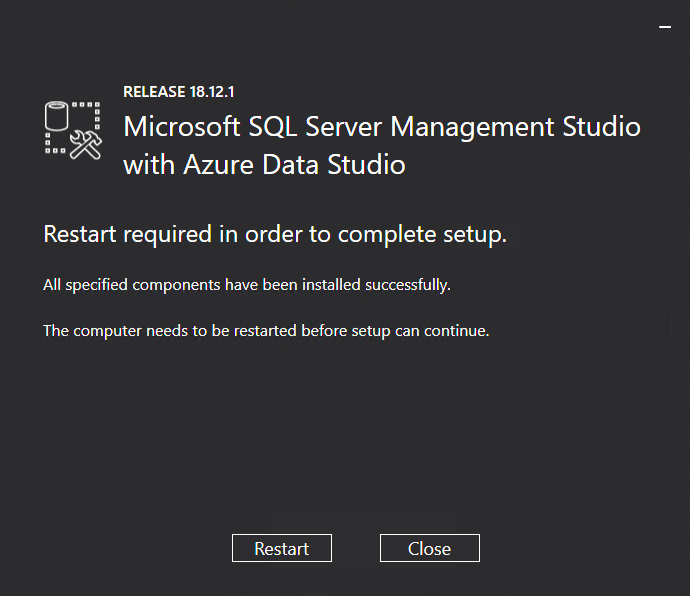
- Wait until the installation is completed and restart the computer as suggested:
Restore database
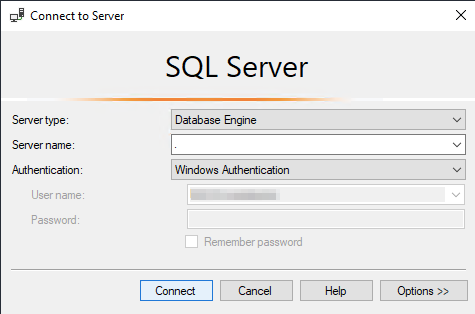
- Open SQL Server Management Studio;
- Connect to the created database:
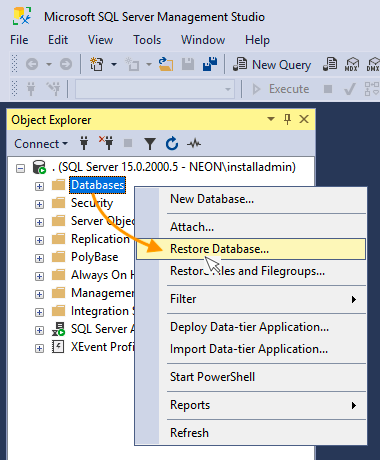
- Right-click the database section and run Restore Database:
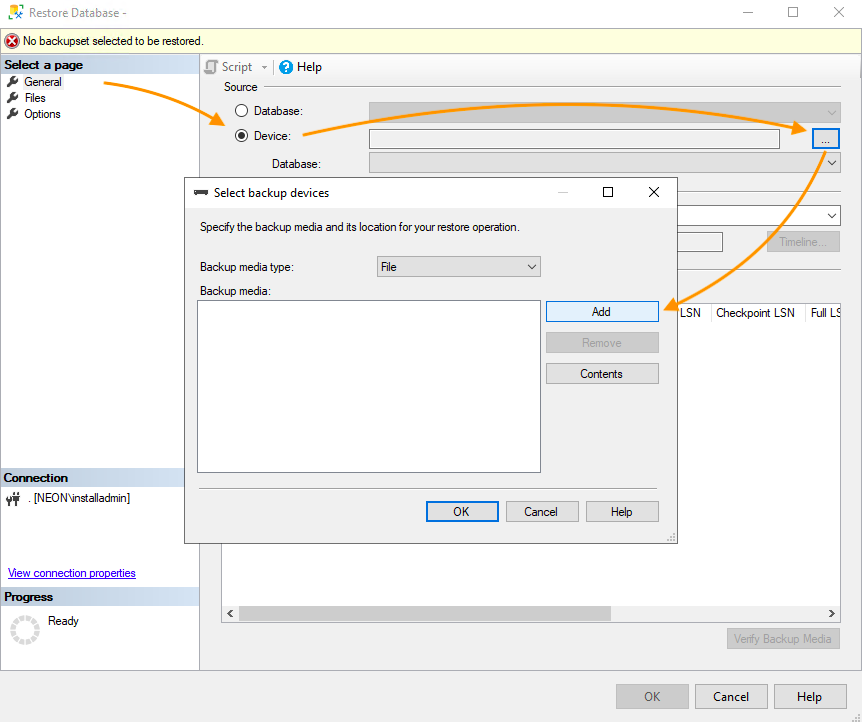
- On the General page, choose the Device option and click Add:
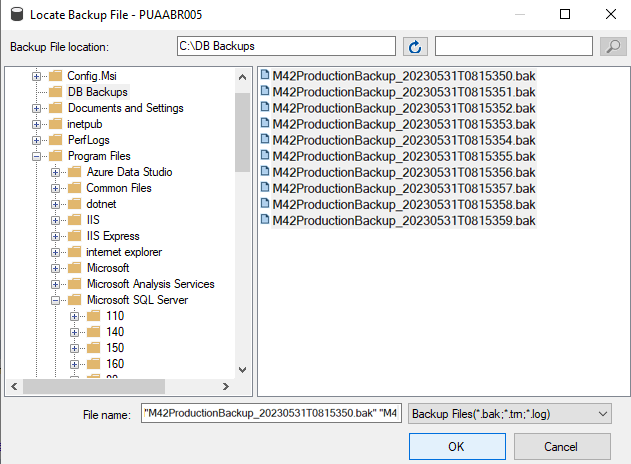
- Select the database backup files to restore:
- On the Files page, select the checkbox Relocate all files to folder:
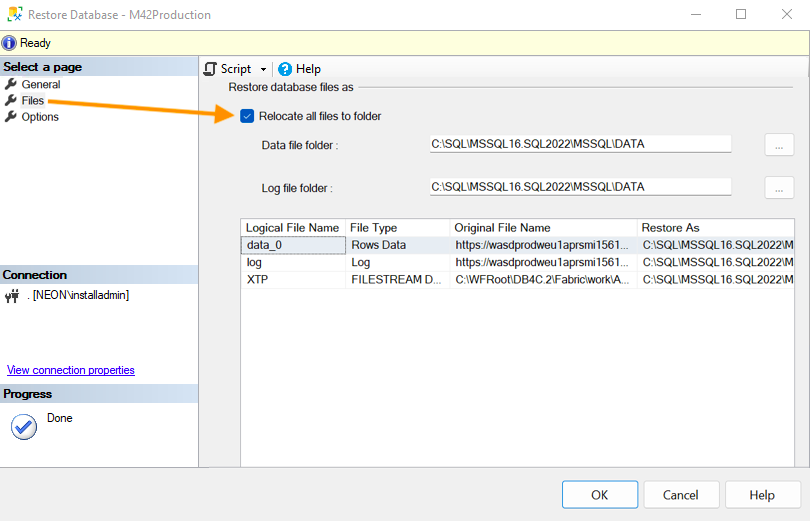
The data file folder is the default folder for your SQL Server. - Go back to the General page and click OK to proceed:
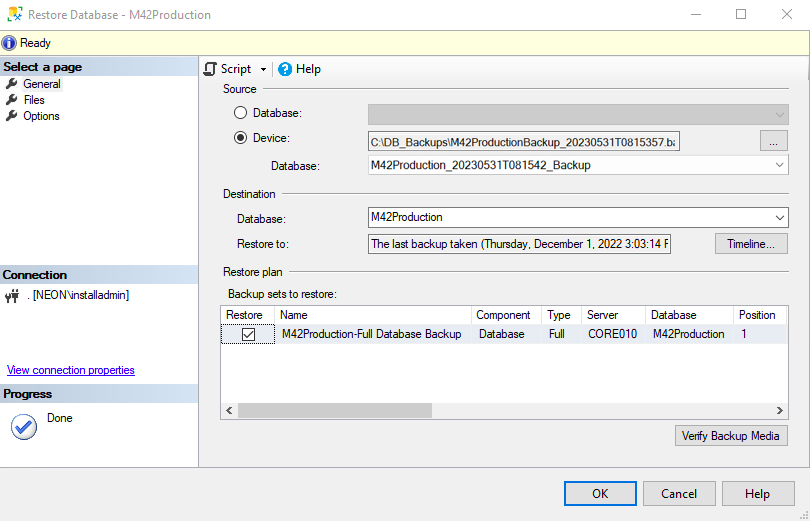
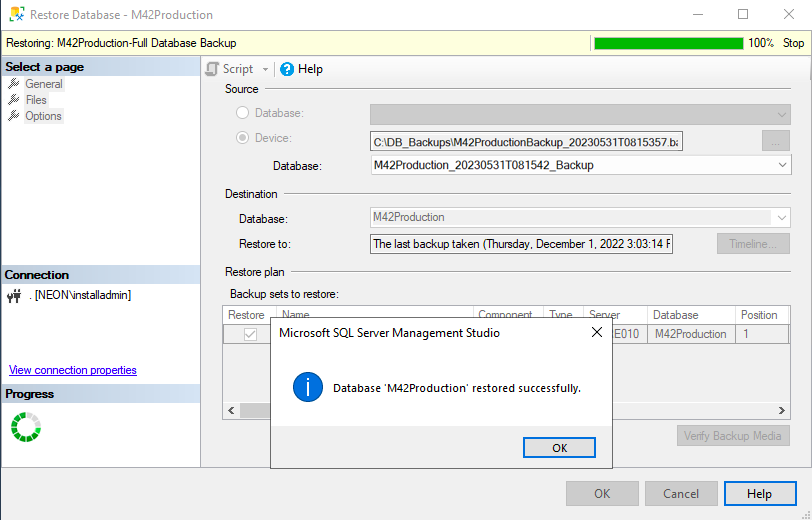
- Wait until the database is successfully restored:
Report Builder
For more information on how to build a report and work with the Report Builder tool use the following resources:
- Report Builder designer and components
- Report Builder tutorials
- SSRS Report Builder Tutorial: Creating Your First Report video
To install the Report Builder, configure the database connection, create and export the report perform the following steps:
- Install Report Builder:
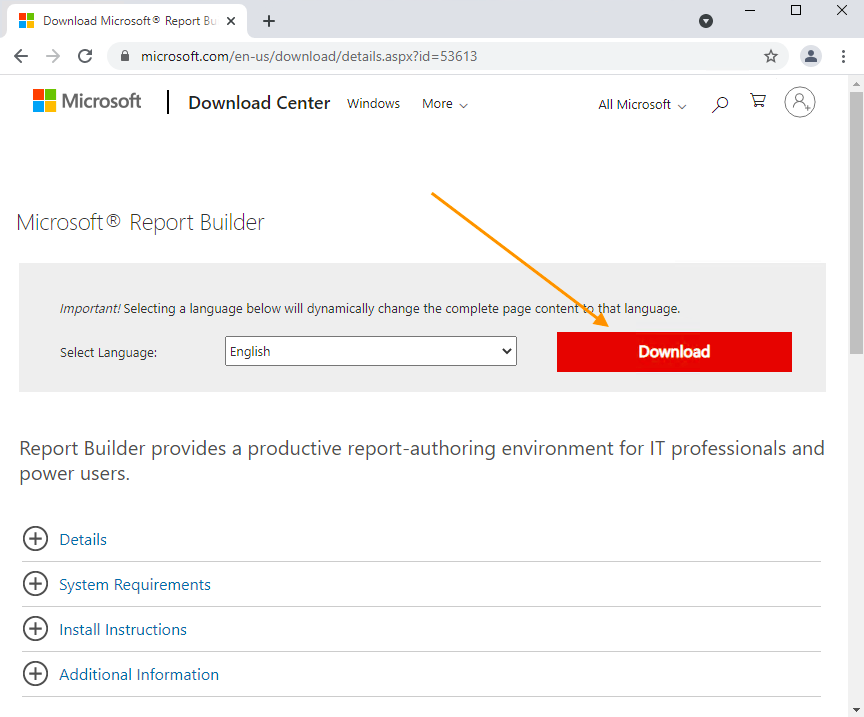
- Download the Report Builder from the Microsoft Download Center via this link:
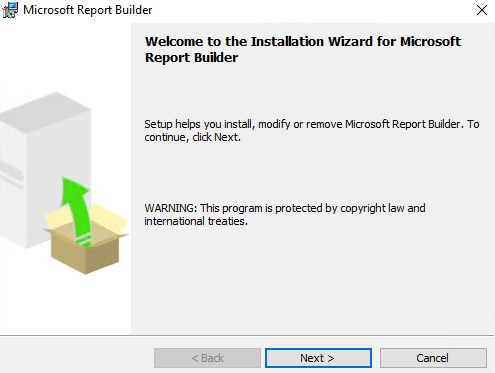
- Run the installation file and proceed with the default installation settings on the suggested steps:
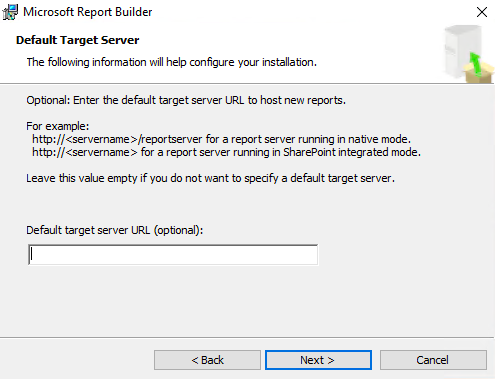
- Skip the Default target server URL property settings:
- Proceed until the installation is successfully completed.
- Download the Report Builder from the Microsoft Download Center via this link:
- Connect to the restored database:
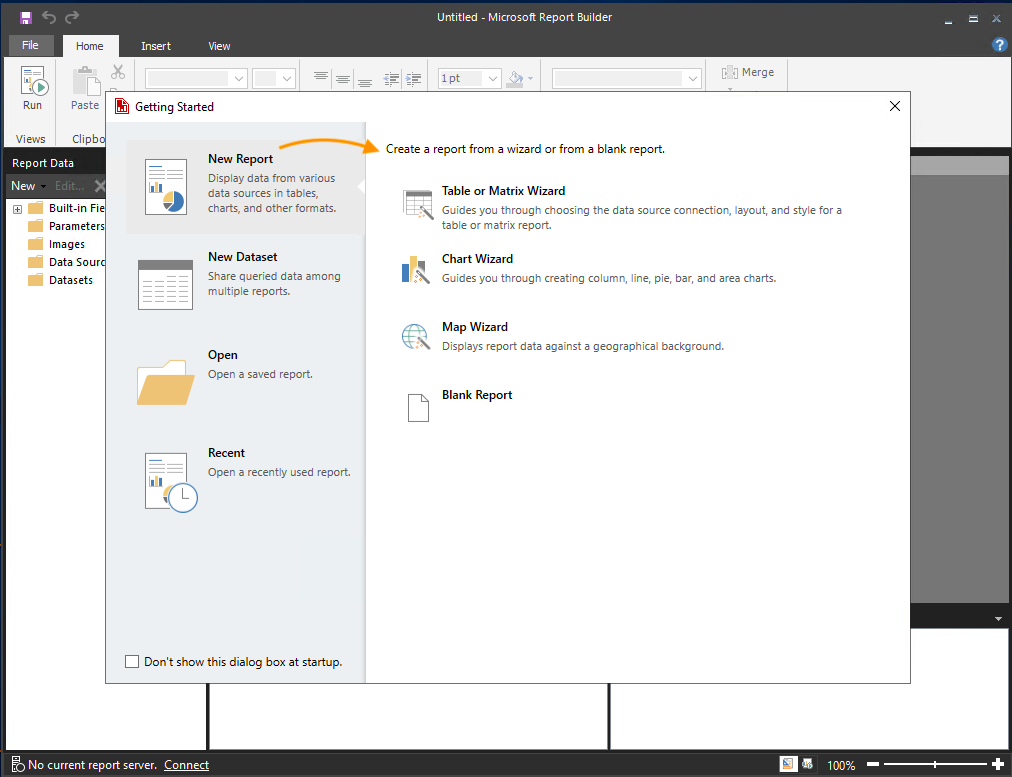
- Open the installed Report Builder
- In the Getting Started section, New Report section, choose the type of report you would like to create, for instance, Table or Matrix Wizard:
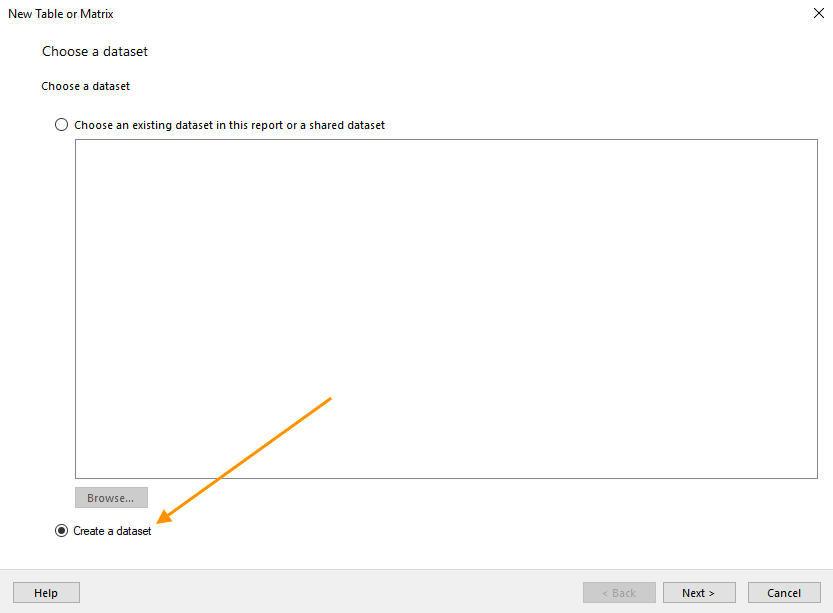
- Choose Create a dataset option to configure the connection to the restored database:
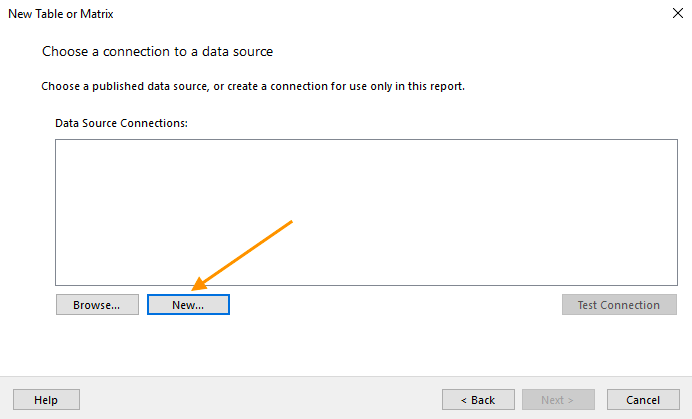
- Click New:
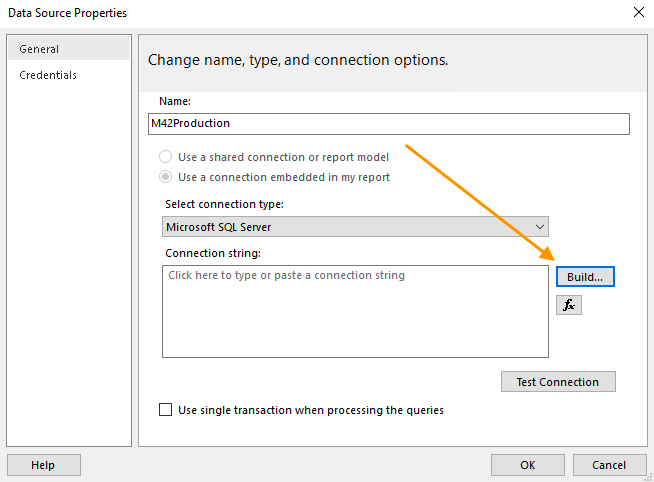
- Edit the Name and click Build:
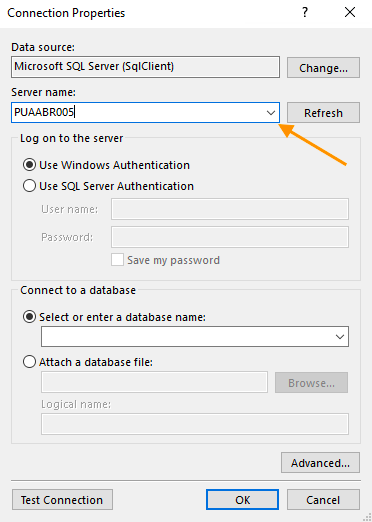
- Select the local Server name:
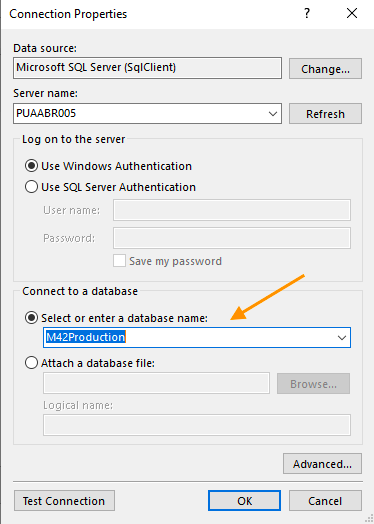
- Select or enter a database name and click OK:
- Click Test Connection and OK to finalize the connection configuration:

- Create a new report:
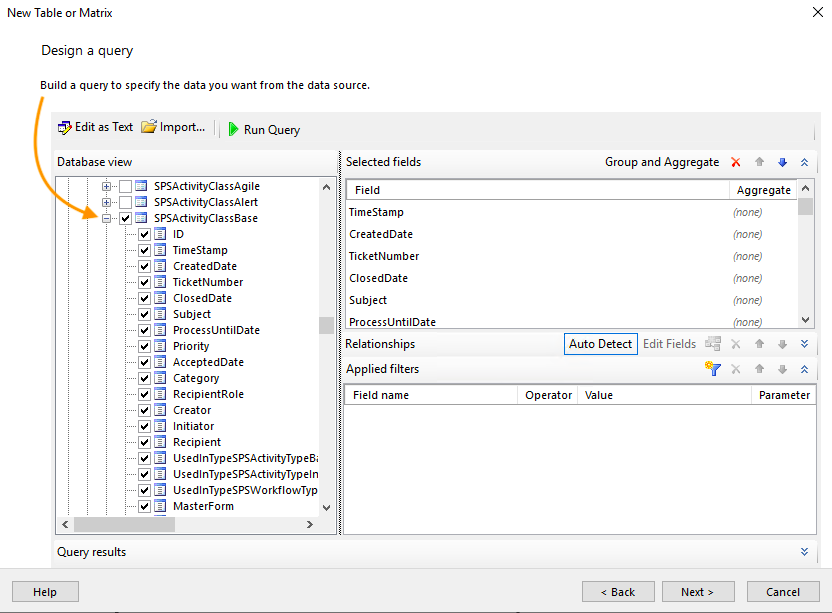
The following configuration depends on the data that should be used for building a report and the described steps can be used as a reference only.- Design a query for the data that will be used in building the report, for instance, select all fields from a database table and click Next:
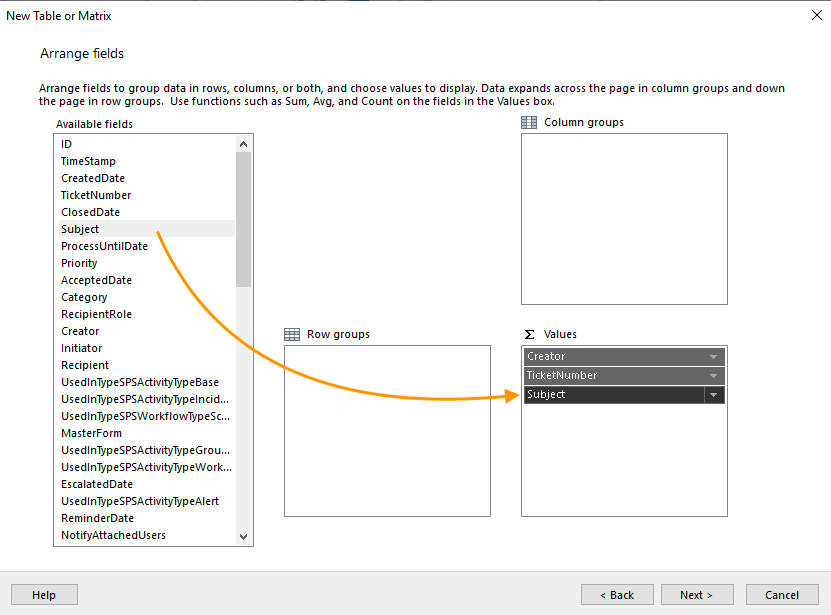
- Arrange fields that will be used in the report, for instance, creating a simple table with 3 columns will have the following configuration:
- Choose the layout properties:
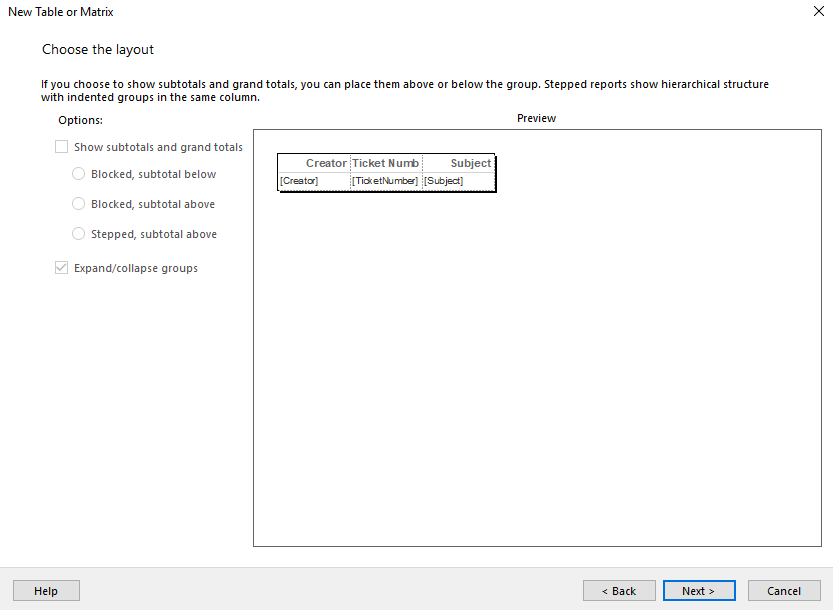
- Click Next to see the report preview and Finish to proceed.
- Design a query for the data that will be used in building the report, for instance, select all fields from a database table and click Next:
- Export Report:
- When the report is ready, click File → Save As:
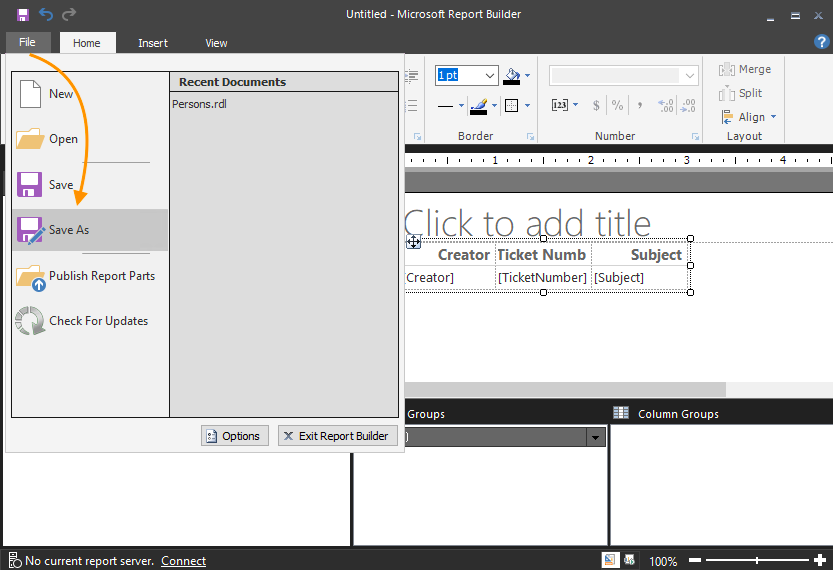
- Provide a file name:
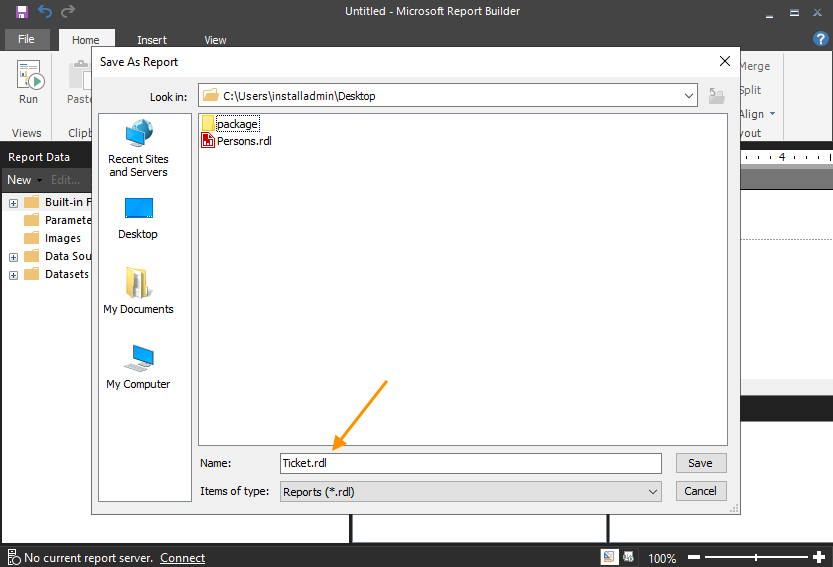
- When the report is ready, click File → Save As:
The exported .rdl file will be further used to create a Configuration Package that can be installed directly on the Cloud Environment.
Create a Configuration Package
Create a Configuration Package manually and add the created .rdl report file to the package. For more details, see Converting Add-On to Configuration Package page.
To simplify the manual Configuration Package development, create a new project and modify it as follows:
- In Administration application → Extensions → Configuration Projects navigation item → run Add Configuration Project action.
- Provide the Name of the project
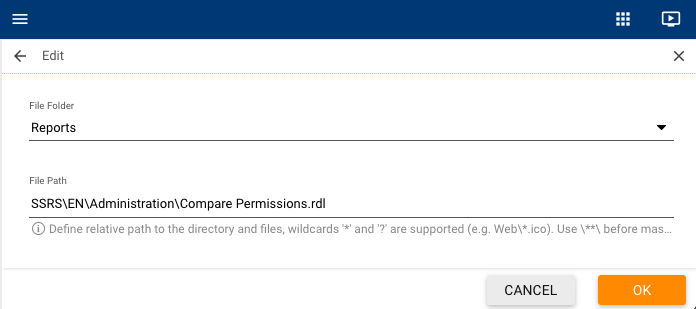
- In the Files view → Files section choose the Reports folder and add the following path with the existing in the system report, for instance:
SSRS\EN\Administration\Compare Permissions.rdl
 See also Configuration Project Development: Files
Creating the package checks if the file exists, therefore always use an existing report.
- Export the package: see Configuration Package Export page.
- Modify the package manually and add the report file:
- Unarchive the package
- Change the .rdl report file from the package to the file created and exported from the Report Builder
- Modify the report file path from the package, if necessary. The file path from the exported package example can be modified as follows:
SSRS\EN\Administration\Compare Permissions.rdl- EN: defines the language locale of the report. Change to one of the currently supported by the system locales, for instance: DE, EN, ES, FR, IT, NL, PL, PT
- Administration: application name, where the report will be shown
- Modify the package.json file if necessary, for instance, to add a description or set the vendor name, as suggested on this page: Converting Add-On to Configuration Package
- Archive the package to a .zip file
See also:
Install Configuration Package
Open the Administration application and proceed with the created package installation as described on the Configuration Package Installation page.
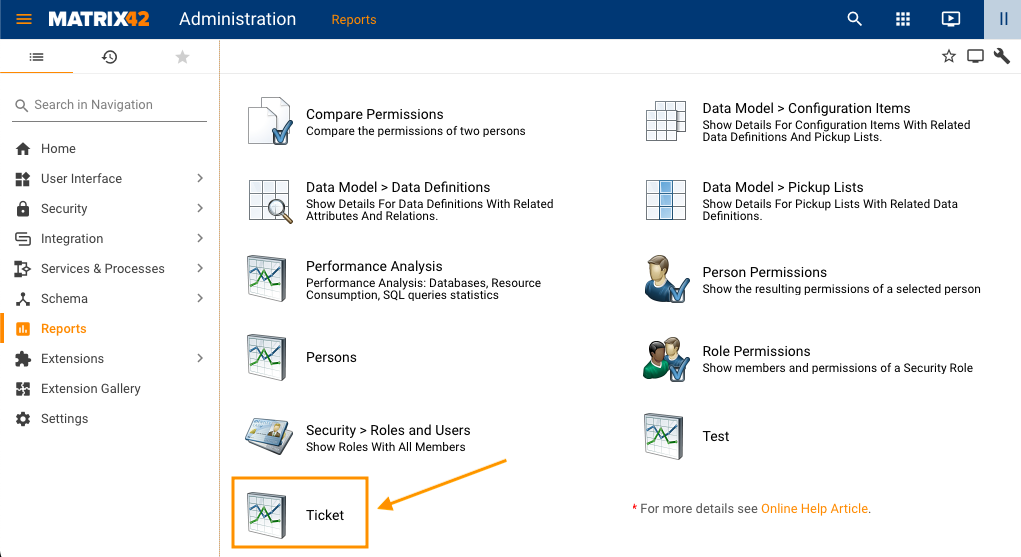
The Report will be displayed in the corresponding Application according to the Configuration Package contents:
The Report will be based on the current data from the database, for instance:
