Installing an Extension
This is a step-by-step guide on how to install a Enterprise Service Management Platform Extension using the Matrix42 Extension Gallery. (https://extensions.matrix42.com)
Connect your Enterprise Service Management Platform Environment
Starting from the 10.0.2 release version, Matrix42 Extension Gallery can be accessed from the Administration application → Extension Gallery navigation item. This will automatically connect your ESMP Environment to the Matrix42 Extension Gallery.
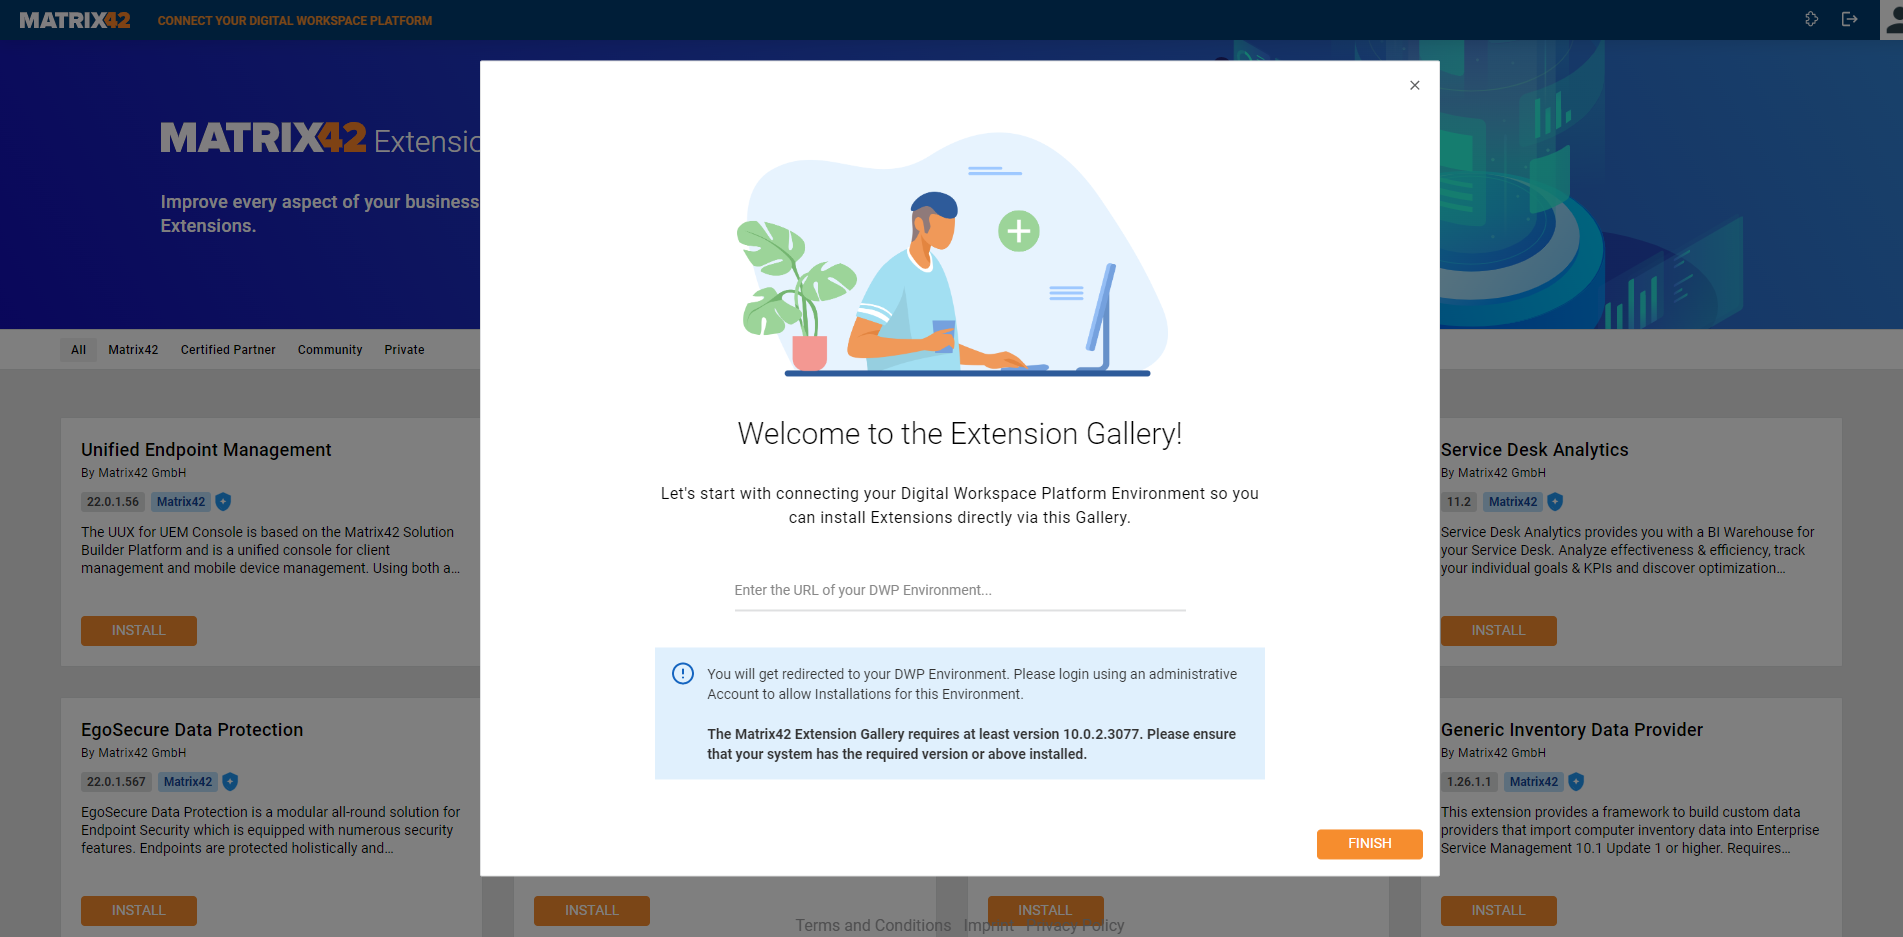
Visit the Matrix42 Extension Gallery in your Browser and click on "CONNECT YOUR Enterprise Service Management Platform" in the top left corner.
Enter the URL of your ESMP Environment and click on "FINISH". You will be redirected to the Login page of your ESMP Environment. Make sure to login using an administrative account to allow Extension installations.
You will now see in the top left corner that you are connected to your ESMP Environment. You can also click on the name to open a menu to add and switch to other ESMP Environments.
ESMP Environment Settings
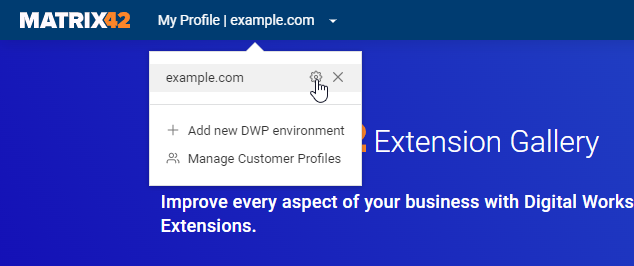
You can click on the name of your ESMP Environment in the top left corner of the Matrix42 Extension Gallery to open a drop-down menu. Here you can switch to other ESMP Environments or you can click on the cog icon next to your target ESMP Environment and configure the settings for it.
Open the settings of your ESMP Environment.
Here you can configure your preferences for your ESMP Environment.
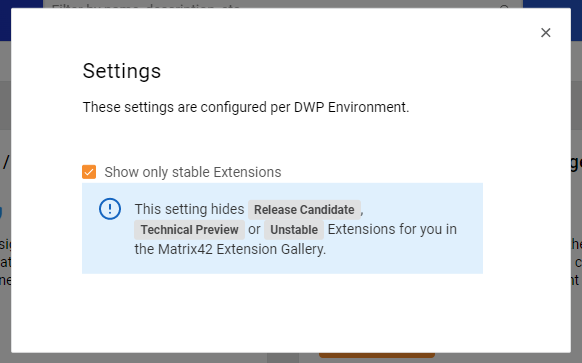
If you choose to show Extensions which are not stable you might install Extension which do not work as expected.
Install an Extension
Now that you have connected your ESMP Environment to the Matrix42 Extension Gallery you can start installing Extensions.
You can search for specific Extensions by using the search bar or you can filter by categories (e.g. Matrix42 Extensions, Certified Partner Extensions, etc.).
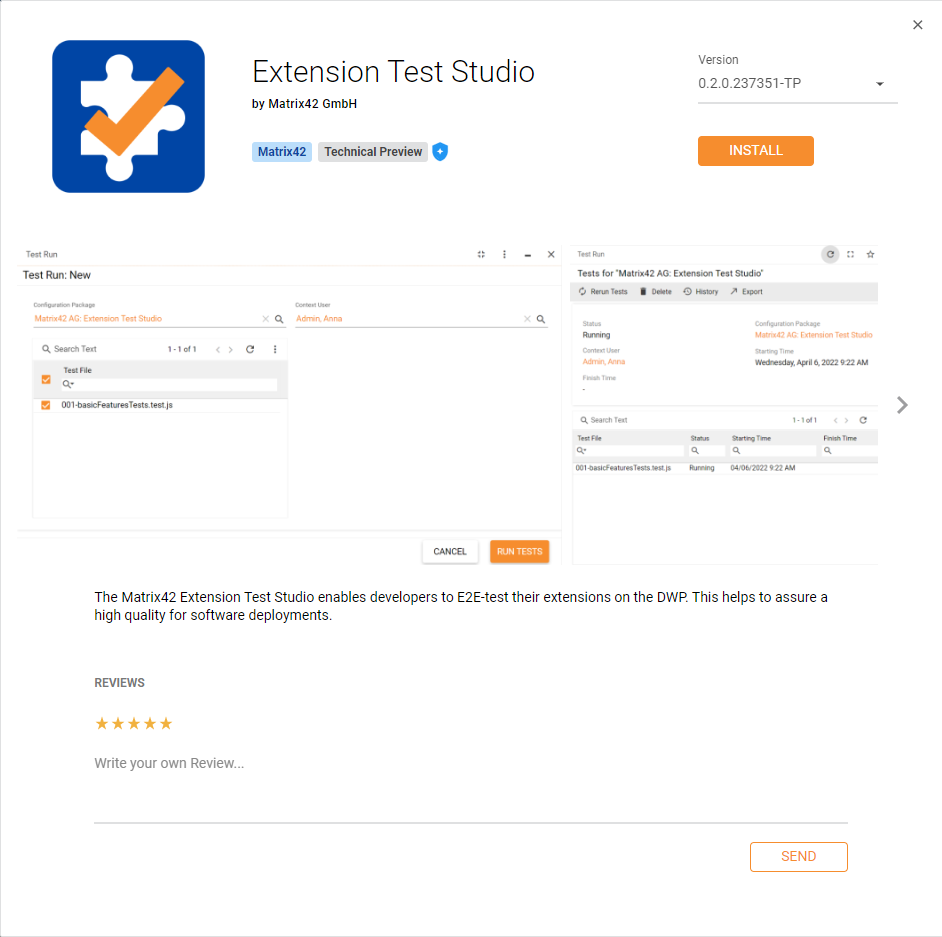
Once you found an Extension you want to install you can click on the card to view more details (e.g. Images, Description, Reviews, etc.) or you can click on "INSTALL" to directly open the Installation Wizard.
In the details view of an Extension you can see further information like Reviews and Images.
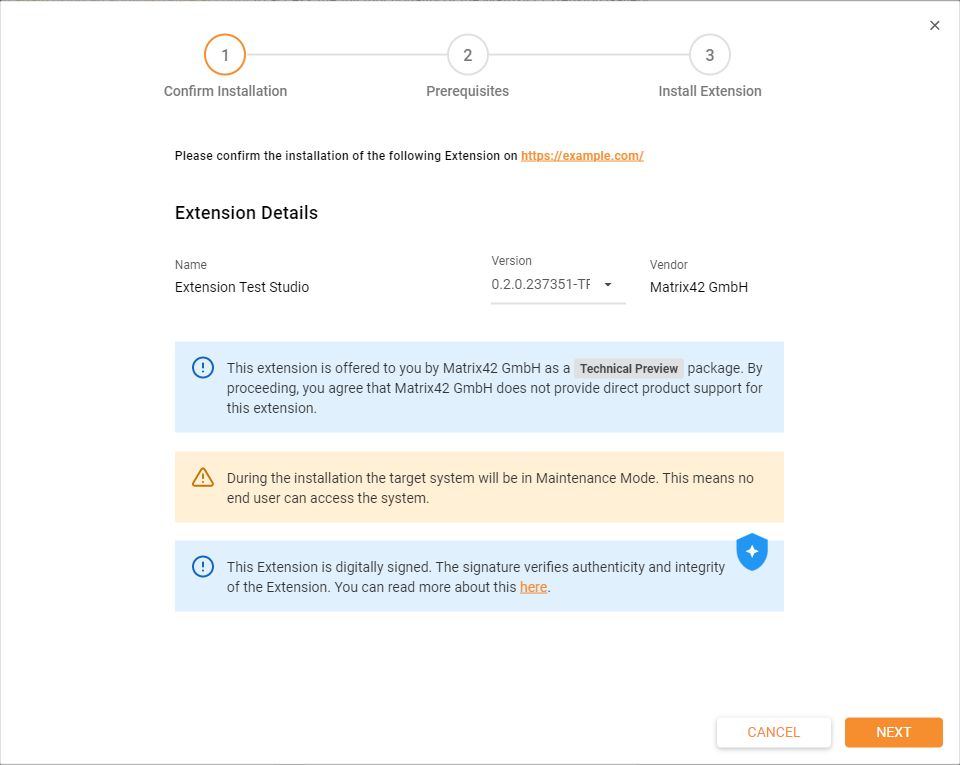
The Installation Wizard consists out of two to three steps. At the beginning is the "Confirm Installation" step where you can review the important information of the selected Extension and which Version will be installed.
The "Confirm Installation" steps where you can select the Version to install also shows important information for the installation itself.
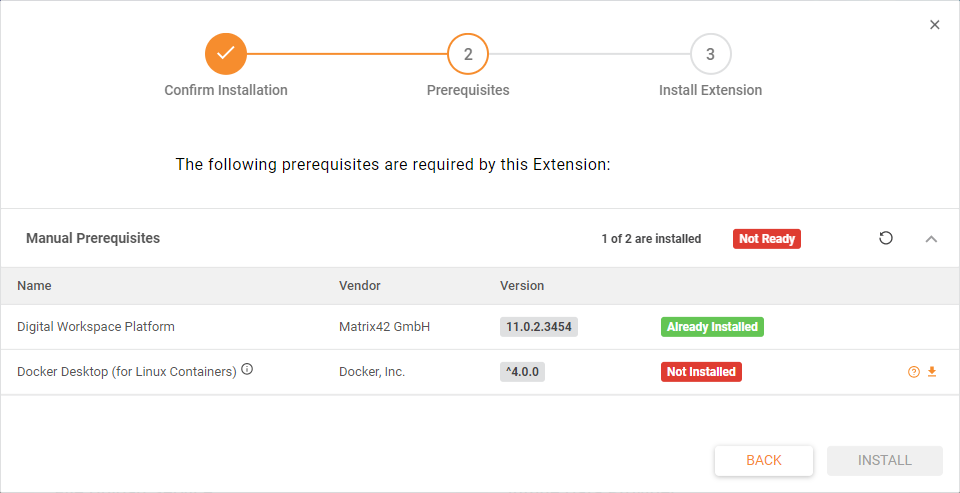
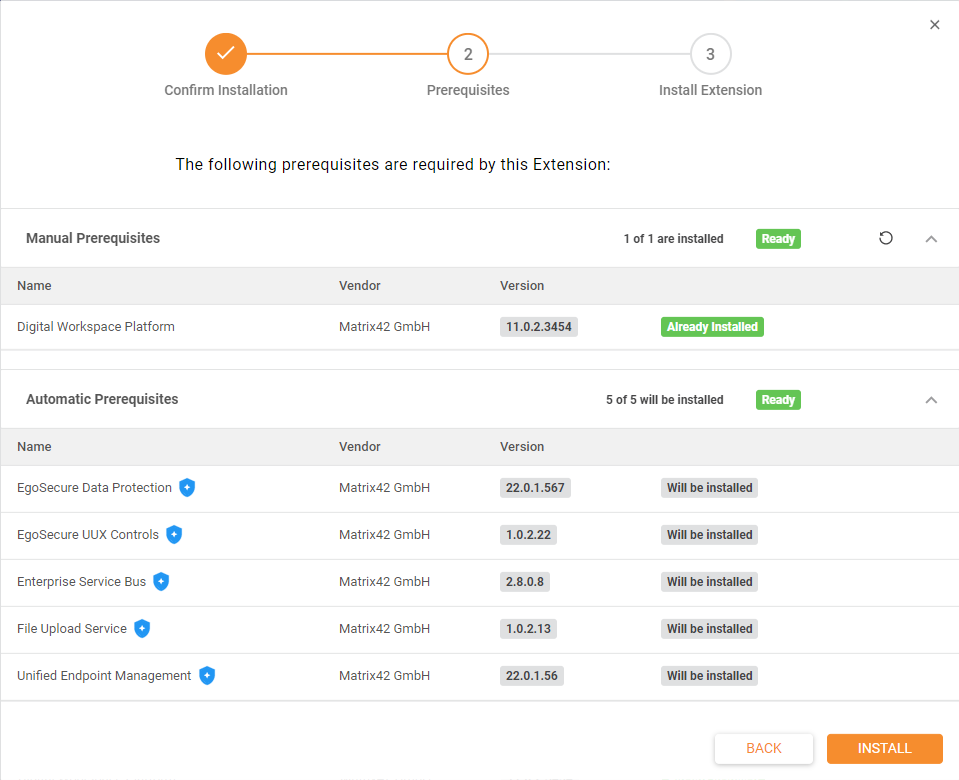
The next step "Prerequisites" only appears if the Extension requires other Extensions to be installed or if there are Requirements for the ESMP Environment. The prerequisites are split into "Automatic Prerequisites" which are automatically managed and installed (if required) by the Extension Gallery and "Manual Prerequisites" which must be fulfilled by installing them manually on the ESMP Environment Server.
In the "Prerequisites" step you can see all requirements for the Extension Installation and if they are currently fulfilled.
An Example of an Extension requiring the Administrator to install further Software on the target ESMP Environment.
An Example of an Extension Installation which automatically will install all required dependent Extensions.
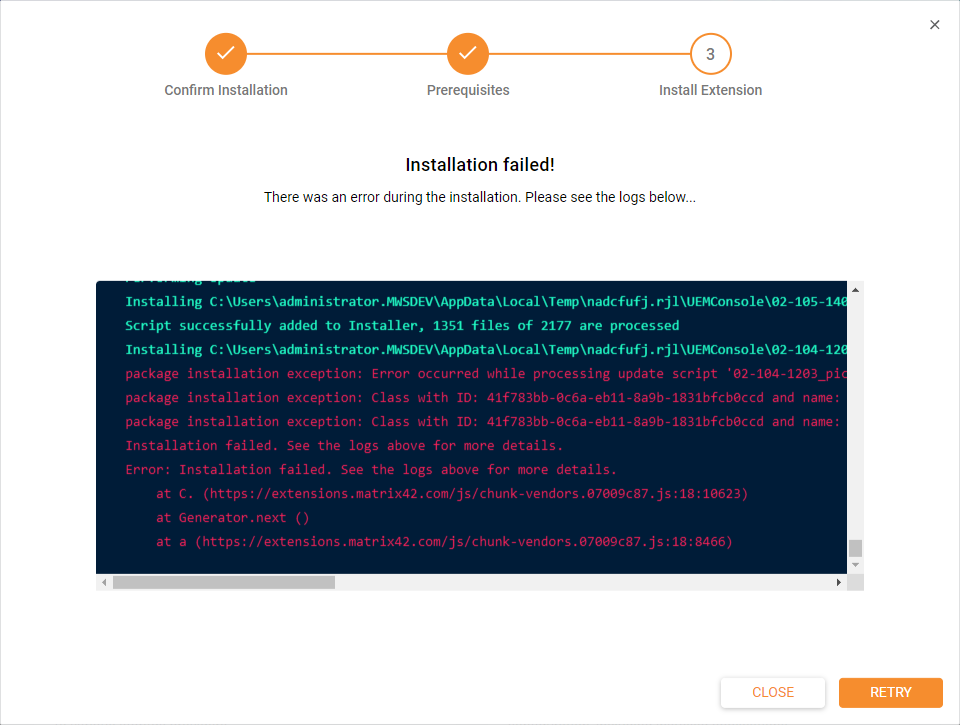
The last step "Install Extension" is the installation itself and happens fully automatic. Here it will install all required Extensions in the right order and shows you a detailed installation log. In case of an error you will get notified and have the option to retry the installation.
During the installation you can view a detailed log of all actions executed on the target ESMP Environment.
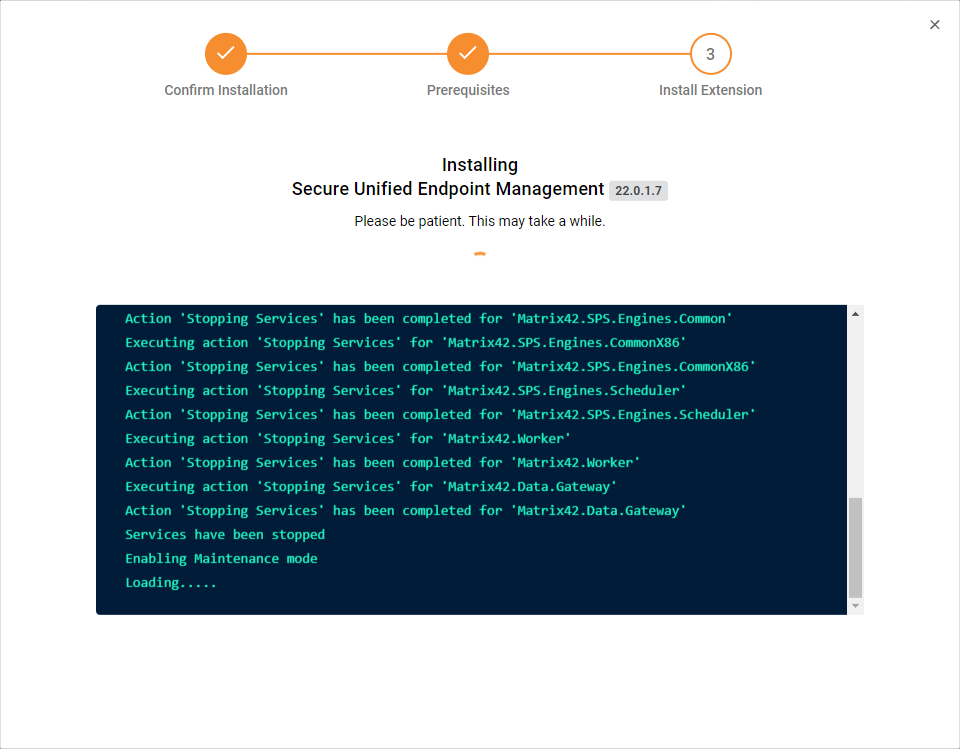
In case of an error you can either retry the installation or look into the installation log for further details.
After the installation is completed you can install further Extensions or click on "FINISH" to visit your ESMP Environment to try out the new Extension.
Using Customer Profiles
When managing multiple ESMP Environments for Customers or development/testing purposes it is recommended to create so-called "Customer Profiles".
Customer Profiles are used to manage and install Extensions for different Tenants. Per default, you always have one profile for your own company.
You can manage your Customer Profiles by clicking on the ESMP Environment name in the top left corner of the Matrix42 Extension Gallery. A drop-down menu will open where you find the link "Manage Customer Profiles".
You can also use this link to manage your Customer Profiles: https://extensions.matrix42.com/profiles
How to manage your Customer Profiles.
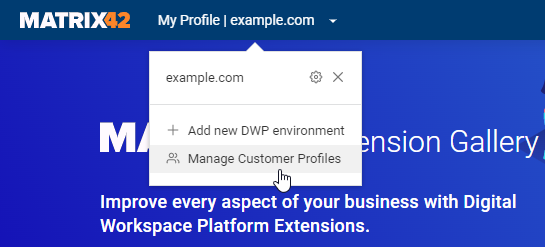
In some cases, you will find only the icon that you can click to manage your Customer Profiles.

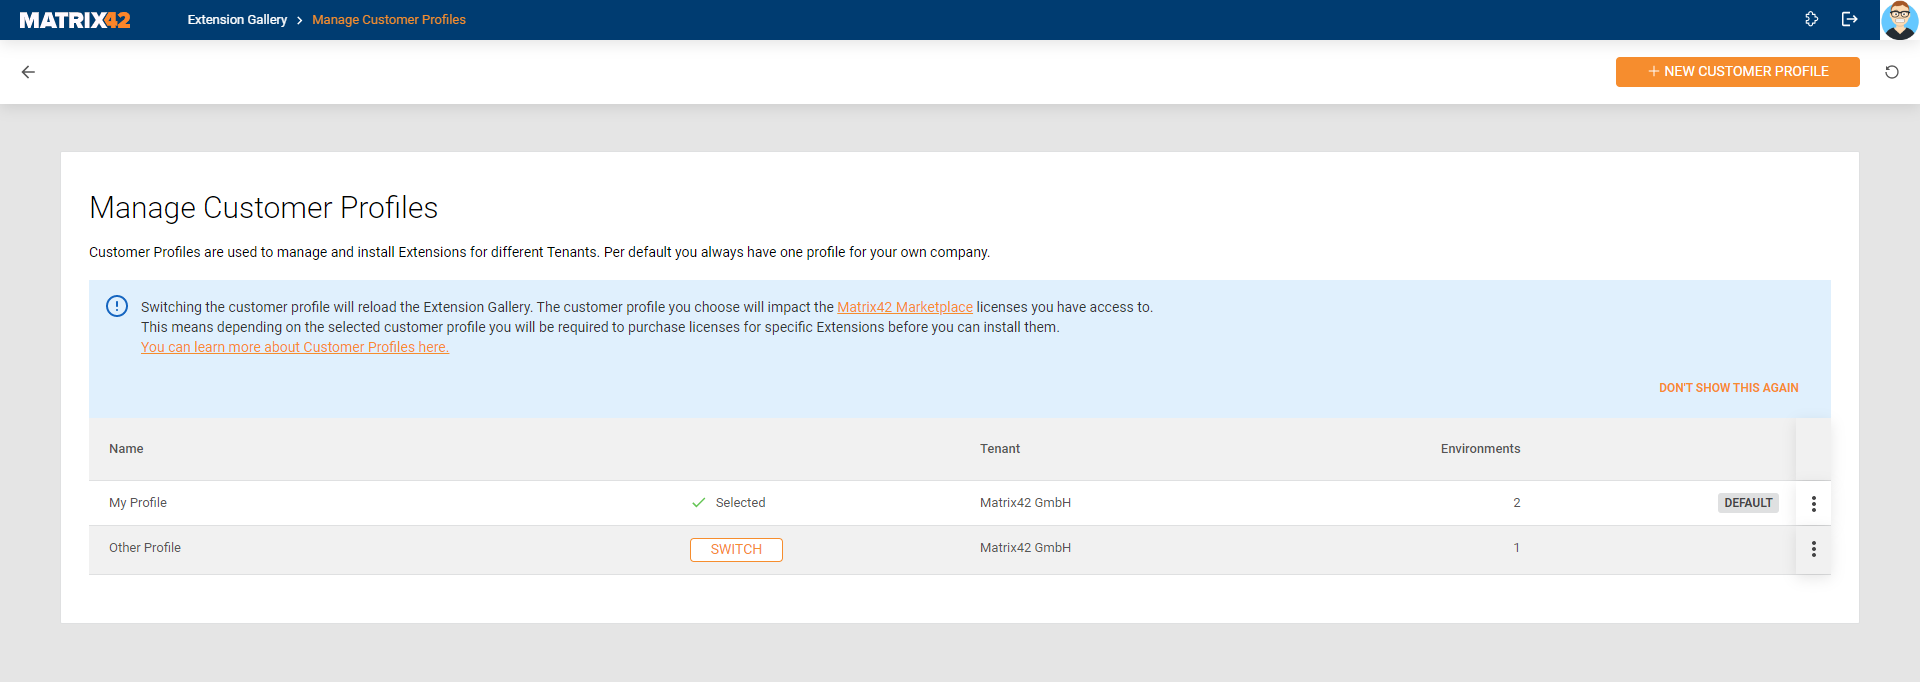
In the Customer Profile overview, you create, edit, delete, or switch to another Customer Profile. Switching the Customer Profile will reload the Extension Gallery. The Customer Profile you choose will impact the Matrix42 Marketplace licenses you have access to.
This means depending on the selected Customer Profile you will be required to purchase licenses for specific Extensions before you can install them.
Manage your Customer Profiles.
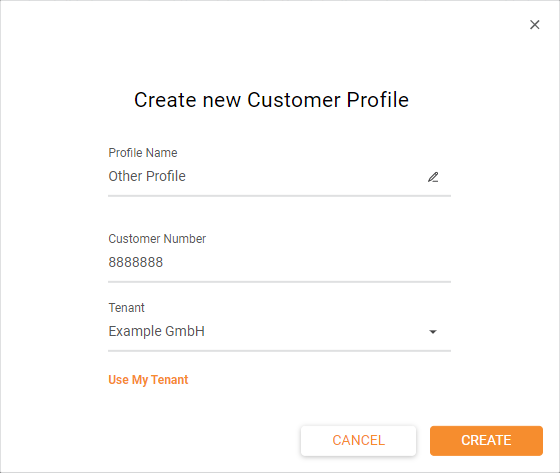
Creating Customer Profiles
When creating a new Customer Profile you can choose to either use your own Tenant or enter a Customer Number to create a Customer Profile for a specific Customer.
In most cases, you will not have access to a different Tenant than your own. In this case, you can request access to the Customer Tenant which will send an approval request to the administrators of the Customer Tenant. Only if the request gets approved your Customer Profile will be usable.
Creating a Customer Profile for your own Tenant.
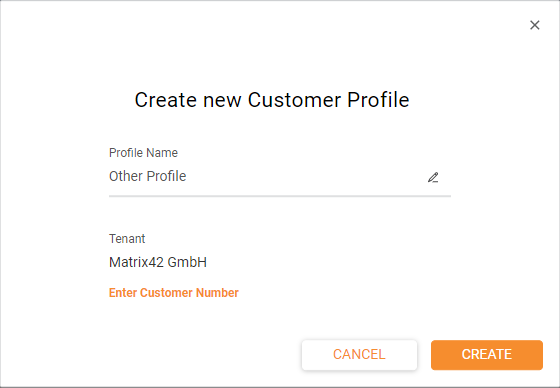
You can also enter a Customer Number to create a Customer Profile for a different Tenant than your own.
In most cases, you will not have access to the Customer Tenant, but you can request access.

When requesting access for a Customer Tenant you should always notify the Customer preemptively to avoid confusion on the Customer side, which may result in denial of your request.