Testing your Extension
This is a step-by-step guide on how to test your Enterprise Service Management Platform Extension.
Prerequisites
- Node.js and npm installed. (Downloading and installing Node.js and npm | npm Docs (npmjs.com))
- An existing Extension you want to test. (How to create an Extension)
- Docker Desktop installed. (Software Requirements for the Extension Test Studio)
Setup your Tests
To write tests you first need to setup your local environment:
- Inside your Configuration Project you want to create the following folder structure:
Config\Files\Tests
- Use npm to create a package.json inside the Tests folder.
> npm init
- Install testcafe as a development dependency using npm.
> npm i -D testcafe
- Optionally install the test runtime for common logic and utilities.
> npm i @matrix42/extensions-test-runtime
Writing your first Test
In the following you will find an example test file which includes one test to verify the existance of the "Home" navigation item in the Self Service Portal.
You can read more about how to write tests using testcafe here.
import { Selector } from 'testcafe'
import * as runtime from '@matrix42/extensions-test-runtime'

fixture`Example Tests`.beforeEach(async (t) => {
  // this call ensures that there is a valid access token for the current test session
  await runtime.ensureSessionToken()
})

test('Home button exists in Self Service Portal', async (t) => {
  // navigate to the Self Service Portal
  await t.navigateTo(`https://${runtime.executionContext.dwpHost}/wm/app-SelfServicePortal`)

  // get the text value of home navigation item
  const result = await Selector('.mx-shell-nav-item__item-text.mx-nav-item--auto-home2').innerText

  // expect the text value to be "Home"
  await t.expect(result).eql('Home')
})
Test files should always end with .test.js
Running your Tests locally
To run your tests locally and see if they succeed you can use the Matrix42 Command-Line Interface (CLI).
- Install the CLI using npm.
> npm i -g @matrix42/cli
- Navigate to your Tests folder and run the CLI.
> m42 run-extension-tests .\*.test.js -h <host> -t <token> [-b <browsers>] [-o <output>] [-s] [-l]
host: The hostname of the ESMP Environment you want to run the tests against.
token: The API token of the ESMP principal you want to run the tests with.
browsers: A comma seperated list of browsers you want to run the tests on.
output: The output path where the test reports are saved.
s: If specified screenshots will be recorded on failure of a test and saved to in the /screenshots folder in the output path.
l: If specified the tests will not run in docker containers but rather on the executing machine.
You can now see the results of your tests in the console or you can inspect the *_report.json files in the output path.
When running tests without docker (by setting the -l flag) you need to make sure that the required browser version is installed on the executing machine.
Generally we do not recommend to run tests without the use of docker.
Defining the Browsers List for your Tests
There are different ways to define for which browsers and which versions you want to run your tests.
The easiest way is to specify a comma separated list of browsers and versions as the -b (--browsers) parameter of the run-extension-tests CLI command:
> m42 run-extension-tests ... -b chrome:95,firefox,edge:96
This would run your tests in Google Chrome version 95.0, Mozilla Firefox on the latest available version and Microsoft Edge version 96.0 .
Currently we only support the following browsers:
When setting the -l (--local) flag on the run-extension-tests command you can only control the browser version by the version installed on the executing machine.
A more sophisticated way to define the browsers you want to run your tests on is to define a browser list.
You can do this by creating a .browserslistrc file or by extending the package.json in your tests folder:
> 1%
last 2 versions
not dead
This configuration for example defines to run your tests on all supported browsers which are still maintained and globally used by more than one percentage of all users.
Also it will only run the tests on the last two browser versions which match the other criterias.
You can read more about the options to configure your browsers list here.
Prepare the Test Studio for your Tests in the ESMP
To run your tests on a ESMP Server and see if they succeed you can install the Matrix42 Extension Test Studio via the Matrix42 Extension Gallery.
The Test Studio needs a valid API Token for the environment to login for the Test Runs.
Write the valid API Token to a new config.json File:
{
  "ApiToken": "<token>"
}
and place this file on the ESMP Server at
"Matrix42 Workplace Management\ExtensionTestStudio\config.json"
The Extension Test Studio is now ready to execute your Tests on the ESMP.
How to package Tests into an Extension
To run your tests on a ESMP Server your Extension Tests need to be stored on the ESMP. There are 2 ways how you can create an installable Extension package:
Manually
- To manually add your Tests to an installable package, you need to start by exporting your Configuration Project to a Zip-Package and extract its contents.
- If your package does not yet include a "Files" folder, you need to create one. Inside this "Files"-Folder you can create another folder with the name "Extensions".
- Now you need to create the following directory structure:
"Files\Extensions\<packageId>\<packageVersion>"
packageId: Id of the Extension, can be found inside the package.json file.
packageVersion: version of the Extension, can be found inside the package.json file.
- After the directory structure has been created, you can copy your "Tests" folder into the newly created directory.
- In the end you should have a similar directory structure to this:
"Files\Extensions\0a85e0ac-922c-4536-9043-161dcc67a8a7\1.0\Tests\*"
- Now you can package your extension again to a zip-folder and install your newly created Extension on a ESMP server.
With CI/CD
To add your Tests to an installable package inside your CI/CD build pipeline, you need a script, which automatically creates the folder structure, which you can see in the "Manually" section above.
Example powershell script
$basePackagePath: path to the base package of the extension. This is usually where the package.json, the install.xml file and the install folder with all install scripts are located.
$buildId: if your extension version gets the build number attached during the later packaging steps, you need to also pass it as an argument, because the folder in the end needs to have the exactly installed version as a name.
param (
    [string] $basePackagePath,
    [string] $buildId
)

if(Test-Path -Path "$basePackagePath\package.json"){
    #read required information from extension package.json
    $content = Get-Content -Raw -Path "$basePackagePath\package.json" | ConvertFrom-Json
    $packageID = $content.ID
    $version = $content.Version

    #if given a build-Id which will also be added to the version in the later pipeline steps, we also need to add it to the version folder name
    if($buildId){
        $version+=".$buildId"
    }

    #if there is a packageID-directory already, we want to delete it, because the package should only contain the current test files
    $packageFolder = "$basePackagePath\Config\Files\Extensions\${packageID}"
    if(Test-Path -Path $packageFolder){
        Remove-Item $packageFolder -Force -Recurse
    }

    #create the necessary directory structure
    $testsFolder = "$packageFolder\${version}\Tests"
    New-Item -Path $testsFolder -ItemType Directory

    #copy all test files and then remove tests folder, so it won't be stored on the server twice
    Copy-Item -Path "$basePackagePath\Config\Files\Tests\*" -Destination "$testsFolder" -Recurse
    Remove-Item "$basePackagePath\Config\Files\Tests" -Force -Recurse
}
To insert this script in a build pipeline, you can either use it as an inline script in a build step, or you can add it inside a file to your repository and then execute the file inside the build pipeline.
Example yaml build step
steps:
- task: PowerShell@2
  displayName: 'Create Tests Folder for installation'
  inputs:
    targetType: filePath
    filePath: ./scripts/createTestsFolderStructure.ps1
    arguments: '-basePackagePath "BasePackage" -buildId $(Build.BuildId)'
Running your Tests in the ESMP
After finishing the previous preparation steps, you can start creating and executing Test Runs for your Extension.
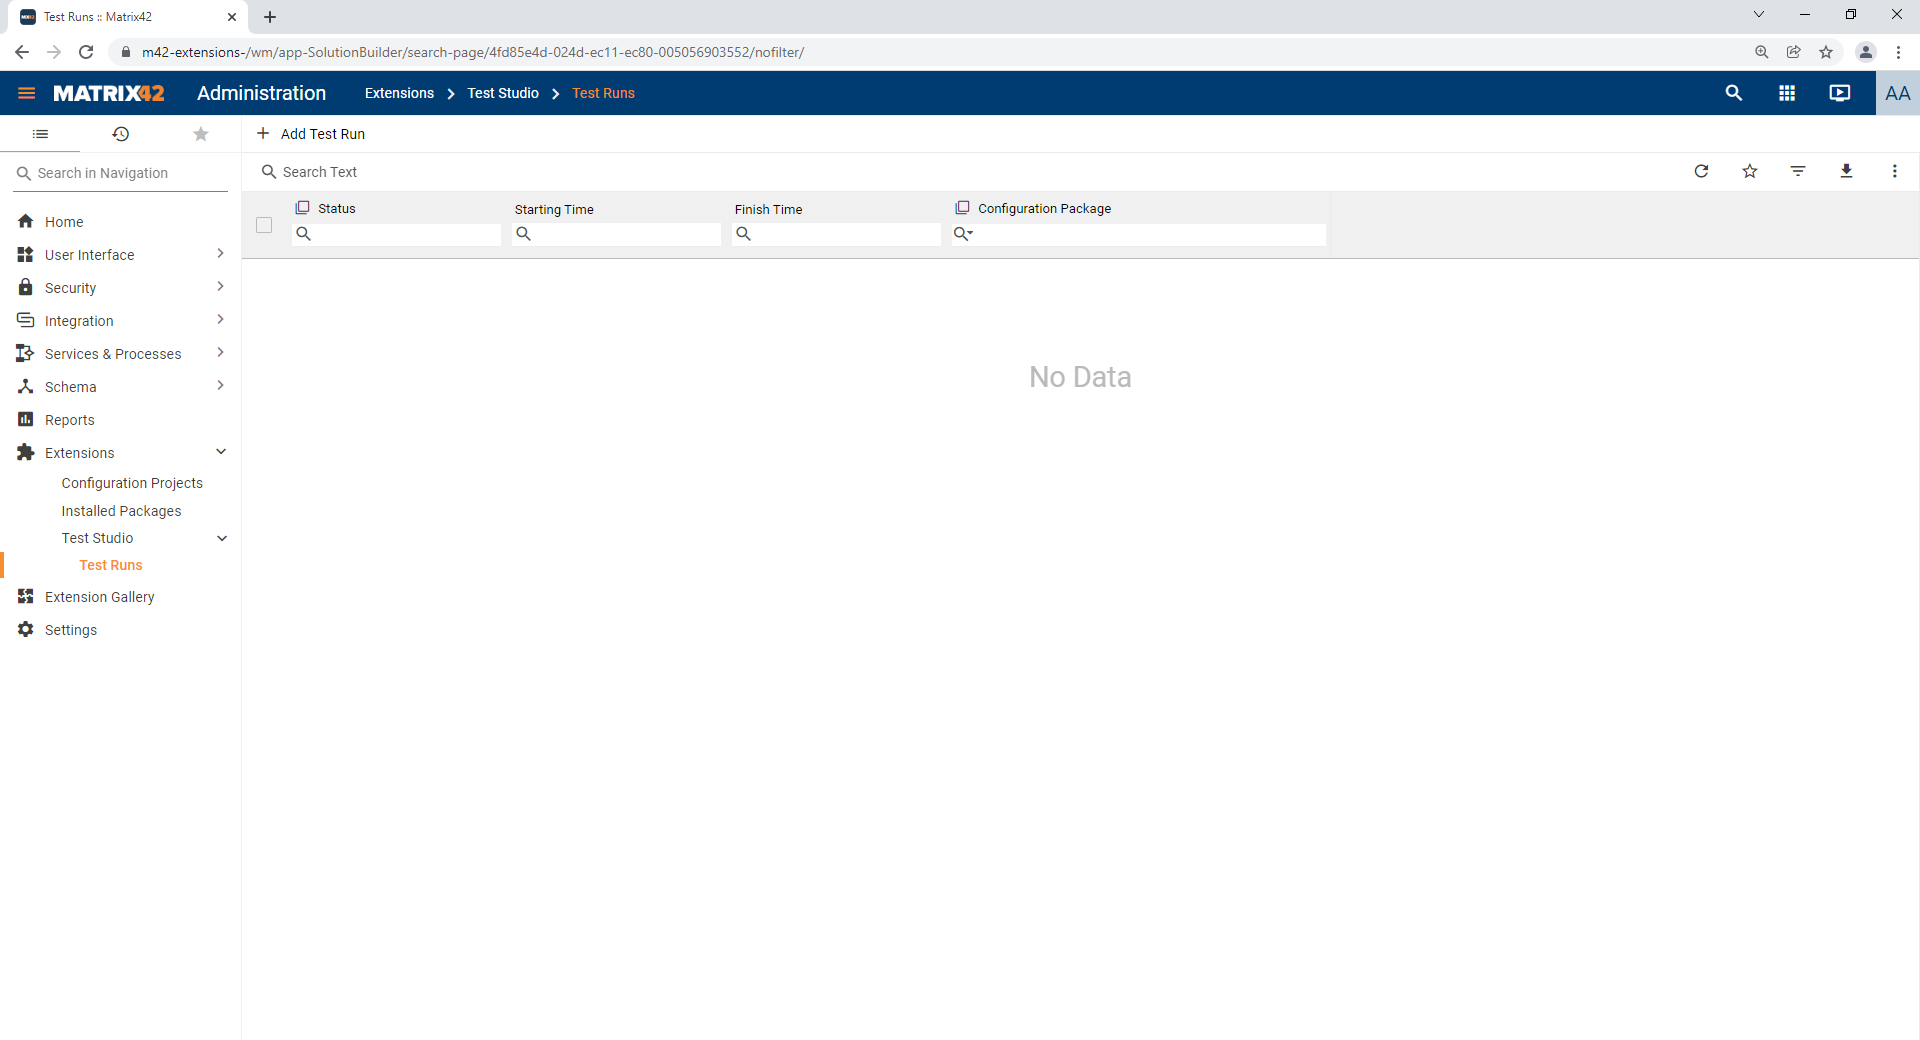
- Head to the Administration Page on the ESMP and navigate to "Extensions > Test Studio > Test Runs". There you can click on "Add Test Run".
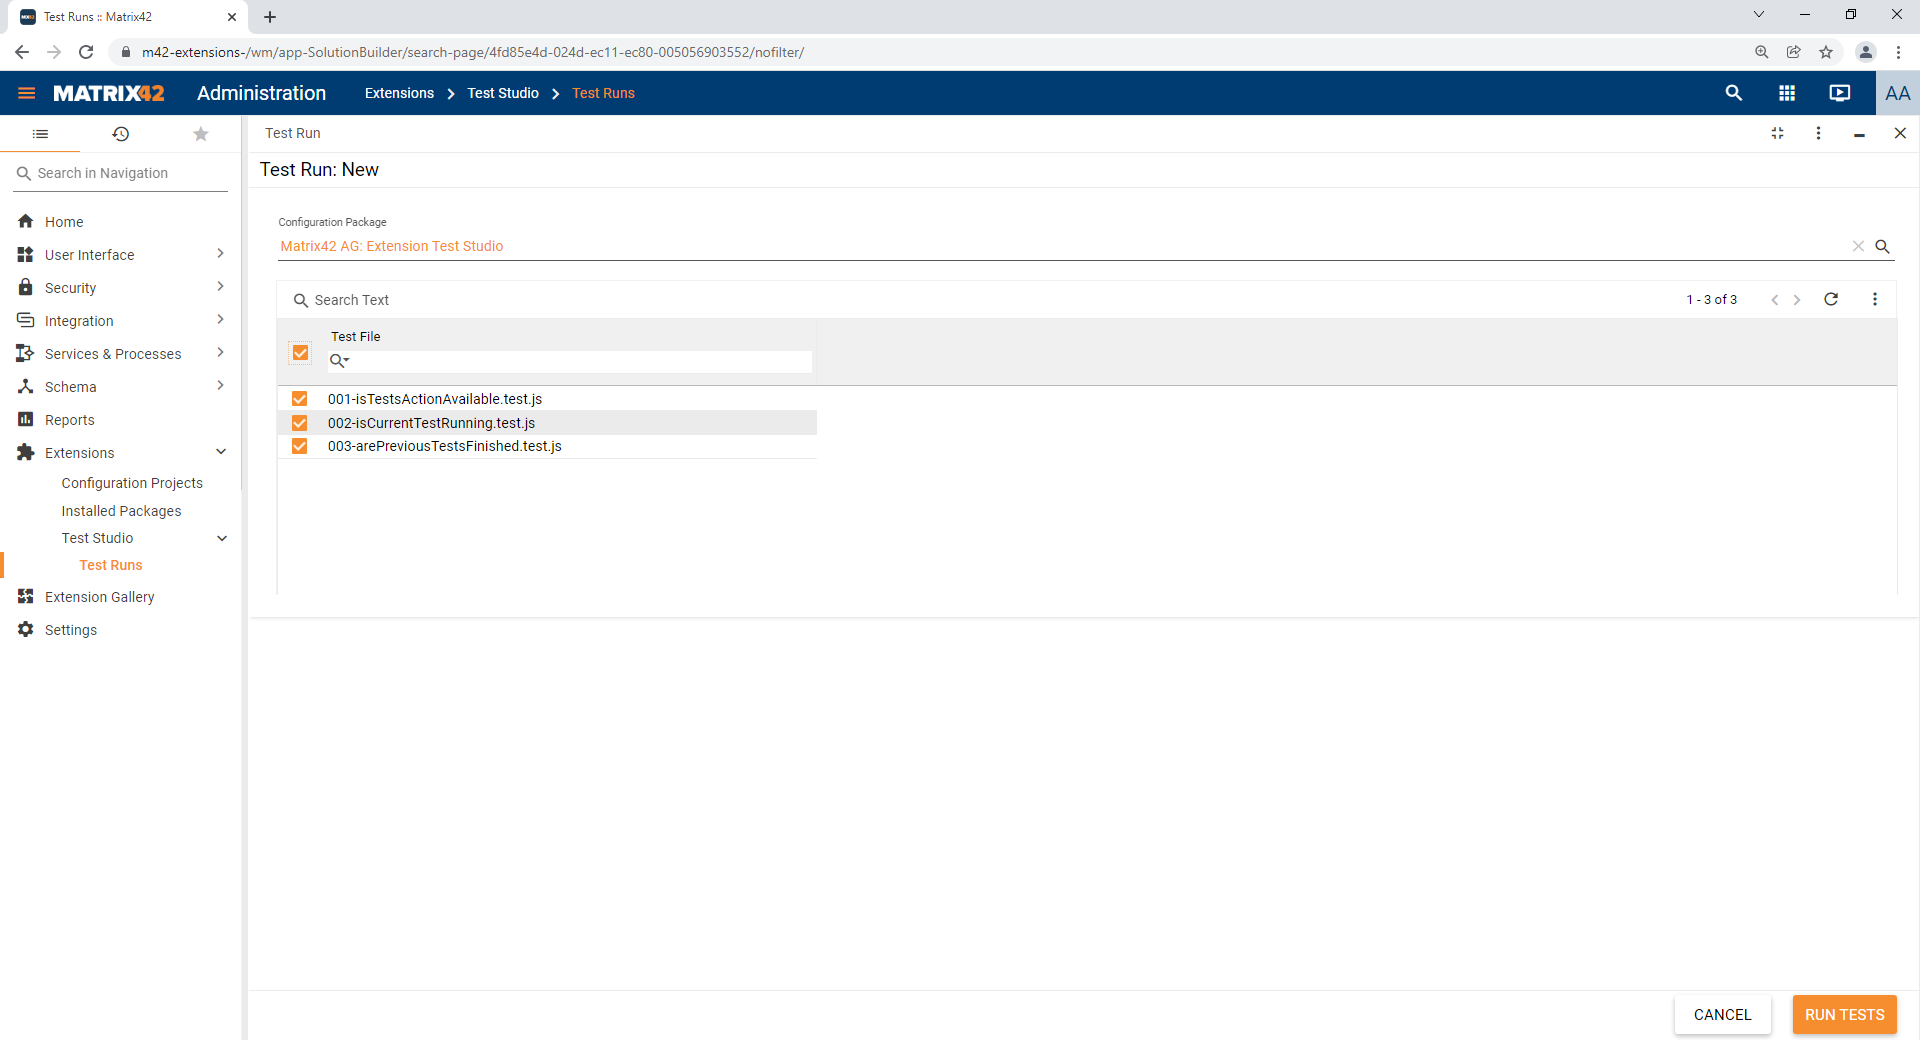
- When creating the new Test Run, you need to specify the associated Configuration Package. The Test Studio will then load any Test Files it found on the file system, which belong to the specified Configuration Package. You can then select the Test Files that should be executed and confirm the selection by clicking on "Run Tests".
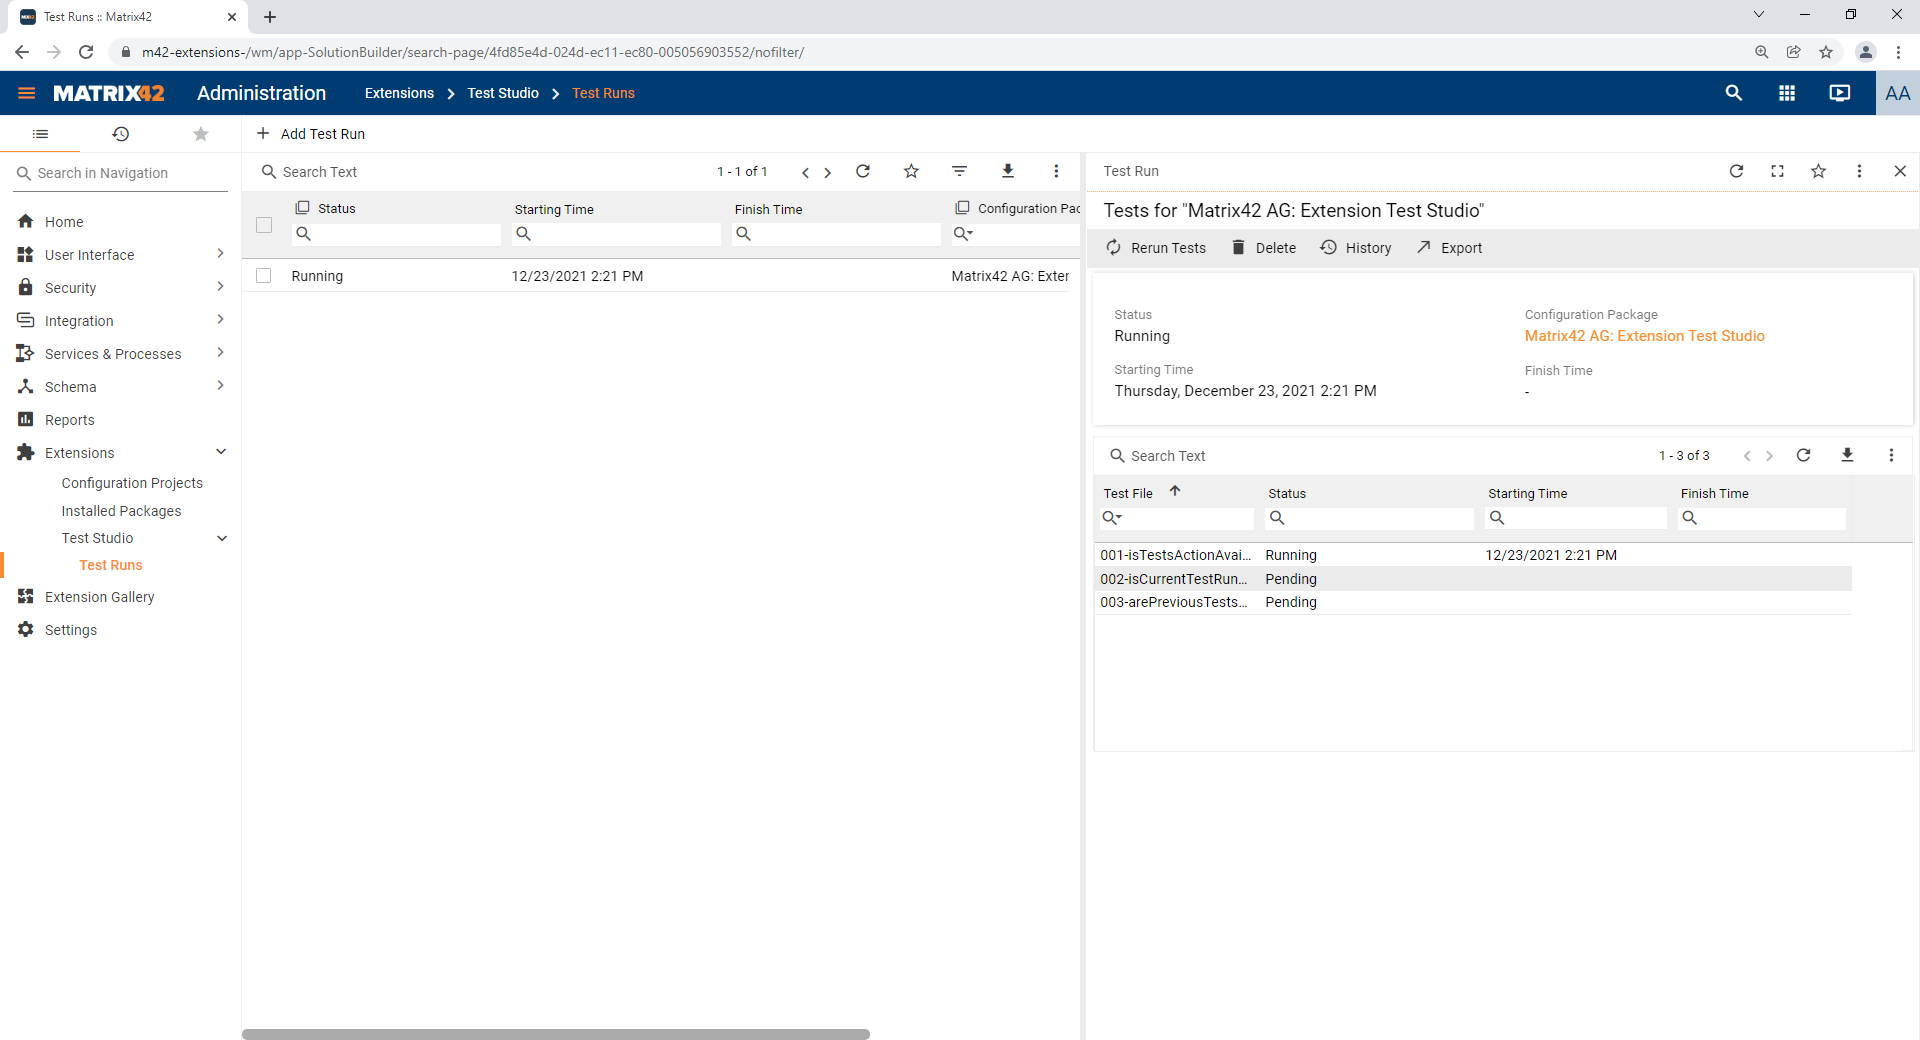
- The status and results of the Test Run will then be visible when selecting the newly created Test Run.