Manage Workflow Assemblies
Configuration Item "Workflow Assembly Library"
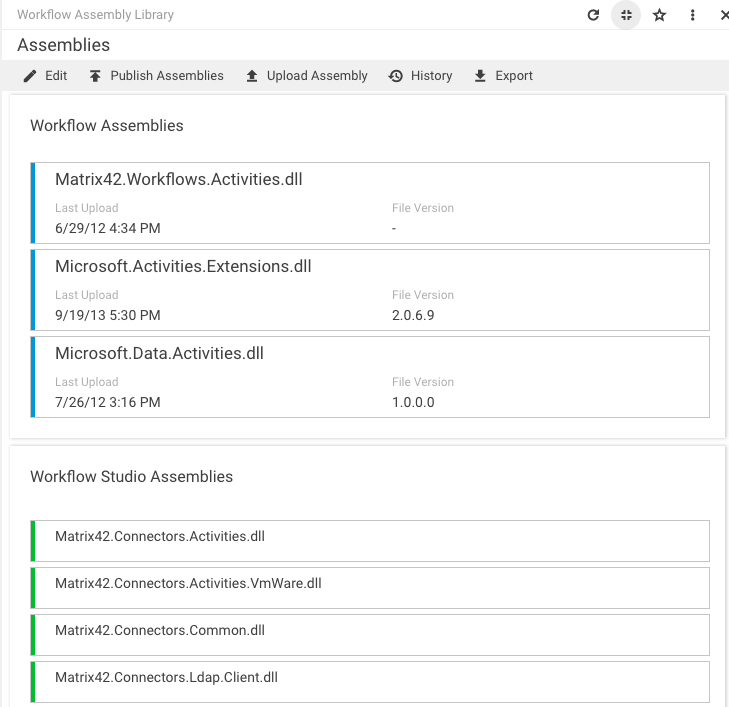
The Workflow Assembly Library properties dialog allows you to register new assemblies and manage existing ones. To open it, go to Administration > Services & Processes > Workflows > Manage Assemblies under Quick Starts.
Actions
Edit
Click Edit in the action pane of the Workflow Assembly Library Preview dialog (shown above) to open the Workflow Assembly Library properties dialog which displays a list of all the uploaded:
- Workflow Assemblies with the following information: Name, First Uploaded, Last Upload, File Version, File Created Date, File Product Name, and With Components (yes/no),
-Workflow Studio Assemblies with the following information: Name.
Remove Assembly
To remove an assembly, select it to activate the Remove action (trash can icon located above the Assemblies grid), and then click Remove. If the selected assembly is referenced by any workflow activity, the system displays an error message that the assembly cannot be deleted.
Save Workflow Assembly Library
For saving changes in the Workflow Assembly Library, use either the Save or Done action. As a result, the newly added assemblies will be saved, and the deleted assemblies will be removed from the properties dialog.
Upload Assembly
Use this action to add a new assembly to the Workflow Assembly Library. The action opens a wizard, where the assembly file can be selected for uploading. If the Directly Publish Assemblies checkbox is selected, the uploaded assembly will be directly published.
Publish Assemblies
This action will publish all assemblies of the Workflow Assembly Library. The system checks the current deployment status of the binary assembly. If the binary assembly was already deployed, the existing one will be replaced by the new one. If the assembly was never deployed before, the new one will be deployed.
