Introduce a new Style for a Control in Layout Designer
Overview
The article explains how the custom Style can be created and registered in the Solution Builder, to be available in the Layout Designer controls. Such a use case could be very helpful for cases when you would like to introduce a new Style for a Control, which could be used in various Layouts.
Goal
The article targets the following goals:
- Introduce a new style in Layout Designer that could be applied to a specific control or the family of the controls
Implementation
Step 1: Create your custom style
In CSS snippet you can see the simple implementation of such style:
  .my-custom-style .literal-value {
    background-color: red;
}
Save that CSS as file in your custom workspace. For example here: <installationFolder>/wm/workspaces/MyCustomWorkspace/css/mycustomstyle.css
To make the implemented control be known by UUX application, references to the Front-end assets (e.g. JS libraries or CSS) need to be properly registered in the UUX platform. For the integrating 3-d party modules, the UUX platform uses "UUX Front-end Workspaces".
Step 2: Register style in the Layout Designer
UUX application can recognize the implemented style when it's registered in your workspace: create a new .js file or use an existing one. Make sure that the path to this file is present in the 'resources' section of the workspace.json file.
Add the following part with your custom style for Literal controls in the new or existing file:
        mx.workspacesConfig.registerStyles([
            {
                "class": "my-custom-style",
                "name":"My Custom Style",
                "tags": ["literal"]
            },
        ])
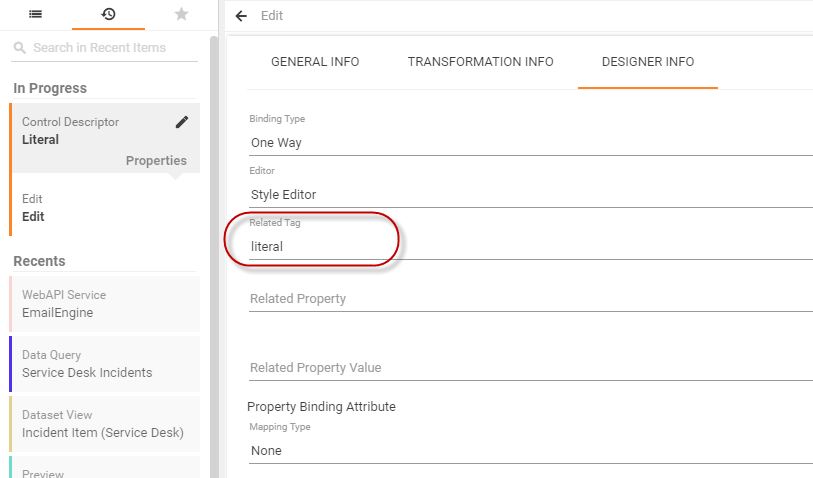
Tags, is an array of identifiers, which characterize a control, or the group of controls (family of controls). As far as all controls have complex composite HTML structure, it is important to display only appropriate Styles for each control. The Tag value, which corresponds to your control is set in the configuration of the Control Style Property (or in Style property of the inherited Control)
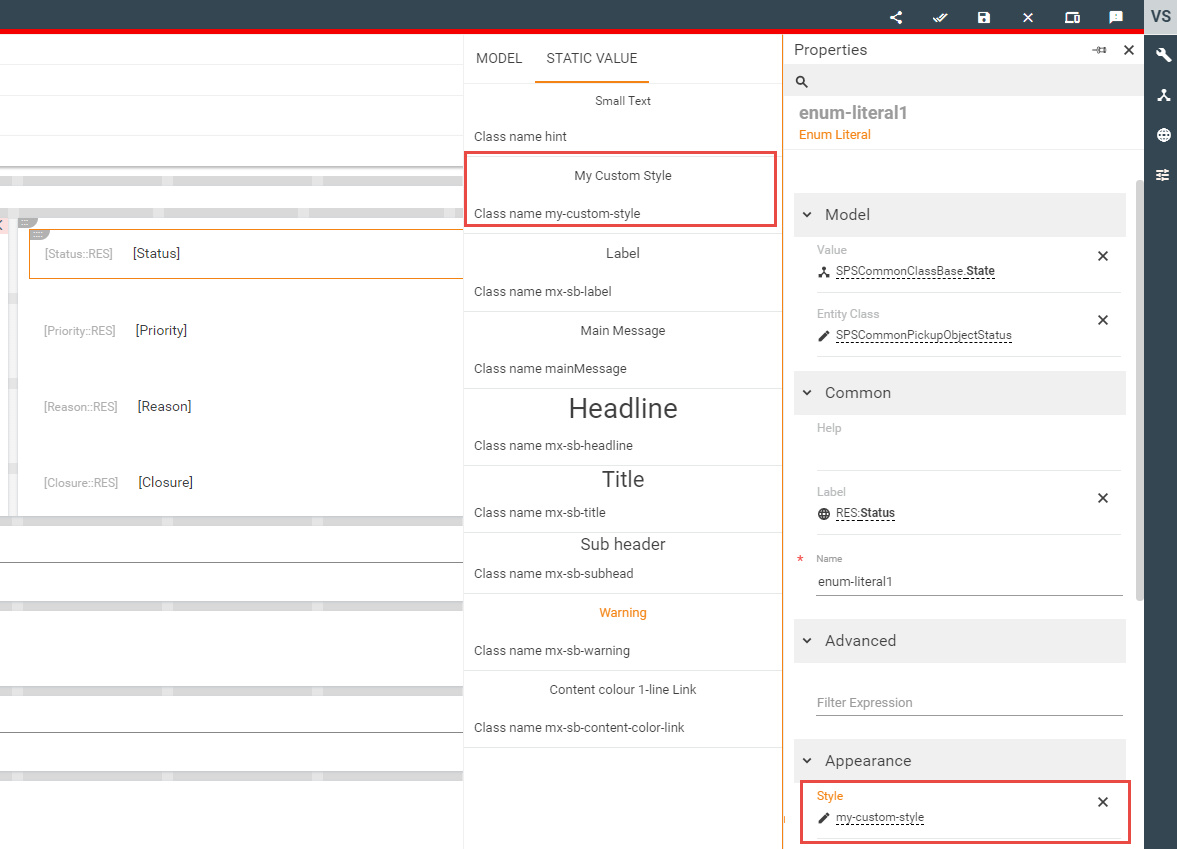
Step 3: Use custom style the Layout Designer
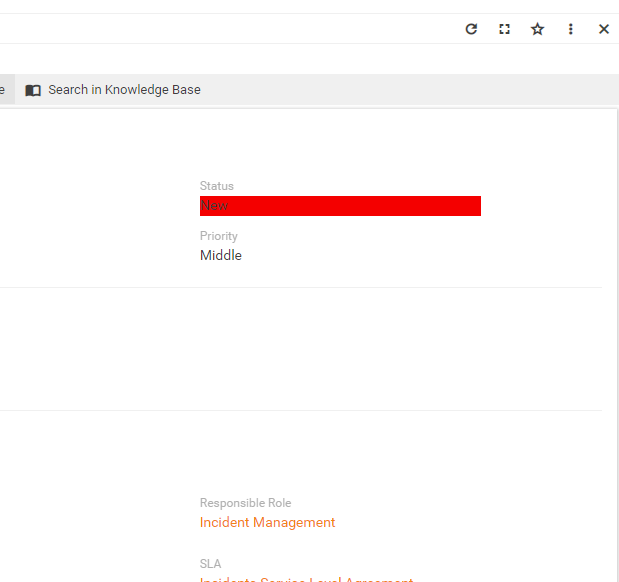
Open any Layout where style needs to be applied, select any literal control, and see the style property:
After saving Layout, custom style will be applied to selected Literal