Localizing Configuration Packages
Learn how the resources introduced by the Configuration Package can be localized to supported Languages.
Goal
The article explains how the resources introduced by the Configuration Package can be localized to supported Languages.
Principle
The default DWP installation has all provided resources already localized to all supported languages. Adding non-localized resources to this Environment, either manually, via User Defined Localization, or by Package installation, could be easily detected in the Administration Localization area.
Process
Install the Configuration Package on a clean DWP environment
- Install the DWP from scratch
- Install the Configuration Package
Export not-localized Resources
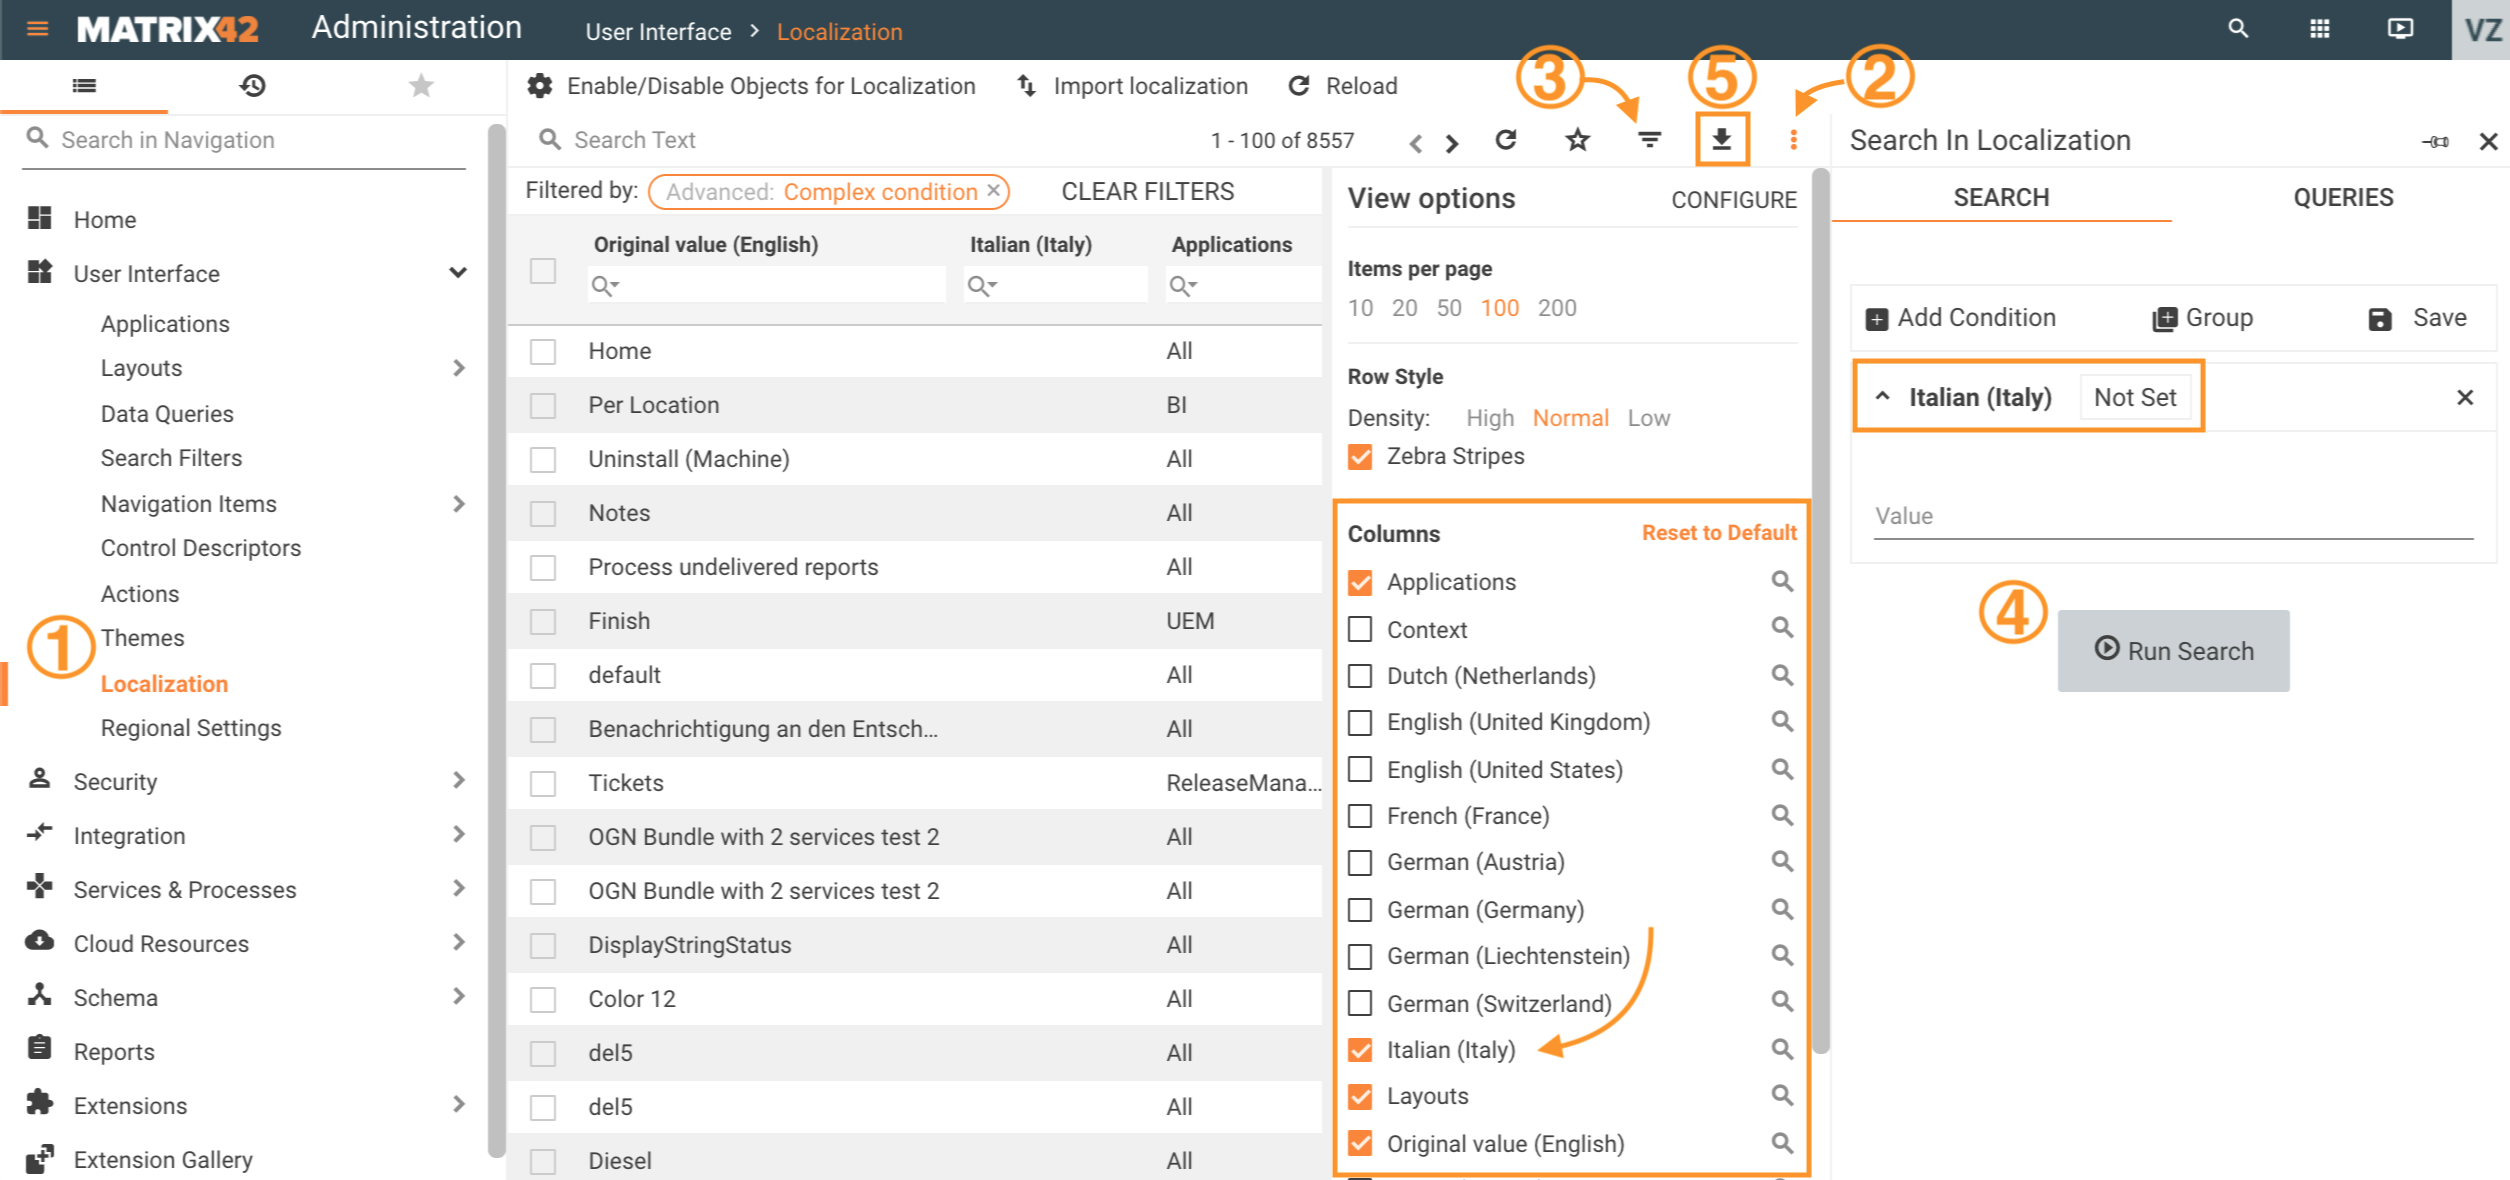
- Proceed to Administration → User Interface → Localization Management Area;
- In the View Options, select columns with the Target Languages;
- Filter Grid to display strings with no translations;
- Run Search;
- Click Export All to export results to Excel file:
Translate the Localization Strings
- Open the exported Excel file and make sure that all accumulated Strings are related to the Configuration Package. Remove those which have no relation to the Package.
- Translate the Localization String on your own or send it to Translation Agency.
Import Translations
- Proceed to the UUX Administration Home page and start the "Configuration Recording";
- Follow back to Administration → User Interface → Localization Management Area and start action "Import localization";
- In the wizard provide the excel file with the translations and select the target language, preview the detected changes and submit the wizard;
- Repeat the import for each additional language you would like to apply.
Update the Configuration Package with localizations
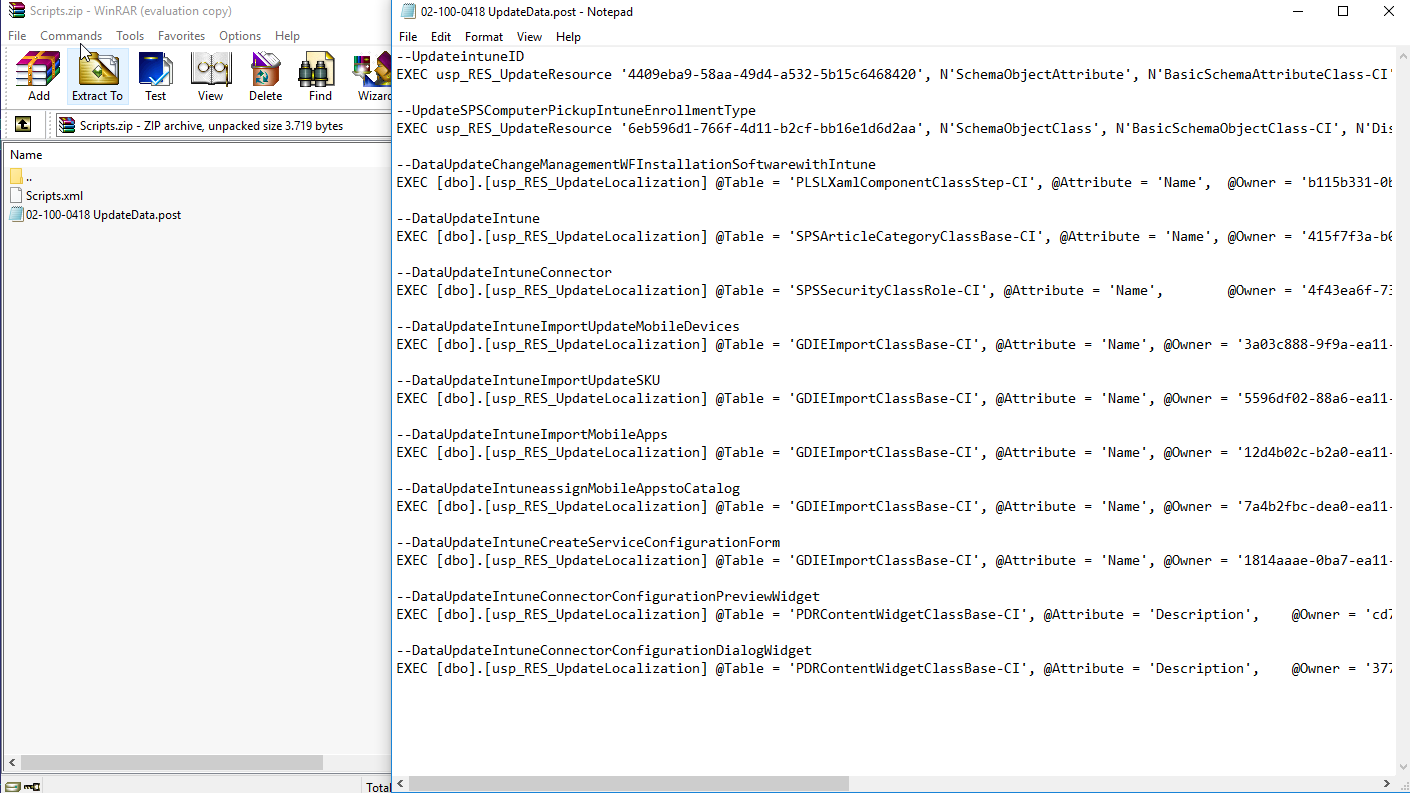
- On the Administration Home page run "Download Recorded Changes";
- Migrate the Schema Scripts with localizations from the generated archive to the Install folder of the Configuration Package;
- Add references to added Schema Scripts to the Package install.xml file;
- Generate a new version of the Configuration Package.
For further information, see also Solution Builder Development Process page.